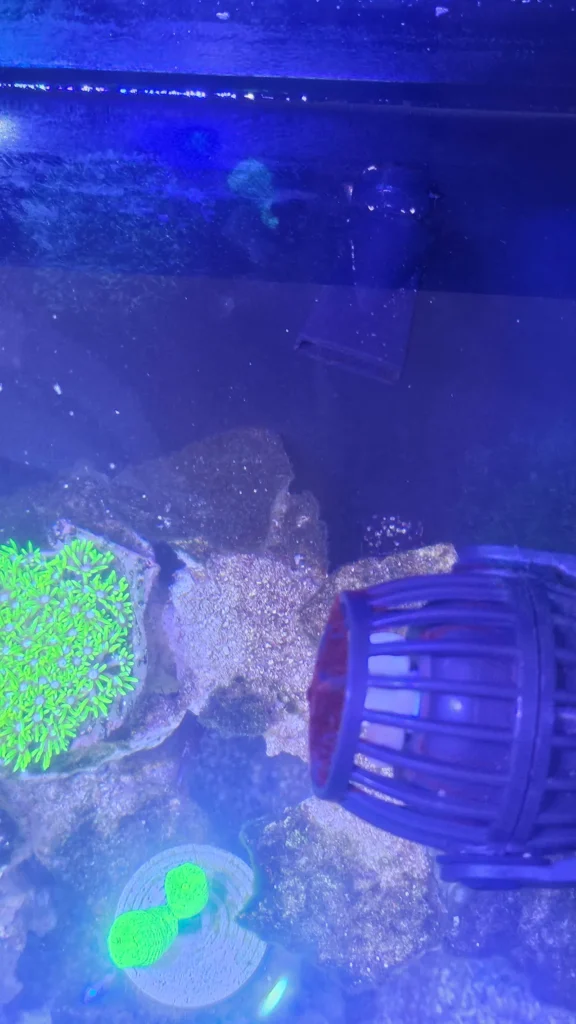
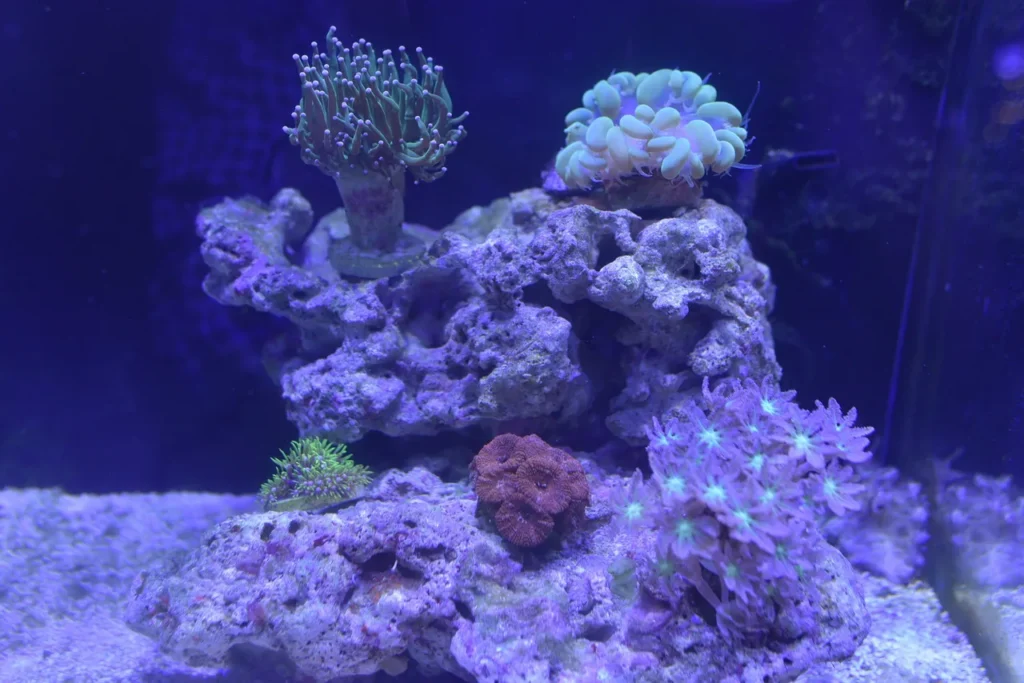
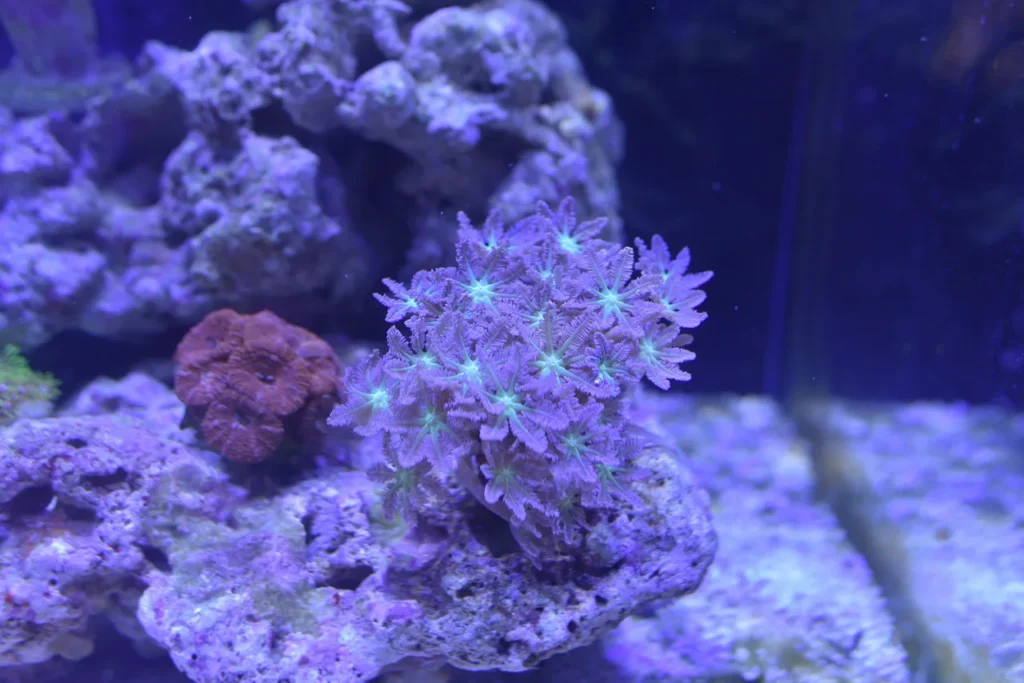
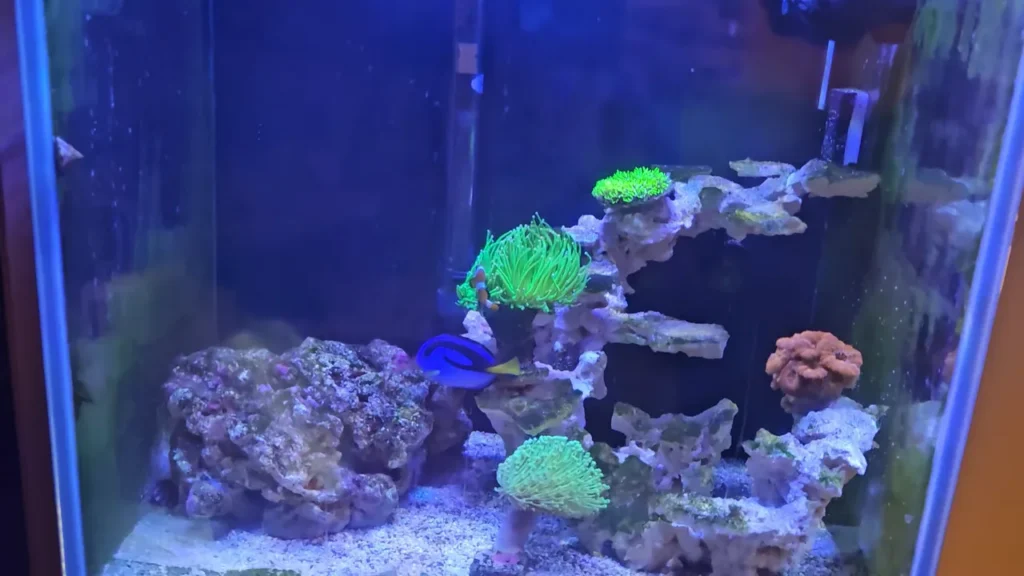
One day, all of a sudden, my star polyps and acan coral looked fine, but…
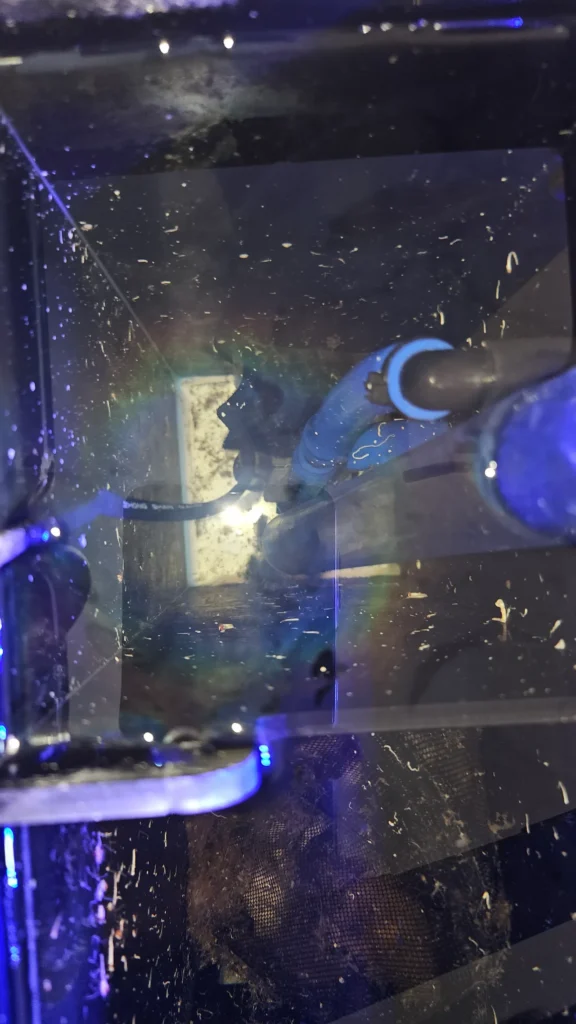
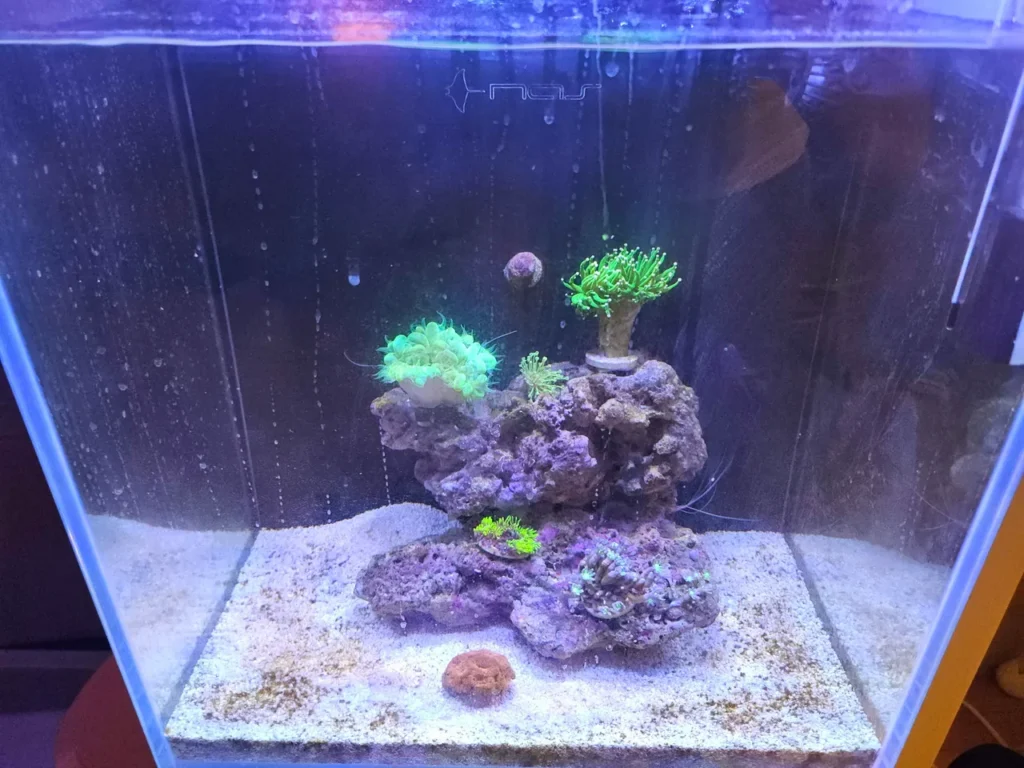
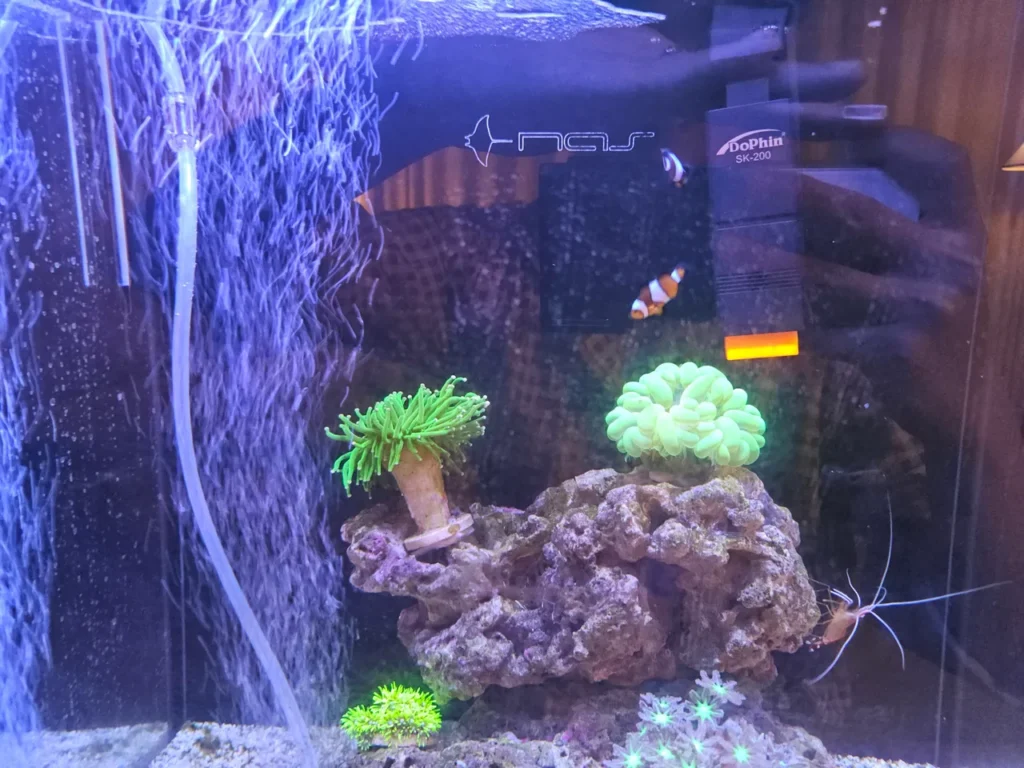
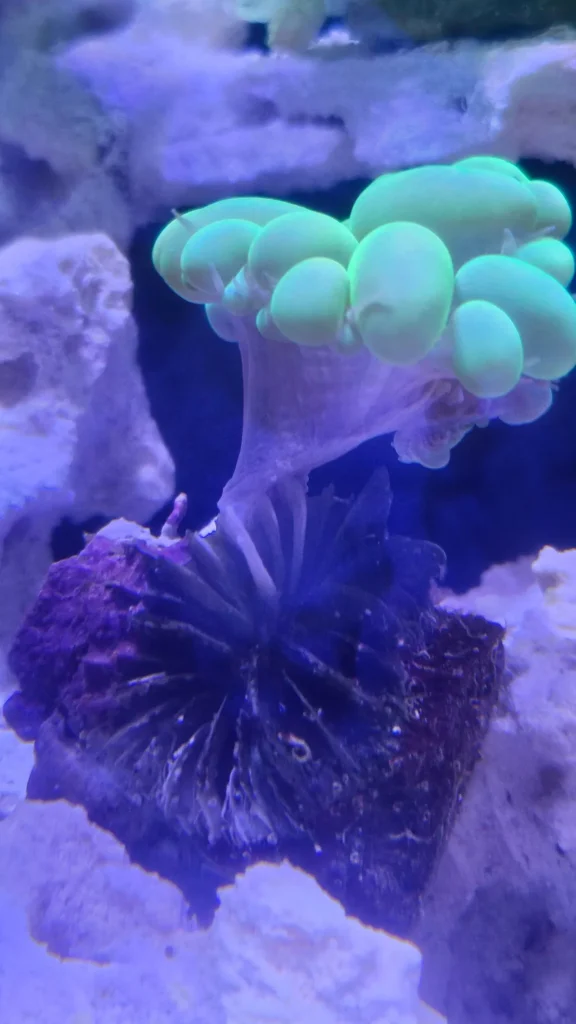
The polyps on my torch coral gradually became smaller, the mouth in the center became visible, and the body of my leather coral grew thinner until its polyps stopped coming out altogether.
I had already lost a bubble coral and a glove polyp before, even though the other corals were fine. They had slowly declined until they died, so seeing this happen again was really upsetting.
There was no obvious tissue necrosis or serious problem like brown jelly, but these were corals that had never caused me trouble before. Their less-than-full appearance kept bothering me.
What I suspected
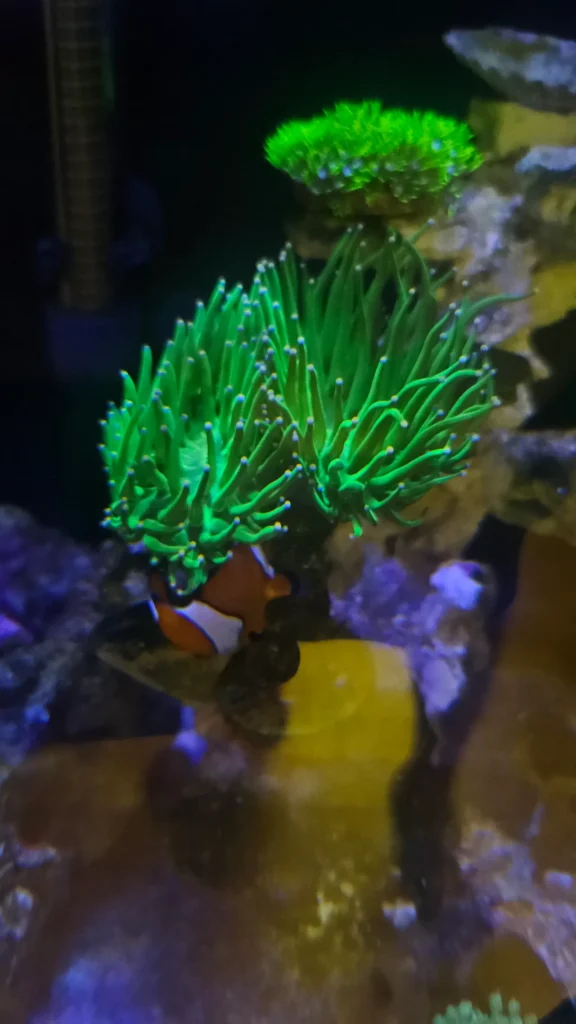
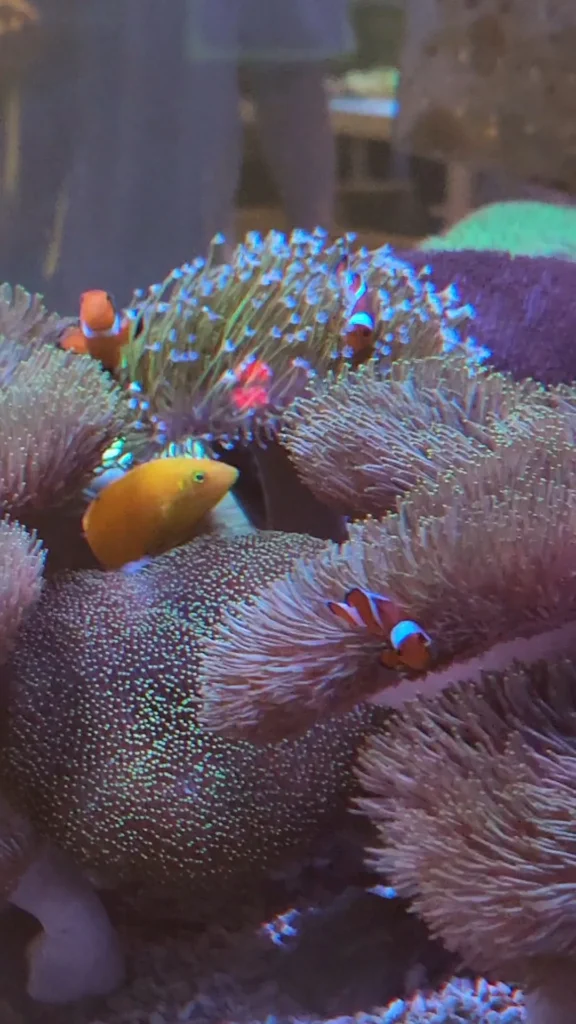
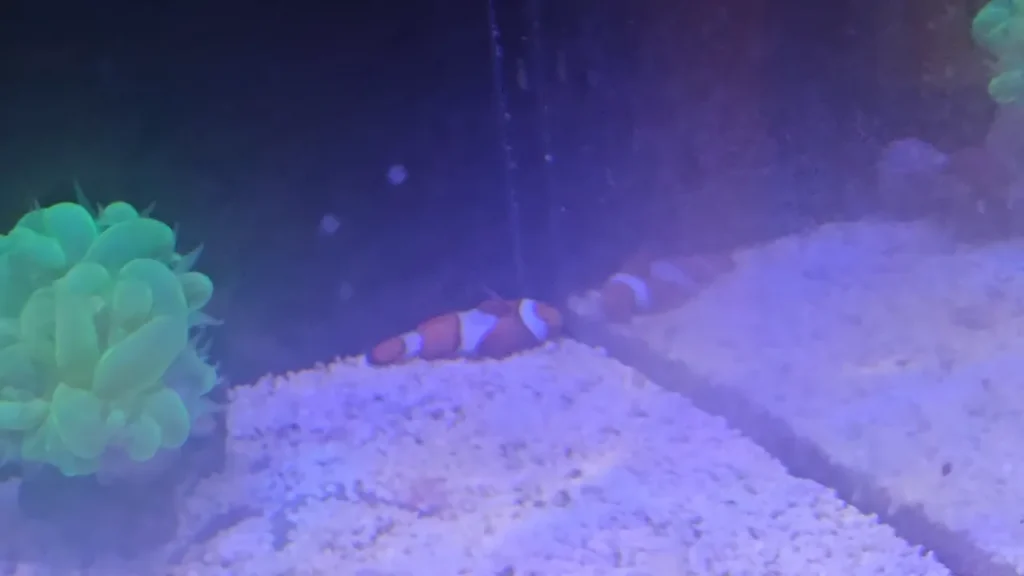
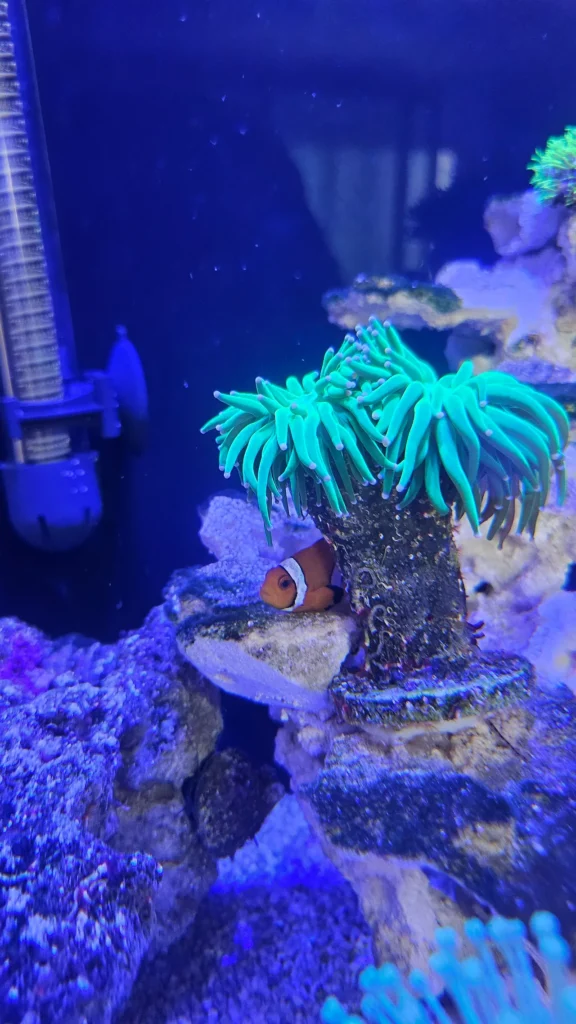
The clownfish
The first thing I thought about was my clownfish. Nemo has rubbed his body against the torch every time I look at the tank for more than a year.
Still, he had been doing the same thing for more than a year, while the coral had gotten worse rapidly over the past few weeks. It was hard to blame Nemo alone. The leather coral, after all, is a coral he never rubs against.
Temperature swings
Summer water temperature was another concern. When I measured the water after getting home from work, it had reached 27°C on hot days, so I added a cooling fan.
With the cooling fan running, the temperature kept dropping. When the air conditioner, a fan, and the cooling fan were all running in the evening, it could fall as low as 22°C.
In winter, the heater keeps the temperature stable by running whenever it falls below the set point. But I had no device that would turn the heater on when the temperature dropped, so the swings had recently become more severe.
High KH/Alk and very low PO4
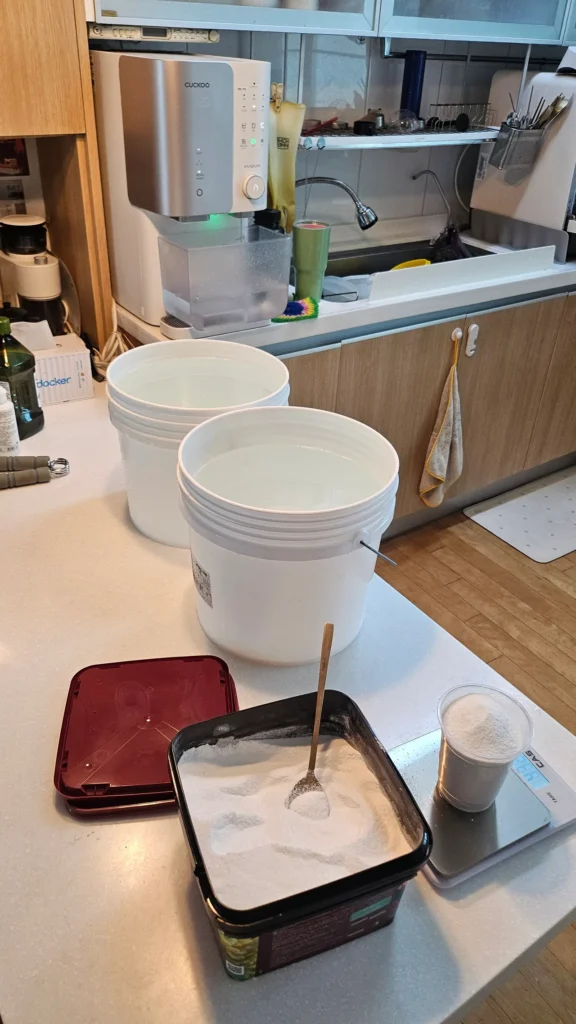
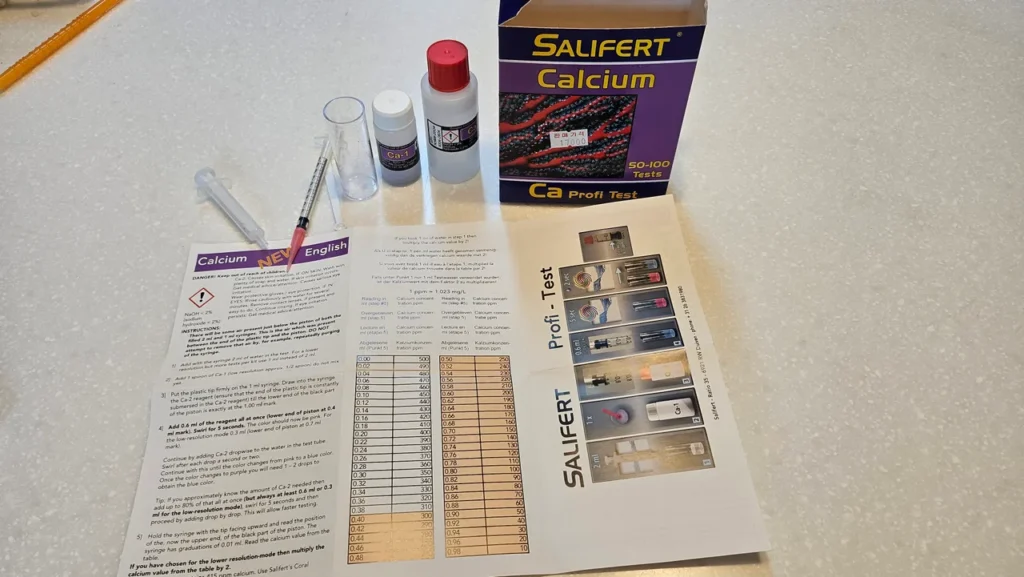
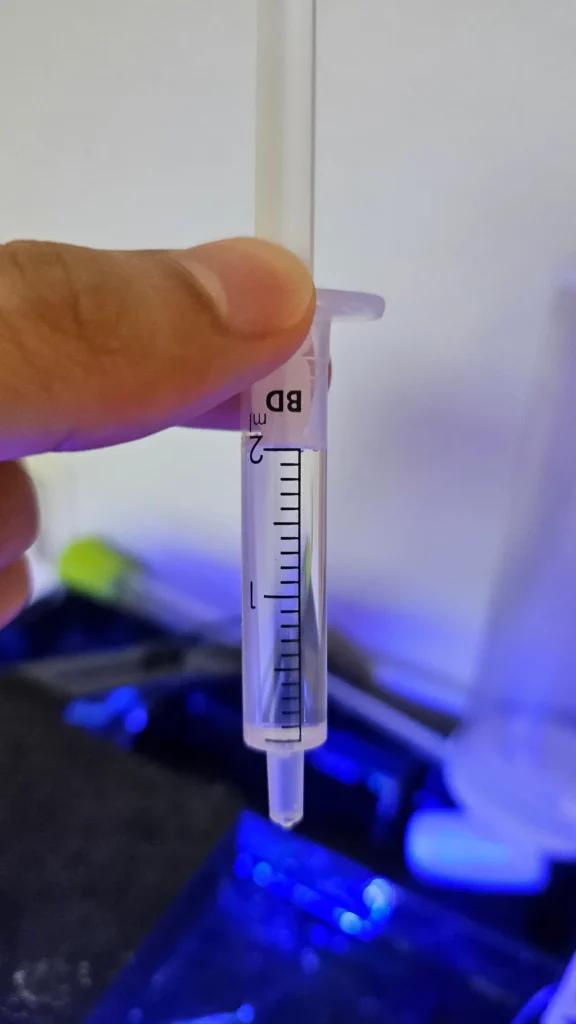
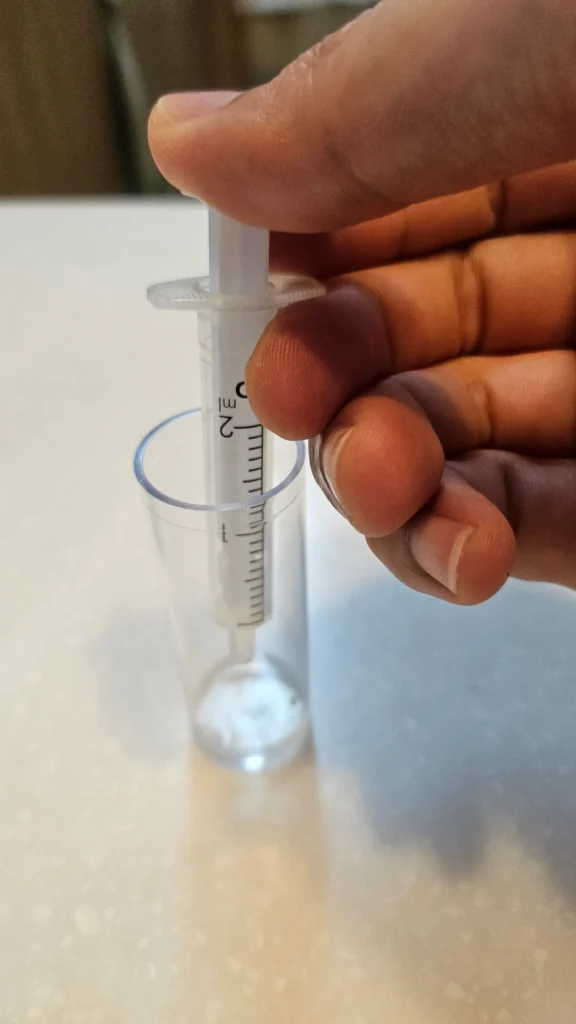
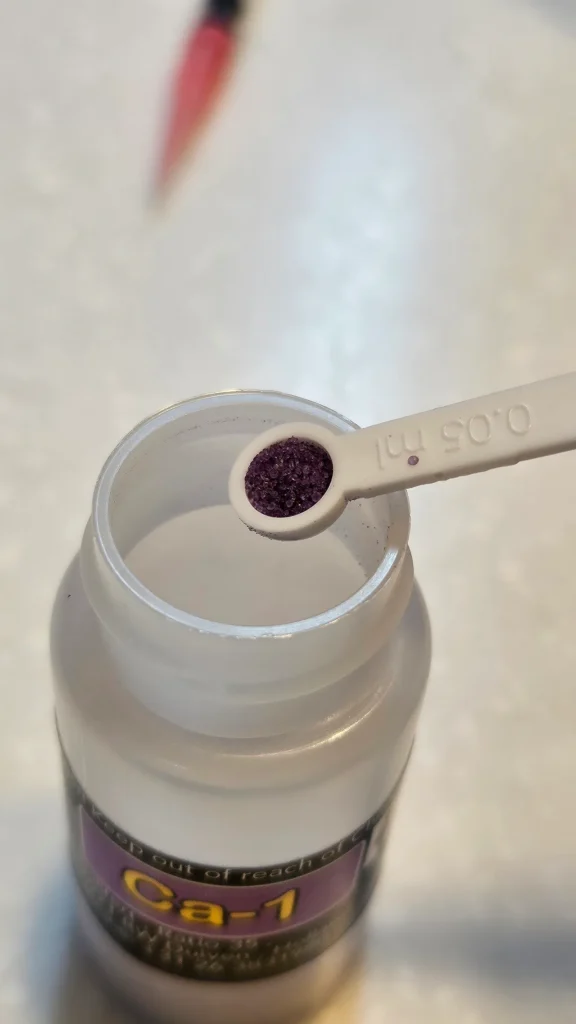
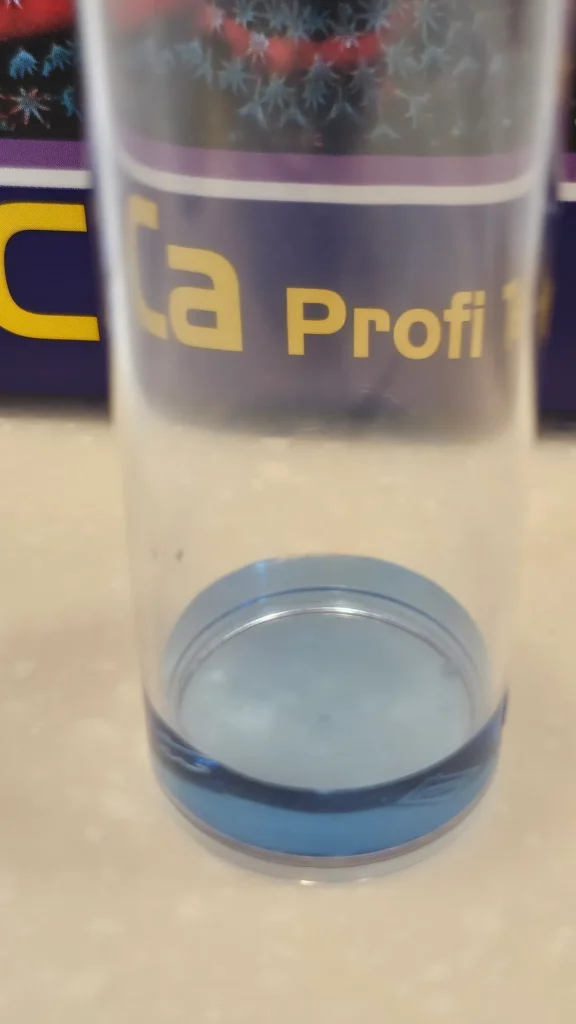
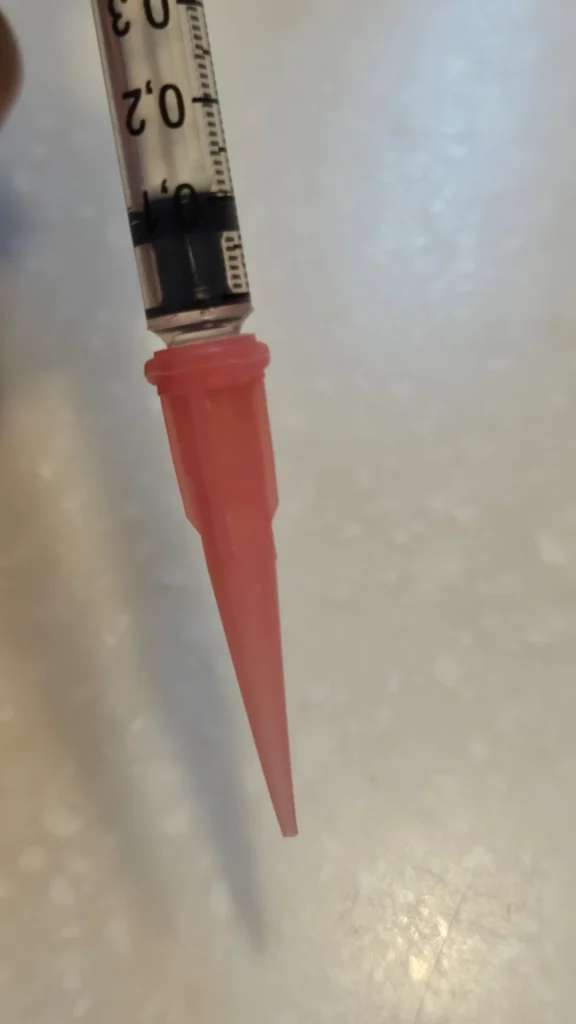
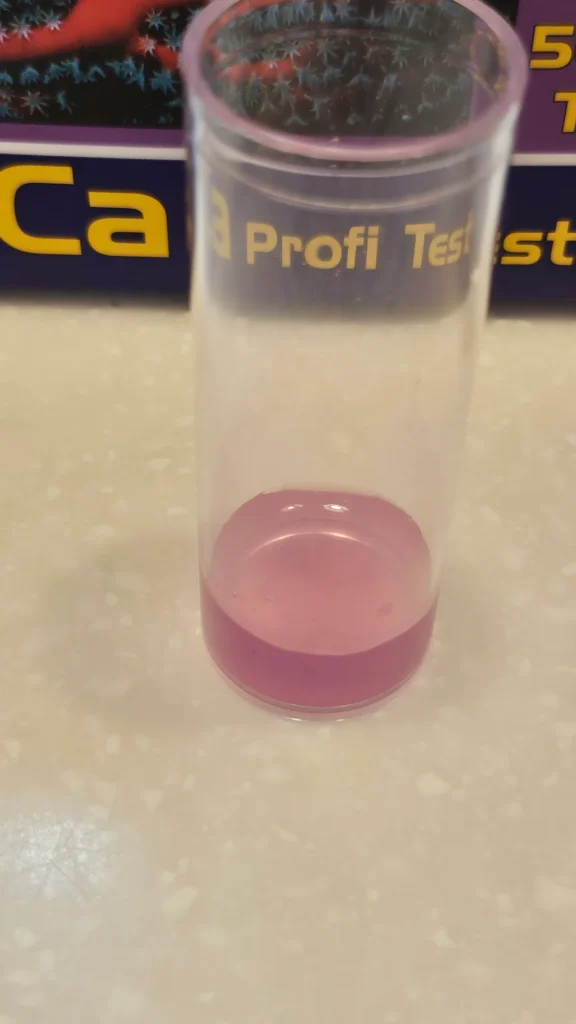
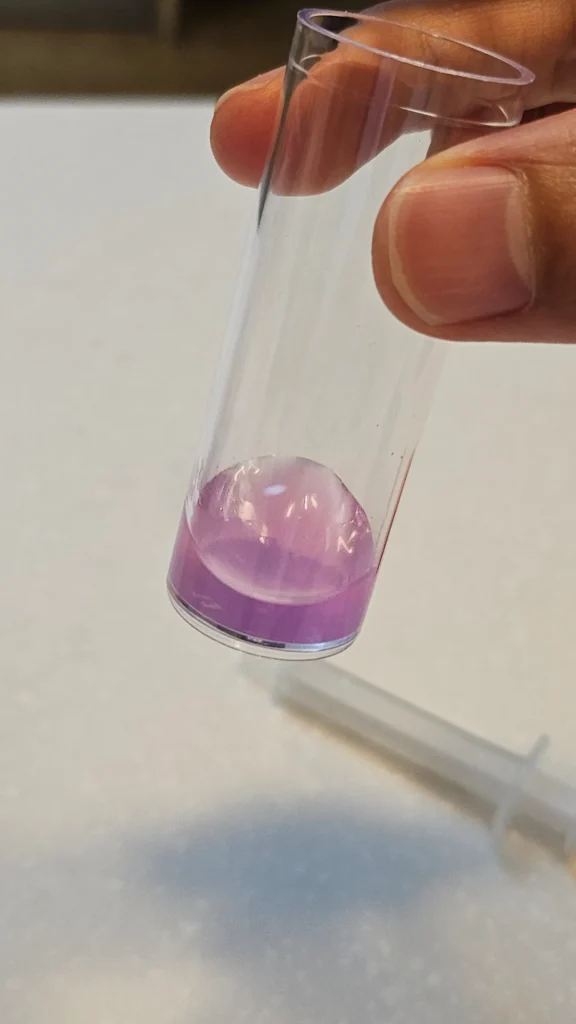
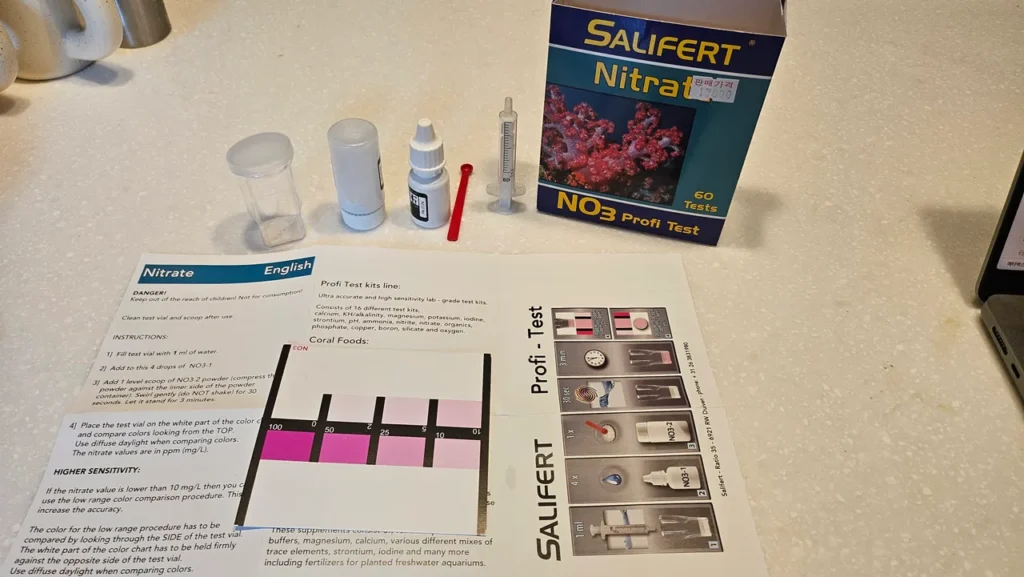
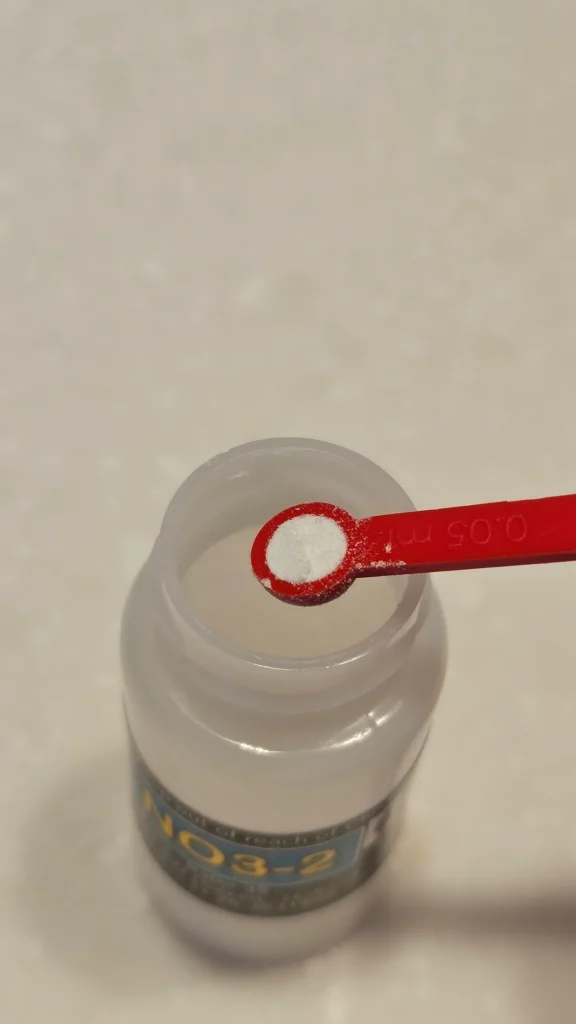
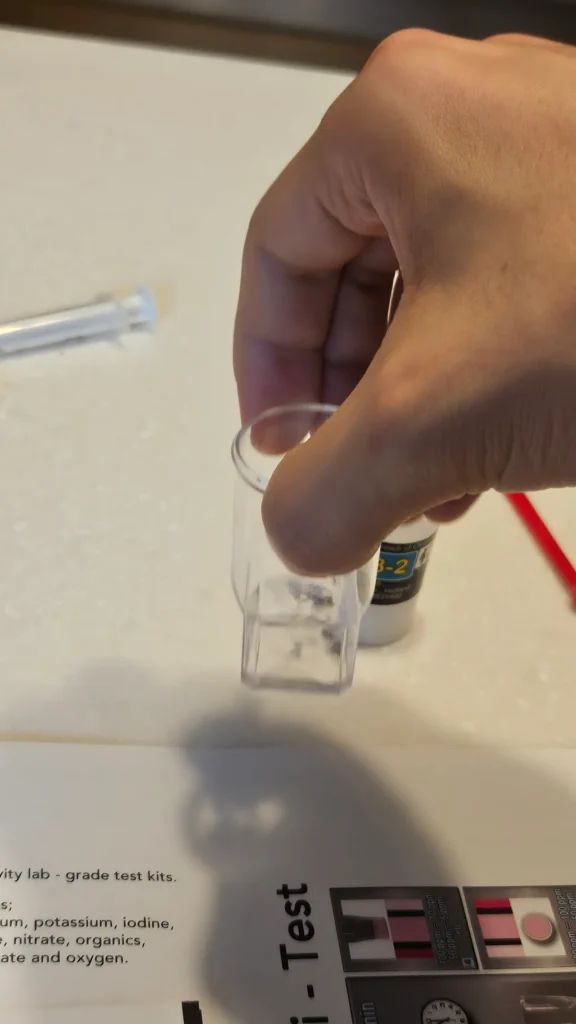
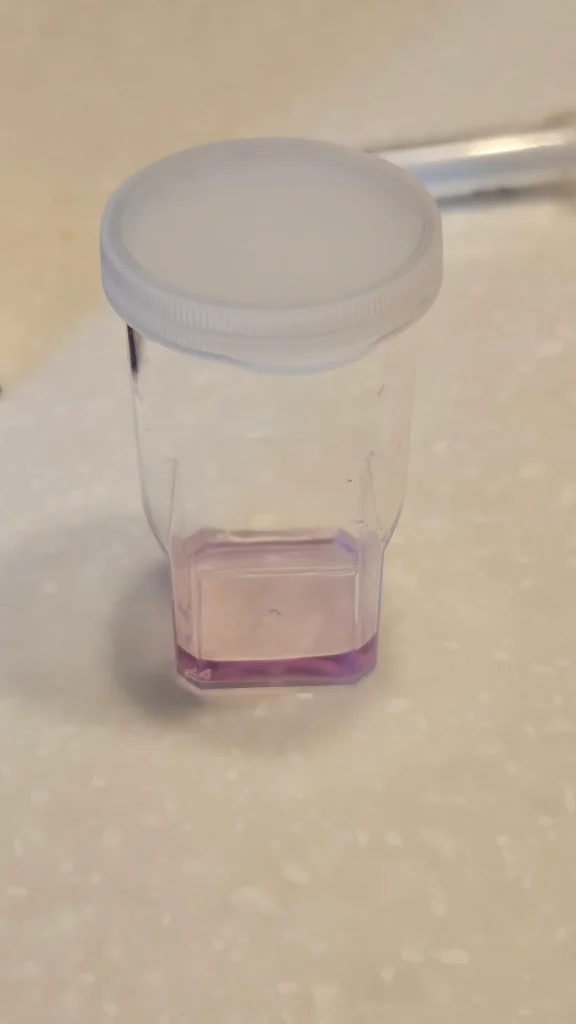
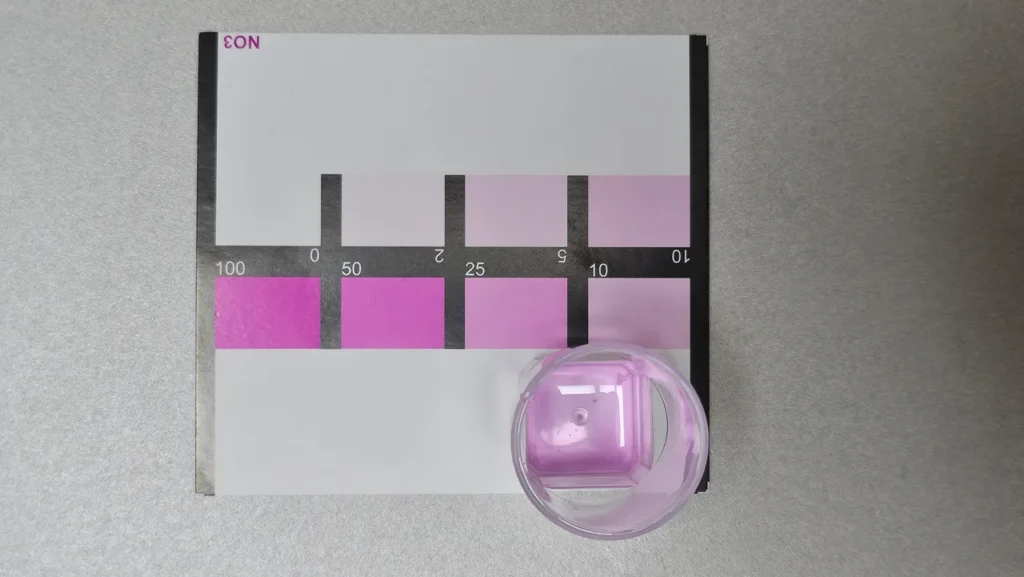
I started by looking back at the readings I had taken with my Salifert test kits.
Then I kept thinking about the high KH, the changes after water changes, the low PO4 readings, the MicroBacter7 I had been adding every day, the organic matter that may have built up in a tank without a skimmer, and the possibility of chemical irritation or disease between the corals.
Water parameters
Thinking about it based only on intuition felt like going around in circles, so I gathered the measurements I had taken so far.
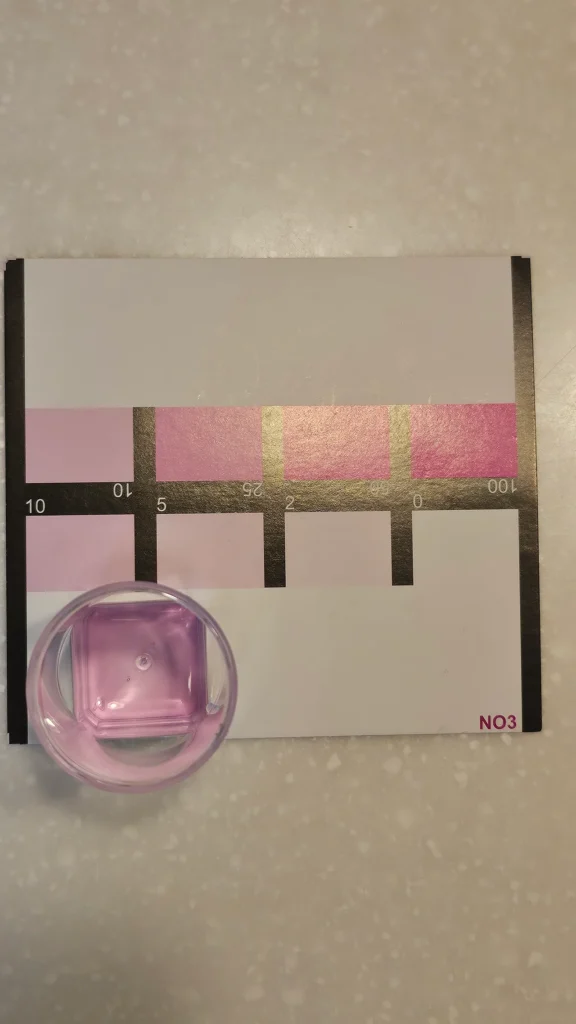
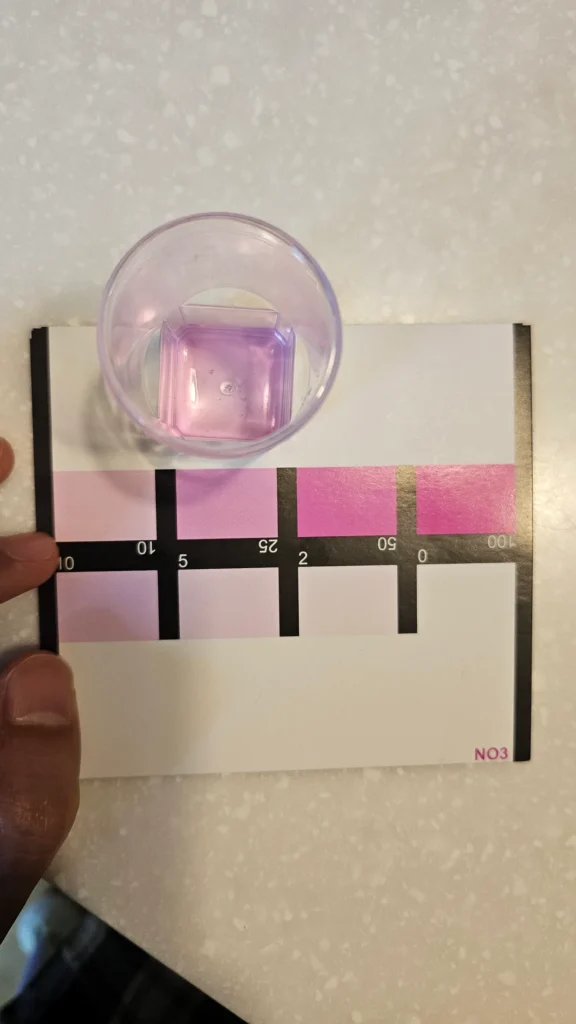
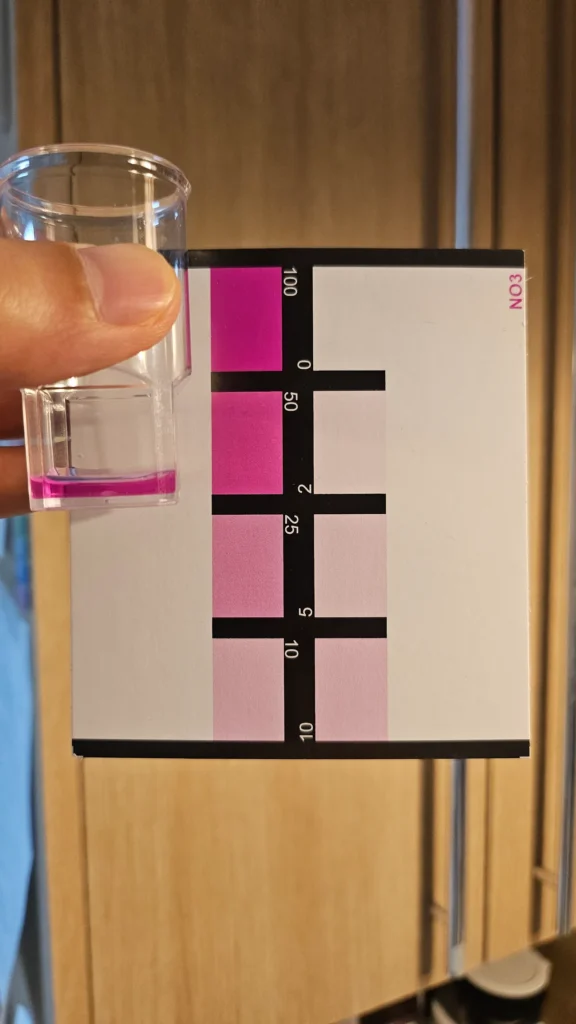
| Date | KH | NO3 | PO4 |
|---|---|---|---|
| Apr 17 | 12.8–13.1 | About 15 | About 0.06 |
| Apr 26 | 10.9–11.2 | 10–15 | 0.4 in the record |
| May 10 | 10.1 | About 10 | About 0.015 |
| Jun 28 | 10.9 | 10–25 | 0–0.03 |
| Jul 7 | 12.8 | 5–10 | 0–0.03 |
| Jul 9 | 12.1 | Not measured | 0–0.03 |
| Jul 11 | 11.5 | Not measured | 0 |
| Jul 12 | 11.5 | Not measured | 0 |
| Jul 19 | 10.5 (after a water change with Red Sea salt) | Not measured | 0 |
Looking at the measurements, PO4 kept falling and eventually reached 0.
NO3 did not change much, while KH showed the biggest variation.
I had read that the recommended normal range for KH was 8–10, but mine had stayed much higher than that range.
Until now, I had thought of NO3 and PO4 simply as numbers that create algae. I assumed lower was always better because higher levels meant more algae and a dirtier tank.
But when I looked into it, I found that both are nutrients used by corals, their symbiotic algae, and microorganisms. Too much can be a problem, but starving the tank completely is not a good state either.
In this tank, it looked less like NO3 had completely bottomed out and more like PO4 was relatively deficient.
KH is related to the water’s buffering capacity against sudden changes in acidity and to the process by which corals build their skeletons. That does not mean high KH is always bad.
In my tank, KH stayed high while PO4 was barely detectable, and there were also changes before and after water changes. I suspect this combination may have been one of several factors that put stress on the corals.
What I changed
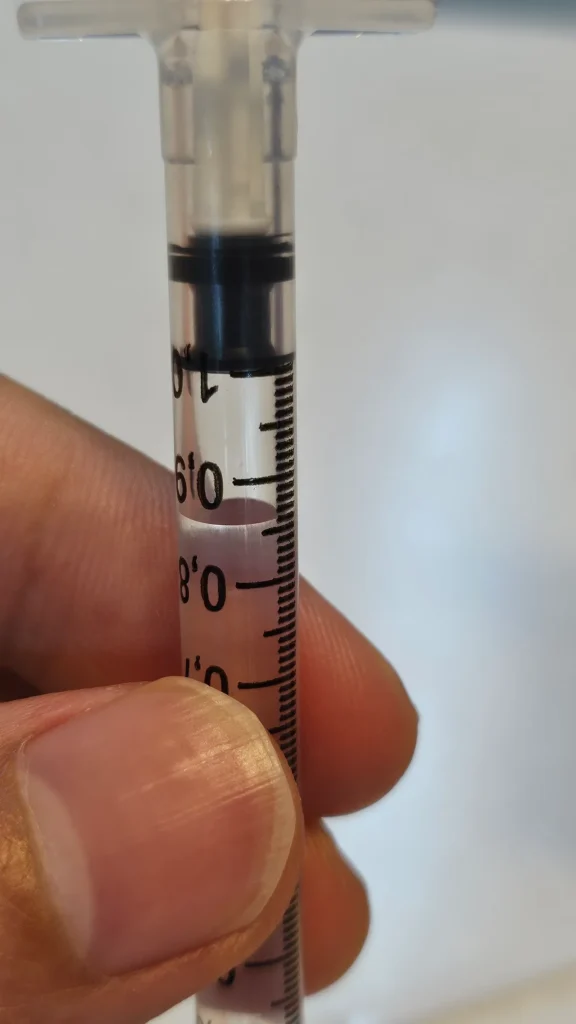
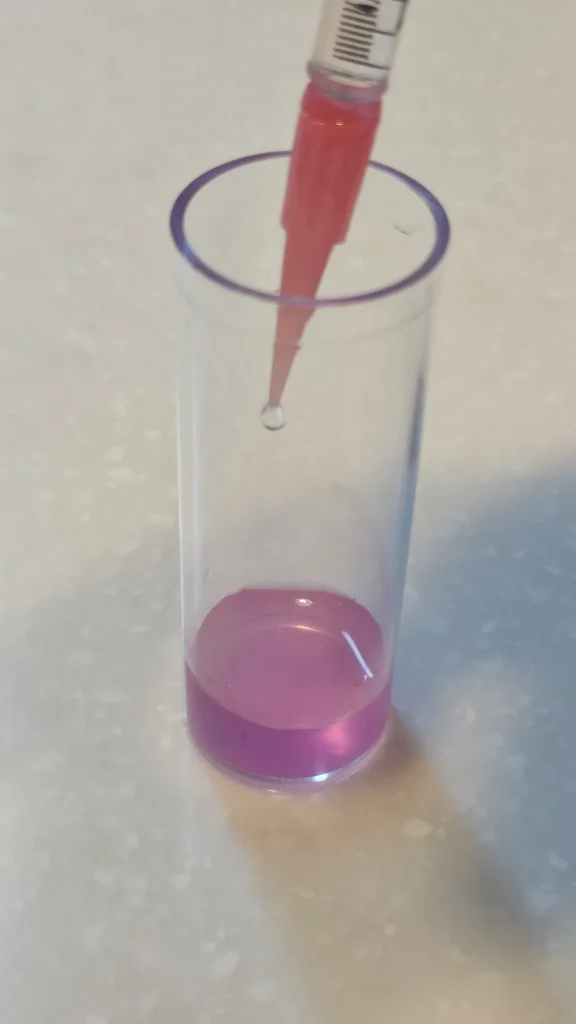
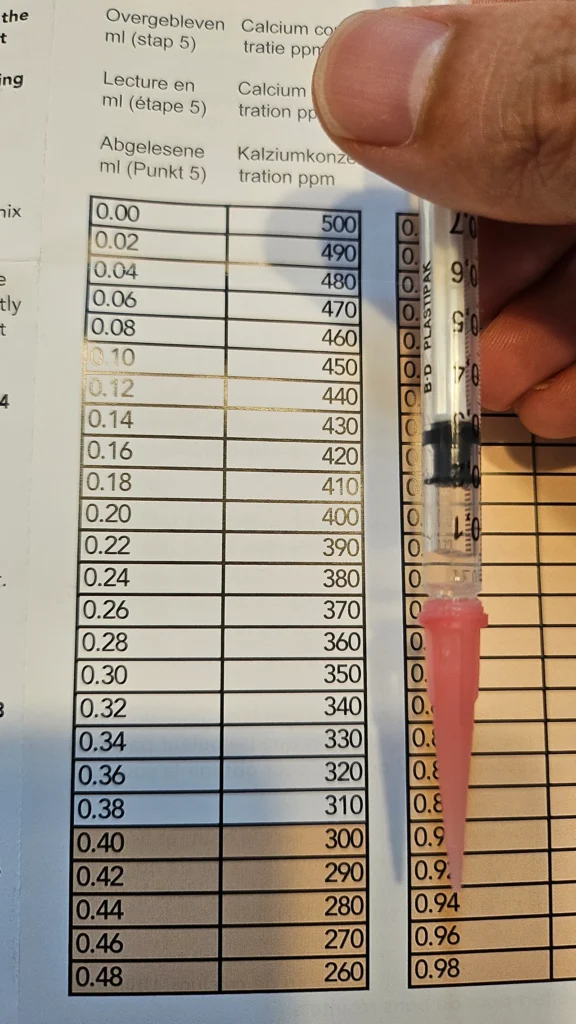
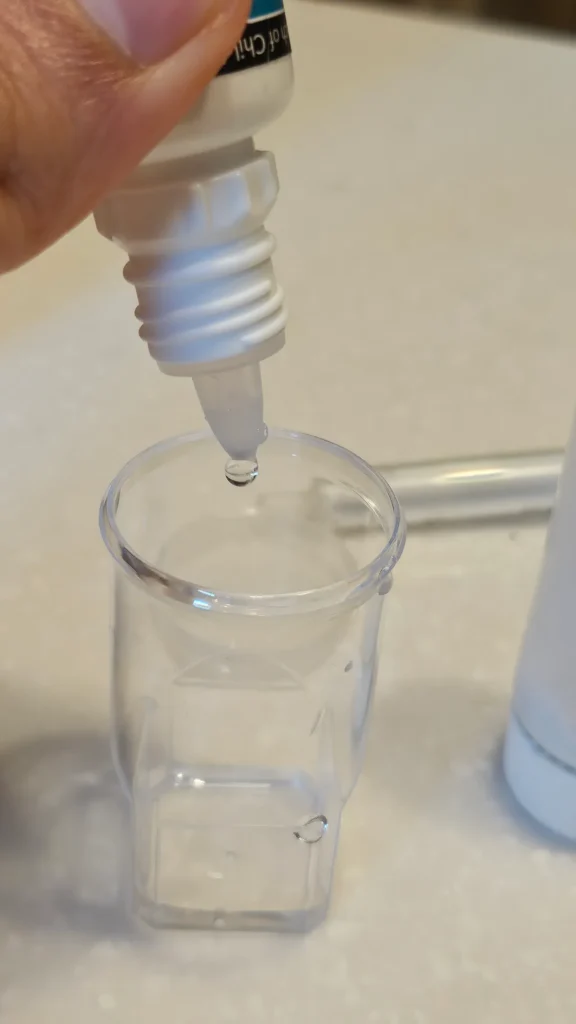
Dosing PO4 with NeoPhos
After setting up the tank, I had been adding a few drops of MicroBacter7 every day.
When I first set up the tank, I was told to keep adding two or three drops a day, so I continued. It turned out that it can reduce nitrate and phosphate.
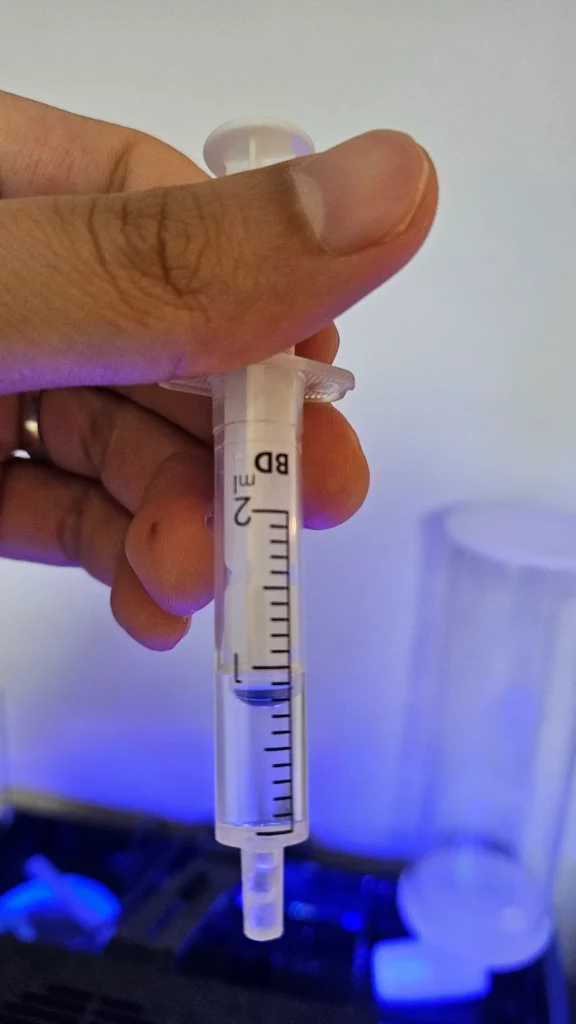
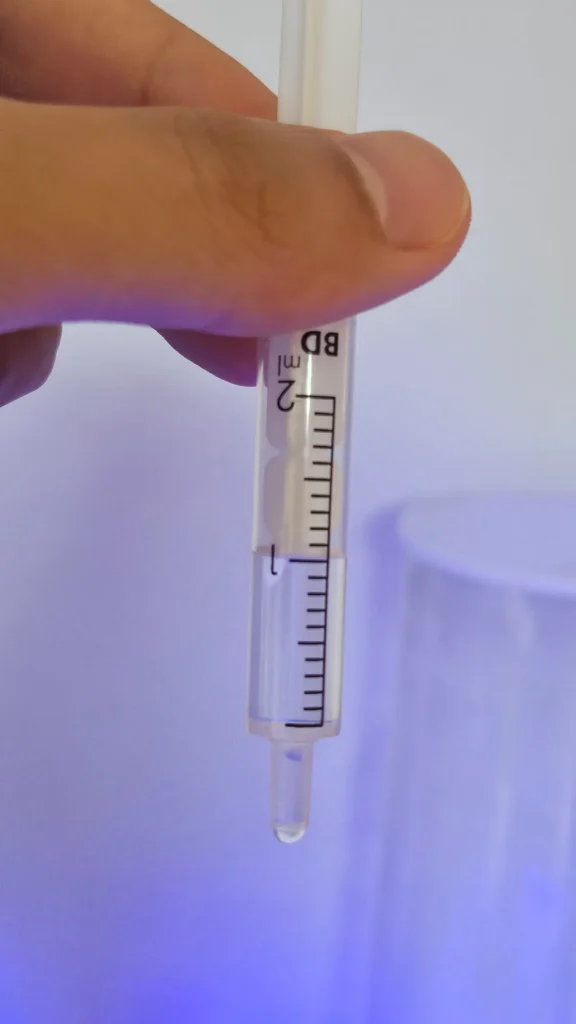
Could the product have been continuously breaking down PO4? I wondered about that, so I bought NeoPhos to replenish only PO4 and added ten drops at a time.
I added it for a week. Three or four days after I started, the leather coral, which had not extended a single polyp, began to extend them. After about a week, the leather had completely returned to its original condition!
The torch coral seemed a little better, but the effect was not as clear as it was with the leather.
Adding activated carbon
I also added activated carbon around the time I began supplementing PO4.
Whenever I searched, I found that leather corals can release chemicals that affect other corals, and that activated carbon can also help remove other substances that build up in a tank.
Since I run my tank without a skimmer, I have treated activated carbon almost like a good-luck charm whenever a major problem appeared. This time, I added it too.
I added PO4 and activated carbon around the same time, and as I mentioned above, the leather coral recovered well afterward.
Still, I also applied the PO4 dosing, activated carbon, and temperature controller around the same period, so I do not yet know which measure had a direct effect.
A cooling/heating temperature controller
I mentioned the temperature swings earlier. After searching, I found that a cooling/heating temperature controller could improve the situation.
When the temperature falls below the set point, it supplies power to the heater and cuts power to the cooling fan.
When the temperature rises above the set point, it cuts power to the heater and supplies power to the cooling fan.
I set it to keep the water at a steady 25°C. By the time I set up the controller, the leather had recovered to its previous condition, while the torch had not, so I will have to watch how the torch progresses.
The leather recovered, but the torch is still not there
After taking several measures, the leather completely recovered and returned to how it looked before.
The torch is a little ambiguous. Some days it looks better, and on other days its polyps look smaller than usual. It is frustrating….
I have taken a breath, and I think I need to keep the measures above consistent and watch the torch for a while longer.
This time, I really felt how important it is to keep measuring the water parameters consistently.
When my bubble coral, glove polyp, and fish died before, I was not measuring the water parameters, so I had no way to know what the problem was.
This time, fortunately, I had water data, so I was able to take the measures I needed. I am really glad about that.
Saltwater is really not easy.