Blog

  • When Torch and Leather Corals Finally Opened Again in a Nutrient-Poor Tank

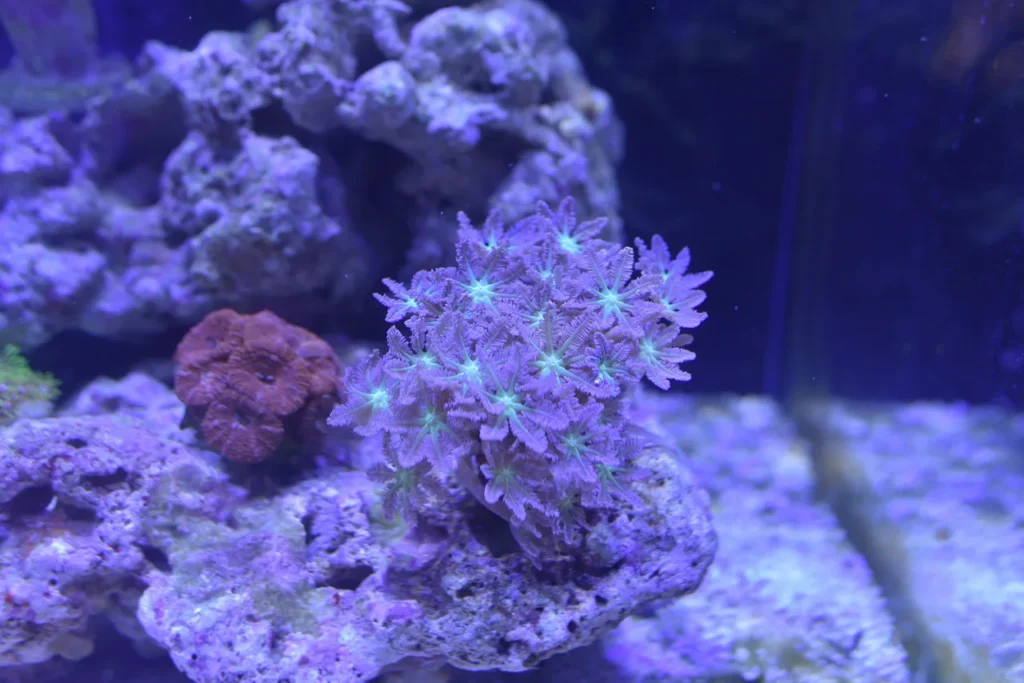
    One day, all of a sudden, my star polyps and acan coral looked fine, but…

    The polyps on my torch coral gradually became smaller, the mouth in the center became visible, and the body of my leather coral grew thinner until its polyps stopped coming out altogether.

    I had already lost a bubble coral and a glove polyp before, even though the other corals were fine. They had slowly declined until they died, so seeing this happen again was really upsetting.

    There was no obvious tissue necrosis or serious problem like brown jelly, but these were corals that had never caused me trouble before. Their less-than-full appearance kept bothering me.

    What I suspected

    The clownfish

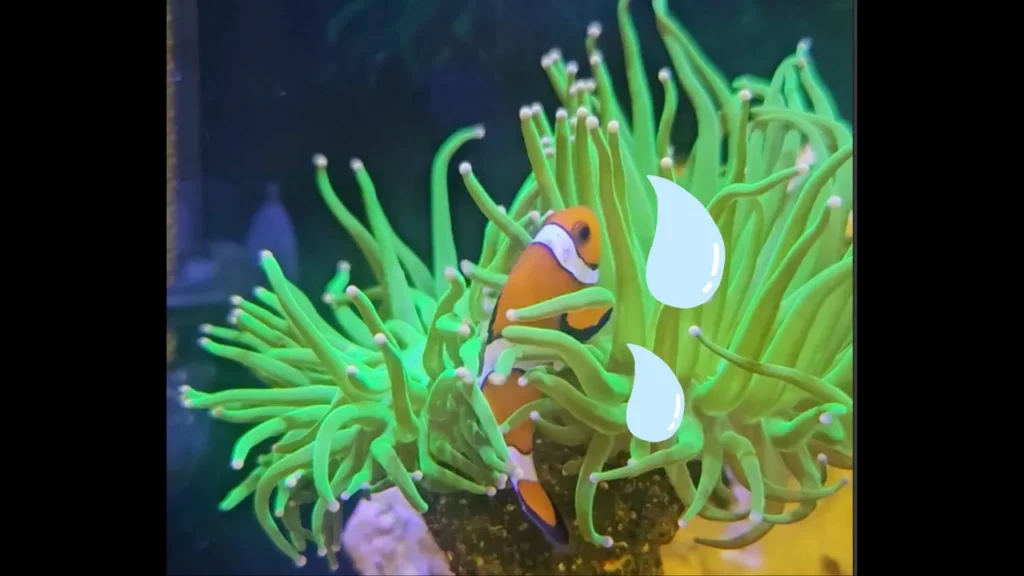
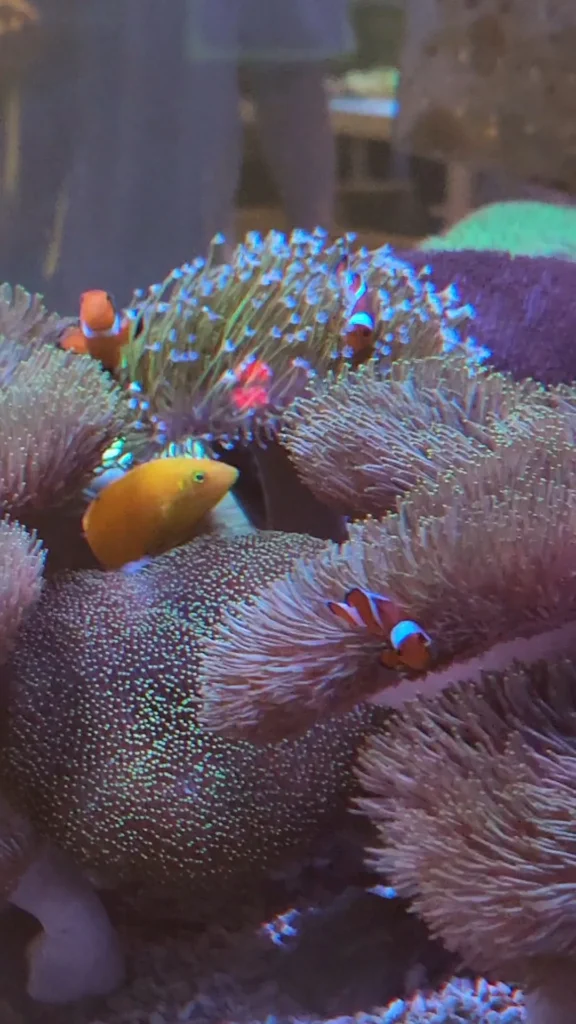
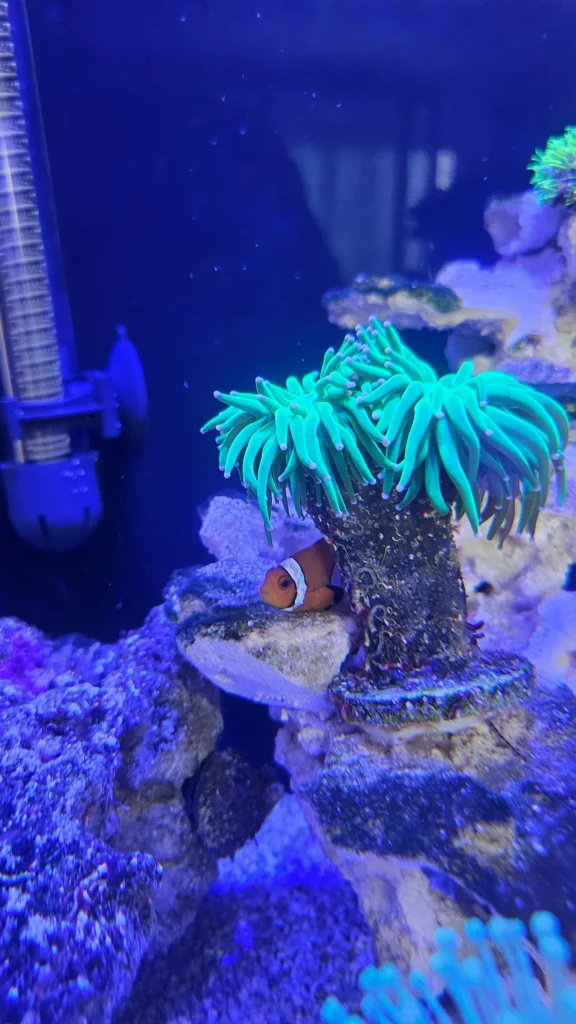
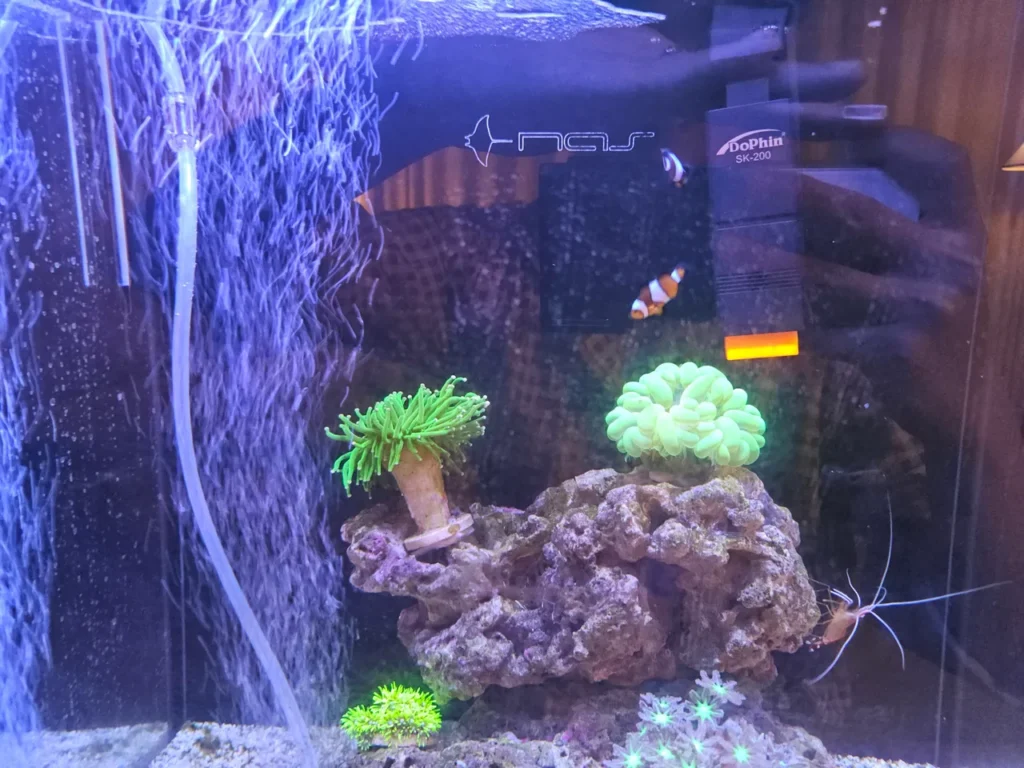
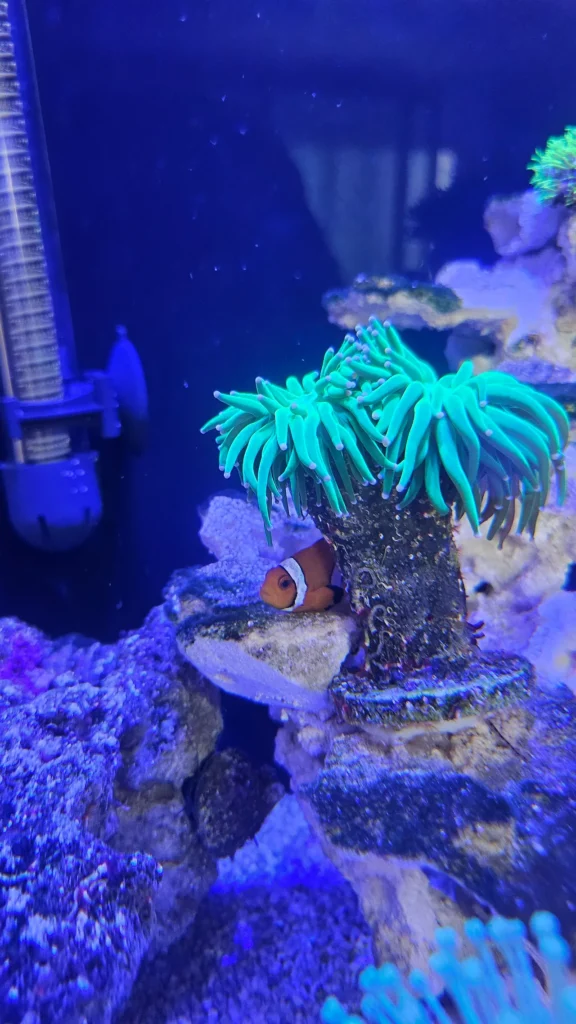
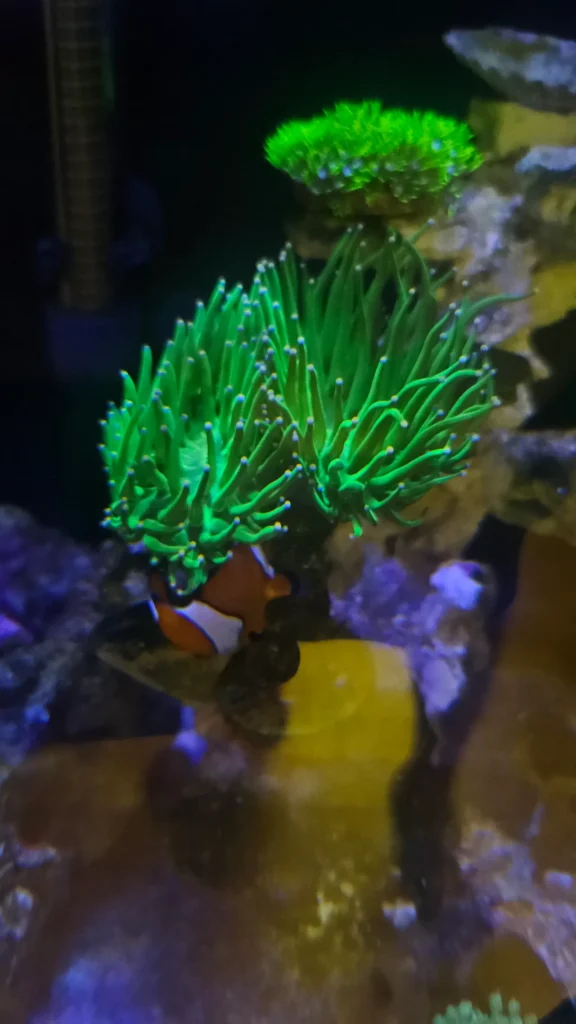
    The first thing I thought about was my clownfish. Nemo has rubbed his body against the torch every time I look at the tank for more than a year.

    Still, he had been doing the same thing for more than a year, while the coral had gotten worse rapidly over the past few weeks. It was hard to blame Nemo alone. The leather coral, after all, is a coral he never rubs against.

    Temperature swings

    Summer water temperature was another concern. When I measured the water after getting home from work, it had reached 27°C on hot days, so I added a cooling fan.

    With the cooling fan running, the temperature kept dropping. When the air conditioner, a fan, and the cooling fan were all running in the evening, it could fall as low as 22°C.

    In winter, the heater keeps the temperature stable by running whenever it falls below the set point. But I had no device that would turn the heater on when the temperature dropped, so the swings had recently become more severe.

    High KH/Alk and very low PO4

    I started by looking back at the readings I had taken with my Salifert test kits.

    Then I kept thinking about the high KH, the changes after water changes, the low PO4 readings, the MicroBacter7 I had been adding every day, the organic matter that may have built up in a tank without a skimmer, and the possibility of chemical irritation or disease between the corals.

    Water parameters

    Thinking about it based only on intuition felt like going around in circles, so I gathered the measurements I had taken so far.

    DateKHNO3PO4
    Apr 1712.8–13.1About 15About 0.06
    Apr 2610.9–11.210–150.4 in the record
    May 1010.1About 10About 0.015
    Jun 2810.910–250–0.03
    Jul 712.85–100–0.03
    Jul 912.1Not measured0–0.03
    Jul 1111.5Not measured0
    Jul 1211.5Not measured0
    Jul 1910.5
    (after a water change with Red Sea salt)
    Not measured0
    Units: KH is dKH, and NO3 and PO4 are ppm. Ca records were about 450–480 ppm on Apr 17, about 440 ppm on Apr 26, and about 400 ppm on May 10.

    Looking at the measurements, PO4 kept falling and eventually reached 0.
    NO3 did not change much, while KH showed the biggest variation.

    I had read that the recommended normal range for KH was 8–10, but mine had stayed much higher than that range.

    Until now, I had thought of NO3 and PO4 simply as numbers that create algae. I assumed lower was always better because higher levels meant more algae and a dirtier tank.

    But when I looked into it, I found that both are nutrients used by corals, their symbiotic algae, and microorganisms. Too much can be a problem, but starving the tank completely is not a good state either.

    In this tank, it looked less like NO3 had completely bottomed out and more like PO4 was relatively deficient.

    KH is related to the water’s buffering capacity against sudden changes in acidity and to the process by which corals build their skeletons. That does not mean high KH is always bad.

    In my tank, KH stayed high while PO4 was barely detectable, and there were also changes before and after water changes. I suspect this combination may have been one of several factors that put stress on the corals.

    What I changed

    Dosing PO4 with NeoPhos

    After setting up the tank, I had been adding a few drops of MicroBacter7 every day.

    When I first set up the tank, I was told to keep adding two or three drops a day, so I continued. It turned out that it can reduce nitrate and phosphate.

    Could the product have been continuously breaking down PO4? I wondered about that, so I bought NeoPhos to replenish only PO4 and added ten drops at a time.

    I added it for a week. Three or four days after I started, the leather coral, which had not extended a single polyp, began to extend them. After about a week, the leather had completely returned to its original condition!

    The torch coral seemed a little better, but the effect was not as clear as it was with the leather.

    Adding activated carbon

    I also added activated carbon around the time I began supplementing PO4.

    Whenever I searched, I found that leather corals can release chemicals that affect other corals, and that activated carbon can also help remove other substances that build up in a tank.

    Since I run my tank without a skimmer, I have treated activated carbon almost like a good-luck charm whenever a major problem appeared. This time, I added it too.

    I added PO4 and activated carbon around the same time, and as I mentioned above, the leather coral recovered well afterward.

    Still, I also applied the PO4 dosing, activated carbon, and temperature controller around the same period, so I do not yet know which measure had a direct effect.

    A cooling/heating temperature controller

    I mentioned the temperature swings earlier. After searching, I found that a cooling/heating temperature controller could improve the situation.

    When the temperature falls below the set point, it supplies power to the heater and cuts power to the cooling fan.

    When the temperature rises above the set point, it cuts power to the heater and supplies power to the cooling fan.

    I set it to keep the water at a steady 25°C. By the time I set up the controller, the leather had recovered to its previous condition, while the torch had not, so I will have to watch how the torch progresses.

    The leather recovered, but the torch is still not there

    After taking several measures, the leather completely recovered and returned to how it looked before.

    The torch is a little ambiguous. Some days it looks better, and on other days its polyps look smaller than usual. It is frustrating….

    I have taken a breath, and I think I need to keep the measures above consistent and watch the torch for a while longer.

    This time, I really felt how important it is to keep measuring the water parameters consistently.

    When my bubble coral, glove polyp, and fish died before, I was not measuring the water parameters, so I had no way to know what the problem was.

    This time, fortunately, I had water data, so I was able to take the measures I needed. I am really glad about that.

    Saltwater is really not easy.
  • The Torch Coral Is Shrinking

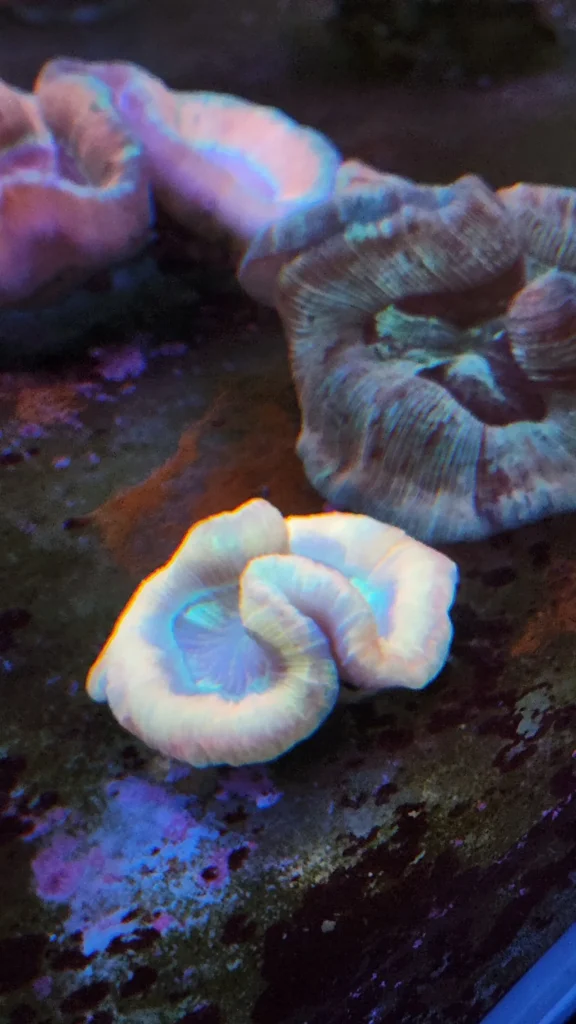
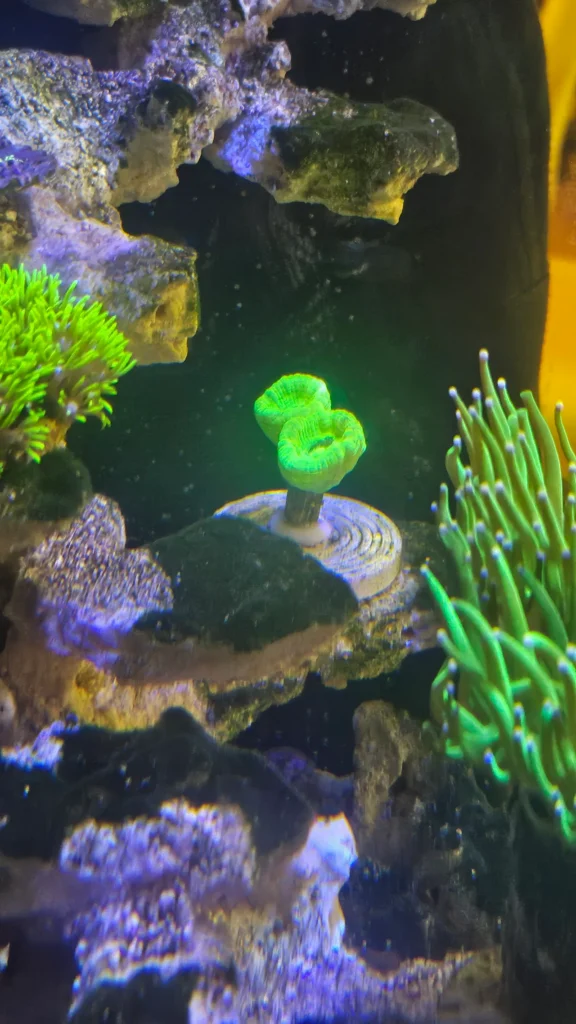
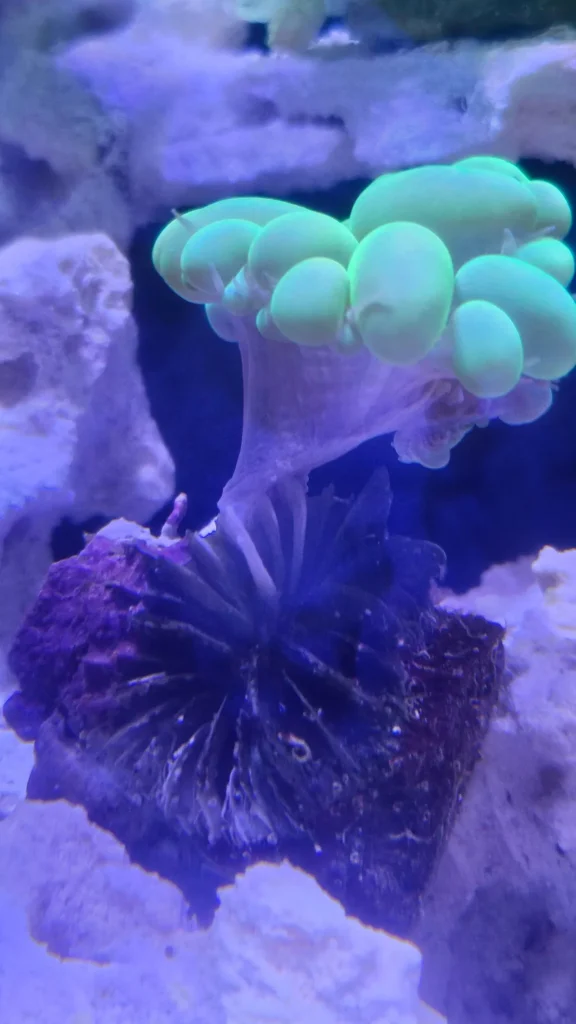
    A torch coral with shrunken polyps and its mouth clearly visible

    My once fluffy torch coral is starting to look bald.

    Maybe the clownfish has been rubbing against it too much?

    The clownfish I keep now, Jamo, really loves this torch coral.

    The other captive-bred clownfish I had before did not care about corals at all.

    When people talk about clownfish in reef tank communities or YouTube comments, I think most people picture them rubbing against an anemone. We did too.

    But the captive-bred clownfish I had did not show any interest in corals.

    So I had mostly given up on that idea. Then I saw the wild-caught clownfish rubbing against the torch coral for the first time, and I was honestly really happy.

    Since the first time I noticed it, Jamo has been rubbing against the torch almost every time I look at the tank.

    Jamo the clownfish rubbing against the torch coral

    But about two weeks ago, the torch coral’s polyps started getting smaller like in the photo, and the mouth area became much easier to see.

    I wondered if the temperature had gone up because it is summer, but it was 26 degrees Celsius, which is the same as usual.

    Other corals like the acan, leather coral, and green star polyps are actually growing quickly, and they have looked even more active over the last two weeks.

    I am also still doing a water change once a week.

    The water parameters I checked today were:

    • Kh/alk: 10.9
    • Po4: 0
    • No3: 0.25

    Po4 is the phosphate reading. For corals, too much phosphate can lead to algae and water quality problems, but keeping it near zero for too long does not seem ideal either.

    LPS corals like torch corals still seem to need a small amount of nutrients in the water to stay fully inflated. When Po4 reads zero, the tissue can look pulled in, and the mouth in the center can stand out more. So this time I am not only looking at Jamo rubbing against the coral. I also think the low Po4 may be related to why the torch coral’s mouth is showing. Of course, I cannot blame Po4 alone. The relatively high Kh, low No3, MicroBacter7, and limited feeding probably need to be looked at together.

    After looking at those numbers and talking through the tank’s current condition with GPT, one suspicious point came up.

    That was the MicroBacter7 I had been adding steadily, five drops every day.

    Because this tank does not have a skimmer, I have been limiting feeding as much as possible and adding MicroBacter7 consistently.

    I had been thinking of it as a bacterial supplement that helps break down organics, but that process may also help keep the tank’s Po4 level low.

    Brightwell NeoPhos ordered to raise Po4 slowly in the reef tank

    I am going to use Brightwell NeoPhos to raise Po4 very slowly and watch how the torch coral responds.

    If Po4 gets too high, I will probably have to fight algae again. Saltwater tanks really are not easy.
  • A Green Dot Next to the Star Polyps

    “What is that green dot?”

    When I look around the tank, I see plenty of algae, floating bits, and things I can’t quite identify. Most of the time, the trochus snails or peppermint shrimp clean them up pretty quickly.

    This time, there was a green dot on one side of a clam shell, so I just thought it might be a slightly brighter bit of algae.

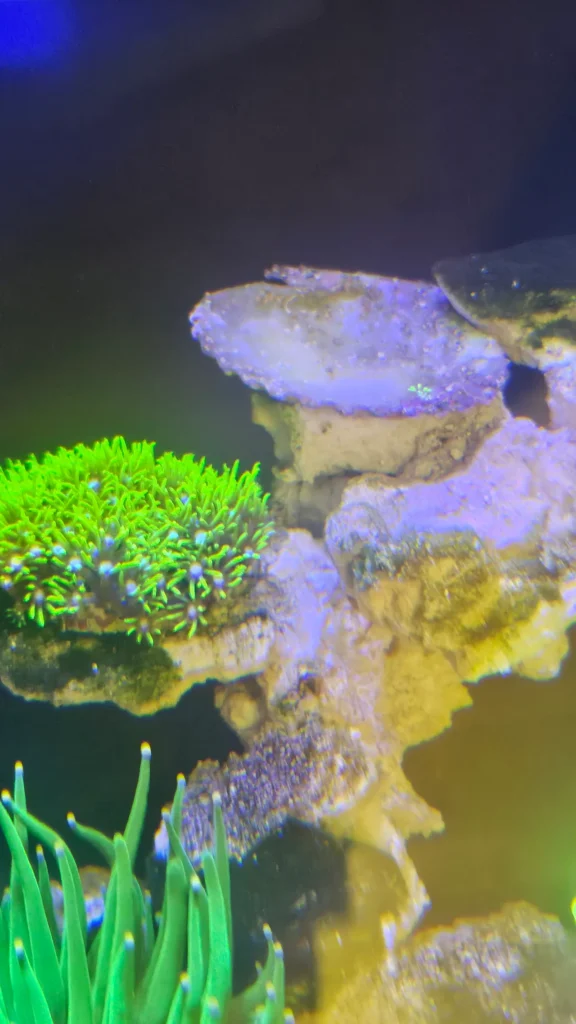
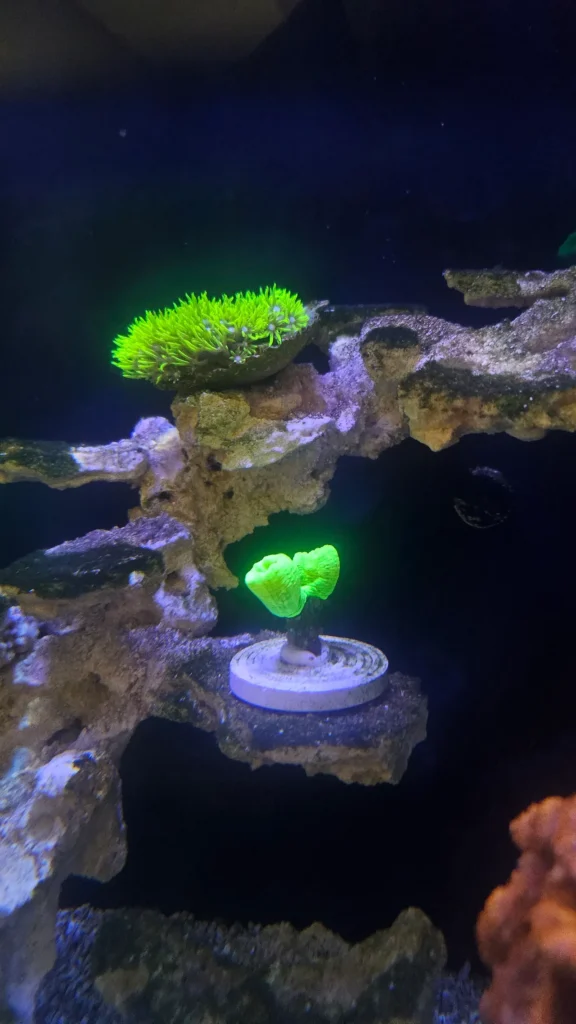
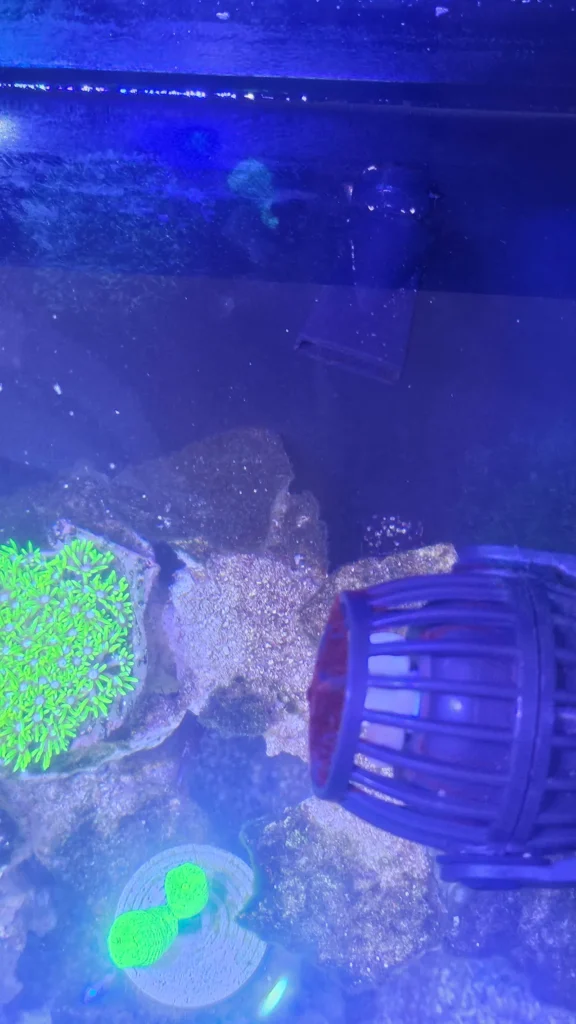
    Star polyps and a torch coral are visible, with a clam shell to the right of the star polyps and a small green dot inside it.

    But when I looked more closely, one tiny strand of star polyps was moving!

    I had left the star polyps on top of the clam shell for about a month, and one strand had spread across the shell.

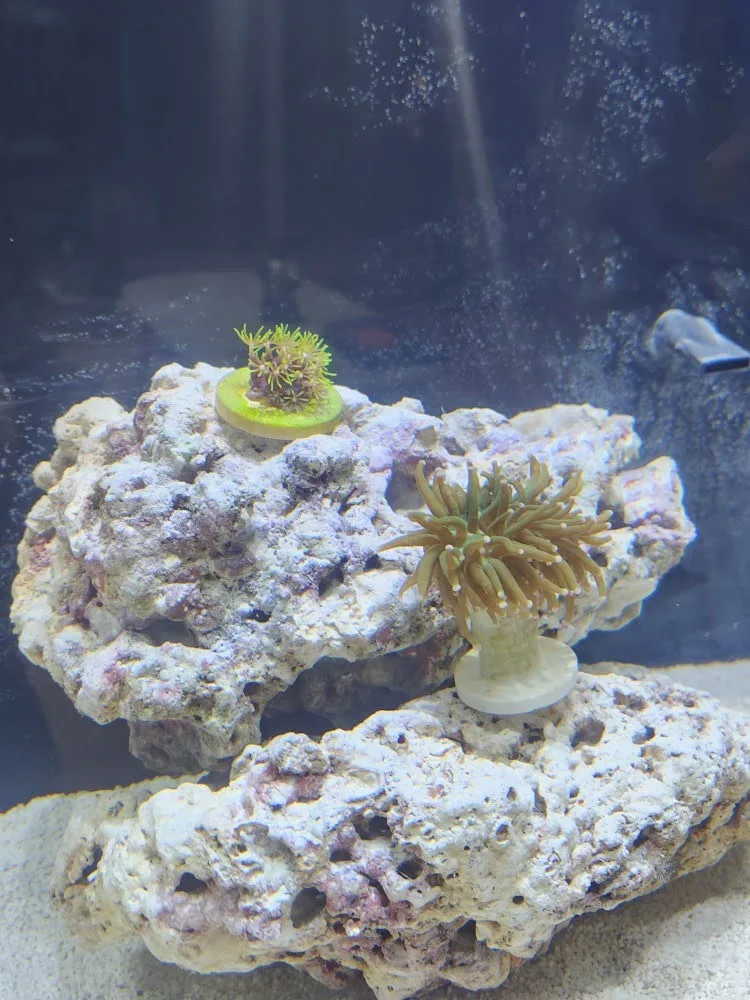
    Very small torch coral and star polyp coral frags from the early tank setup.

    When I first set up the tank, I started it with one very small torch coral and one star polyp coral.

    Star polyps, the coral that had been there from the very beginning of the tank, even before I added any fish.

    Seeing it cover the frag and stretch beyond the frag plug is honestly pretty fascinating.

    Maybe the clam shell is too light, but when I check the tank after waking up or after getting home from work, the shell is often sitting on the sand bed.

    I think the trochus snails probably push it around while wandering for food.

    A while ago, a crab used to hide inside the live rock and come out at night to shove all the corals around. Could this be happening again?

  • The Cheap, Easy-Looking Candy Cane Coral I Brought Home: Two Month Later

    “Sir, how much is this coral?”

    “It’s about $80.”

    “!”

    I quickly sorted out my feelings.

    When you keep a tank, there are a few big events. Bringing in new equipment is one, and changing the aquascape is another, but personally, bringing home new livestock feels like the biggest one.

    Usually I study quite a bit before bringing something home. I look up whether it can live with the livestock I already have, whether it fits my tank size, and whether the difficulty level is too much. Sometimes I spend more time thinking before buying than I do actually keeping it.

    But this candy cane coral was a little different. I had absolutely no plan to bring one home, and on the way to the aquarium shop I did not even know there was a coral called candy coral.

    What I mean is, to start with the conclusion, I brought it home because it looked like the cheapest and easiest option.

    The coral I was originally looking for was something else

    The reason I went to the aquarium shop that day was simple. My tank already had a lot of green and reddish corals, so I wanted to add a slightly different color.

    It had been a while since I visited an aquarium shop, and after only seeing the tiny corals growing at home, I got excited seeing large corals that had grown for a long time in a good setup. Then one white, jewel-like coral caught my eye.

    A white fluorescent-looking coral that caught my eye

    “Sir, how much is this one?”

    “It’s about $80.”

    “?!”

    I knew large corals were expensive, but since this one was small, I thought the price would be lighter. I was wrong.

    I gave up right away and started looking for another coral, then found one with a color I liked.

    A yellow Dragon-something coral with a distinctive yellow color

    “Then this one…?”

    “That one is about $2,000 ^^”

    The price was scary, but what was scarier was that the first coral, at about $80, was starting to look cheap.

    So I picked the candy cane coral

    That was when the candy cane coral came back into view.

    It was not a coral I had picked out from the beginning, and it was not a coral whose name I knew before going there.

    But at about $20, the price was easy to accept, and even though its color was still on the green side like the star polyps, torch, and leather corals I already had, I liked that it looked like a little tree.

    More than anything, the cute one was also cheap.

    I brought it home without really knowing what a candy cane coral was

    Honestly, even when I brought it home, I did not really know what kind of coral a candy cane coral was.

    It was just round, the color looked fine, and most of all, the price was less scary than the other corals. So I thought, “This seems good enough?” and brought it home.

    After I got home and looked it up, candy cane coral turned out to be an LPS coral. It has parts that look like round heads, and apparently when it is doing okay, the flesh puffs up nicely.

    If I went deep into the theory, I could probably explain more, but what I first felt was simple.

    It is cuter than I expected.

    A candy cane coral frag next to green star polyps

    It is not a coral that sways dramatically or has a huge presence, but once the lights come on and the flesh puffs up, I keep finding myself looking at it. Maybe because the heads are so round, it is a slightly different kind of fun to watch compared with the other corals.

    At first, I brought it home because it looked cheap and easy. But after watching it for about a month, I realized that “easy” did not mean I could pay less attention to it.
    If anything, because it was a coral I brought home without much pressure, I ended up looking at it more often. Is it a little puffier today? Is the color still the same? Is it too close to the coral next to it? I keep checking those little things for no real reason.

    After two months, it was more fun to watch than I expected

    The current view of the candy cane coral in my tank

    It is not a coral that waves around beautifully like a torch or leather coral, but after keeping it for a while, it has its own fun.

    The branch-like parts look a little different under the lighting, and inside the overall color of the tank, it feels like it fills an empty spot.

    At first, the price was what caught my eye.

    But bringing home a mini coral frag again after a while made me realize that even a little growth is noticeable, and that makes it fun to watch.

    Is it a little puffier than yesterday, is the color okay, is the spacing from the surrounding corals okay? When I look closely, the small differences show up, and that is pretty fun.

  • Why the Return Pump Flow Had Slowed Down

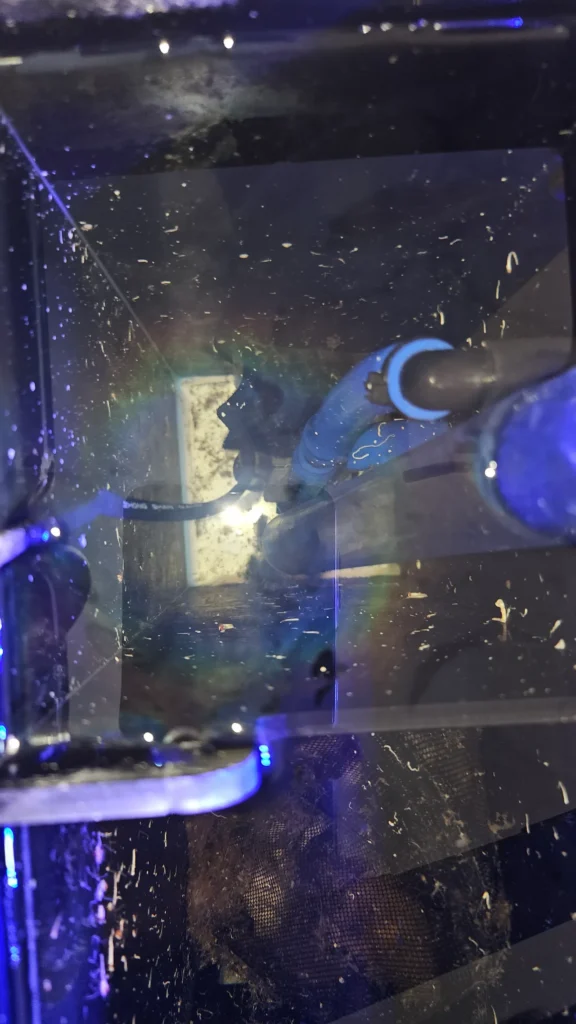
    Recently, I noticed that the return pump flow had become noticeably weaker than when the tank was first set up.

    At first, the water surface would still move even without the powerhead running.

    But whenever I turned the powerhead off for cleaning or a water change, that surface movement kept getting weaker. At this point, it barely moved at all.

    The tank surface showing very little movement with the powerhead turned off.

    I already had a powerhead in the tank, so part of me wondered if the basic water movement was still enough.

    During the water change, though, I looked at how quickly water was coming from the sump back into the display, and that changed my mind.

    This was not just a small drop in flow that I could ignore.

    The problem seemed to be on the return pump side.

    I am not especially handy, and the return pump I use is not an expensive piece of equipment, so at first I was thinking about just buying a new one.

    Still, I decided to at least try taking it out once.

    I could not say for sure why the flow had dropped, but I had solved a similar issue with a powerhead by cleaning it before. At minimum, the return pump needed to be checked and cleaned.

    The best timing seemed to be during a water change.

    Right when I worked up the nerve to pull the return pump out, I ran into a problem.

    The two outlets from the rear sump into the display, and the two parts that looked like pipes or hoses, did not come loose as easily as I expected.

    I did not want to force anything and break it, so I did not fully remove the pump this time.

    It was frustrating. I had finally decided to take the pump apart and clean it, but I got stuck at a part I had not expected.

    Was there another option? Was there at least a temporary way to improve the flow?

    If an internal part of the pump was broken, or if the broken part was something I could not disassemble, there would not be much I could do. But if debris or algae was blocking the intake, maybe cleaning that area would be enough.

    So I checked it right away.
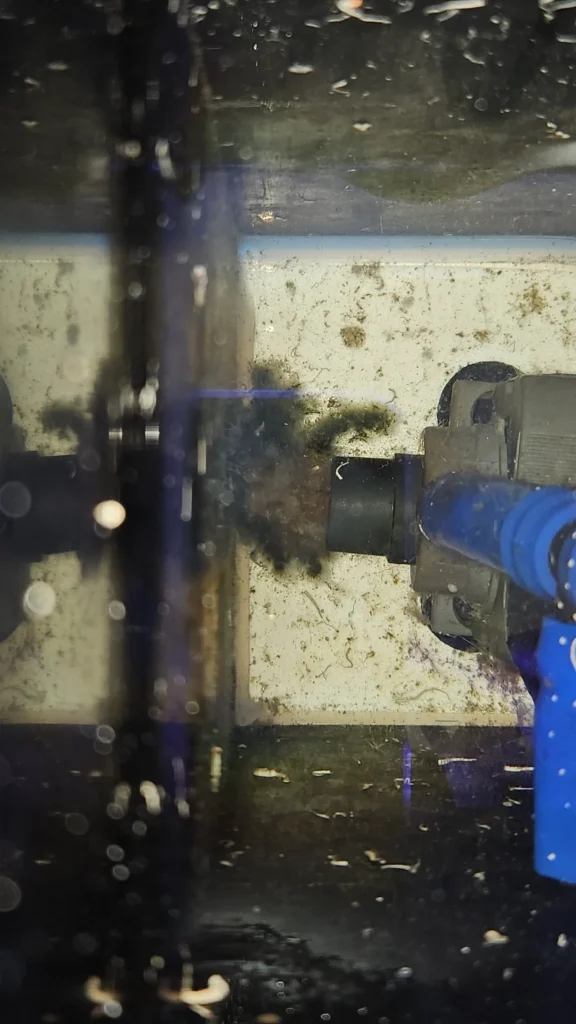
    That was a shock. Algae was covering the intake. The return chamber barely gets any light, so I still do not know how algae managed to grow that much there.
    Seeing that made me want to pull the whole pump out even more and clean it properly.

    But the outlets and piping were still too firmly attached, so I decided to leave the full disassembly for later.

    It was summer, but I was also worried that leaving the tank drained for too long could drop the water temperature and stress the livestock.

    For now, I did what I could.

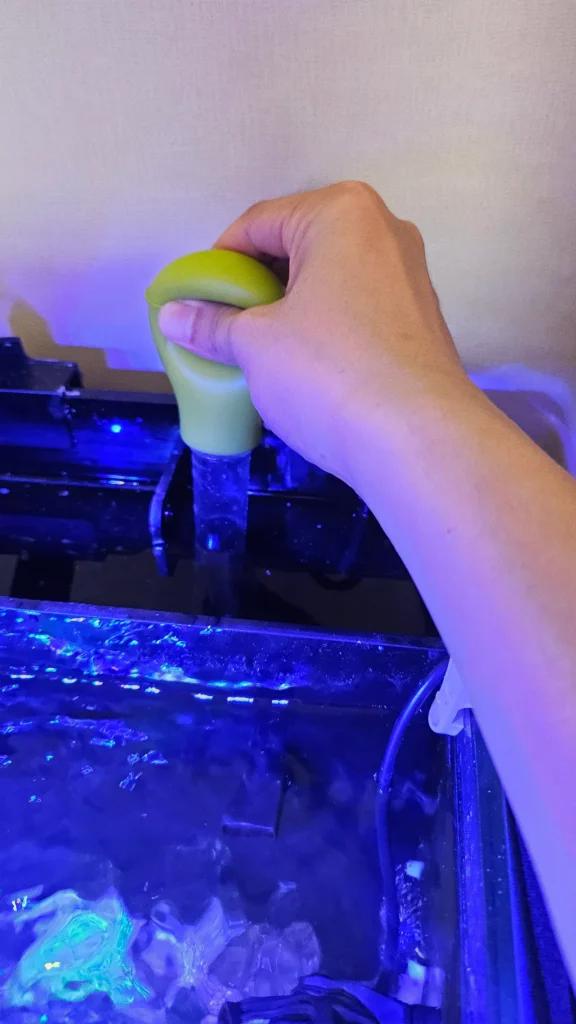
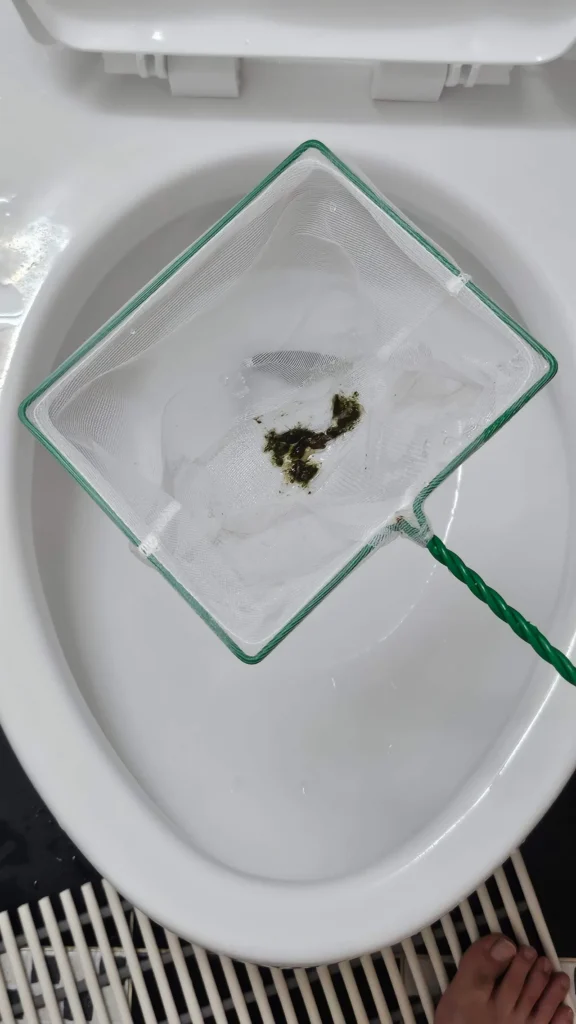
    Using a pipette, I pulled out some of the algae stuck around the return pump intake.

    I do not know exactly what kind of algae it was, but I could see material sitting around the intake, so I removed what I could reach.

    After that, the flow definitely felt like it had come back.

    Even without the powerhead, the water surface moved a little again, and the corals showed a bit of movement too.

    Still, when I put my hand near the outlet, it seemed weaker than it was at the original setup. I will probably need to fully remove the pump at some point.

    Algae already bothers me because of how it looks, and sometimes it even covers corals. After this, I disliked it even more.

    It even made me wonder if I should keep snails in the return chamber too.

    A clownfish hiding behind a torch coral during the water change.
    The clownfish, unaware of all this, hides behind the torch coral every time I do a water change.
  • Why I Started Measuring Water Parameters with a Salifert Test Kit


    The water looks clear, but why are there days when corals stay a little less open than usual, or livestock behave differently?

    While keeping a 45-cube reef tank, the most frustrating moments were probably when I couldn't figure out the cause of what was happening in the tank.

    Dealing with hitchhikers, deciding on a water change schedule, and dealing with algae growth are all difficult, but for me, the hardest part was the time when I had to guess at the reason corals or other livestock were doing poorly.

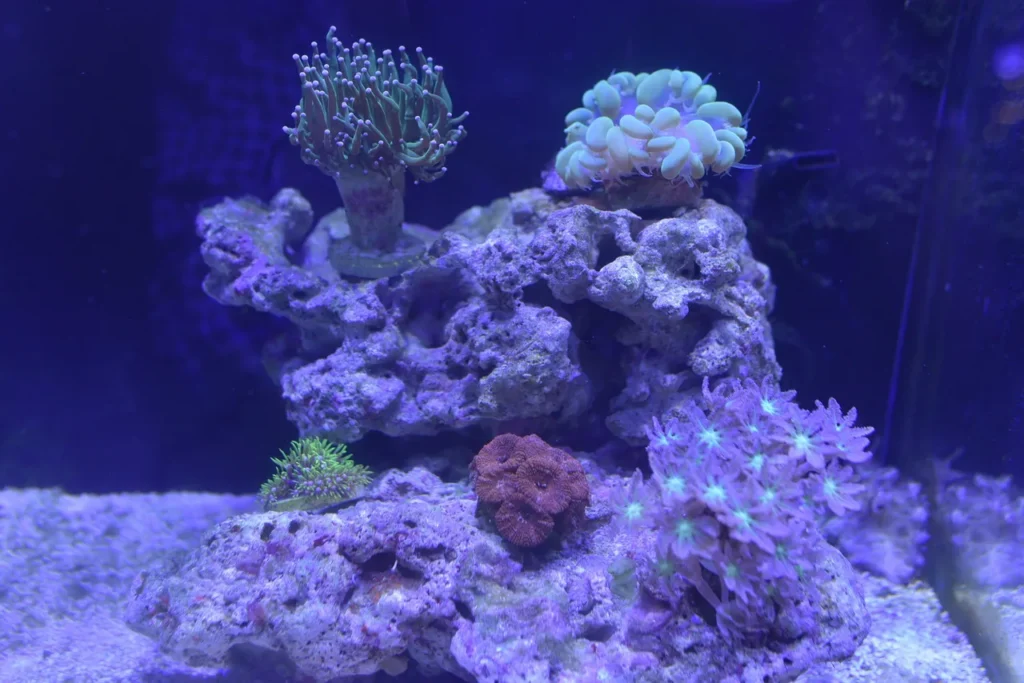
    A reef tank with torch coral, bubble coral, globe polyps, Acan coral, and star polyps.
    The tank back when the globe polyps and bubble coral were growing healthily.

    For about a year after starting the 45-cube tank, I was watching the tank's condition with my eyes and my gut. Temperature and salinity are relatively simple. They're easy to measure, and you can immediately understand why they matter without anyone explaining it to you.

    But I kept wondering whether the values people commonly call water parameters really needed to be measured at all. Each one needed its own test kit, and the testing methods looked more difficult than temperature or salinity, so I kept putting it off.

    Then something happened. I did a water change at the same time and in the same way as usual, but after the water change, white spots started appearing on the fish, the tips of the globe polyps that used to open fully no longer opened, and brown algae gradually started covering the globe polyps.

    I especially knew something was wrong when Nemo, who had been eating well and breathing normally, stopped eating and started breathing harder and harder.

    I searched online. Since I kept seeing people say to do a water change if something seemed wrong, I started doing a water change once a day, and thinking the corals might be lacking oxygen, I hurriedly bought an airstone and added bubbles too.

    A tank photo with the airstone running.

    With the airstone running and daily water changes, things seemed to improve a little. Then, when I looked at the tank after work with a nervous feeling, I saw a dead fish. Not long after that, the globe polyps died too.

    After that, the bubble coral, the yellow tang, and the coral I called the bouquet coral suddenly started doing poorly too, and then were gone.

    It was really painful. And I kept wondering what on earth was wrong. I had done the water change the way I usually did, so was the problem with the water change? Or was it something else?

    I remembered water testing, which I had felt wasn't really necessary. If I had tested the water, would I have been able to figure out what the problem was?

    I decided to start measuring the water. I wanted to figure out what absolutely needed to be checked in a tank where I keep corals and fish together, so from that point I looked a little more into individual parameters and decided to measure four high-priority ones.

    The four I decided to measure

    KH/Alk and Ca are closer to the side that helps corals build skeletons and stay stable. NO3 and PO4 are closer to the nutrient side connected to food, waste, filtration, and algae.

    Simply put, one is the flow corals use, and the other is the flow that stays in the tank and builds up there.

    • KH/Alk: alkalinity connected to pH buffering and coral skeleton formation
    • Ca: calcium that LPS and stony corals use to build calcium carbonate skeletons
    • NO3: nitrate left behind after food, waste, and biological filtration
    • PO4: phosphate connected to food, organic matter, and even the storage capacity of rock and sand

    I wrote up separate notes about actually running each test.

    • Salifert KH/Alk test instructions
    • Salifert Ca calcium test instructions
    • Salifert NO3 nitrate test instructions
    • Salifert PO4 phosphate test instructions

    KH/Alk: the buffering strength corals rely on

    The reason I looked at KH/Alk first was that I felt it was directly tied to coral response. KH is not pH itself, but alkalinity, which shows how well the water can resist shifts toward the acidic side.

    LPS like torch coral and Acan coral show water changes very clearly. When the polyps open less or the tissue looks shrunken, I can't say for sure that there's only one cause, but it is worth checking whether KH is swinging.

    When I first measured it, the value came out around 12.8 to 13.1 dKH, which was clearly higher than the commonly known 8 to 12 dKH range.

    Based on that value, I formed a hypothesis that the KH of the new water made for a 25% water change once a week was staying higher than what the corals were consuming, and that this repeated pattern was pushing the value up.

    After reducing the water change amount and testing for a month, the KH value actually moved into the normal range.

    Ca: the material corals use to build skeletons

    Ca is the main material in a coral skeleton. Even though LPS look fleshy and full, they still have a hard skeleton inside, and when they form new heads or thicken their skeleton, they use Ca and KH together.

    The most disappointing one was the bubble coral. The once-full bubble coral slowly separated between the skeleton and the polyp tissue over a very long period of time, until it finally separated completely. I think I might have made a better judgment if I had tracked that value.

    NO3: the residue left after processing food

    NO3 is nitrate left after food, waste, and dead organic matter go through bacterial processes.

    High NO3 doesn't immediately mean disaster, but if it stays high for a long time, it can be linked to increased algae growth or changes in coral color. On the other hand, it doesn't have to be zero either. Corals, symbiotic algae, and bacterial ecosystems also need some nitrogen source.

    PO4: a value that can affect both algae and coral growth

    PO4 is phosphate. People often associate it with algae, but phosphorus is also a nutrient needed for life.

    The problem is that the tank can become unstable whether it is too low or too high. If it's too low, the balance between corals and microbes can be disrupted, and if it's too high, it can be linked to glass algae, rock algae, and cyanobacteria.

    Moving from gut feeling to records

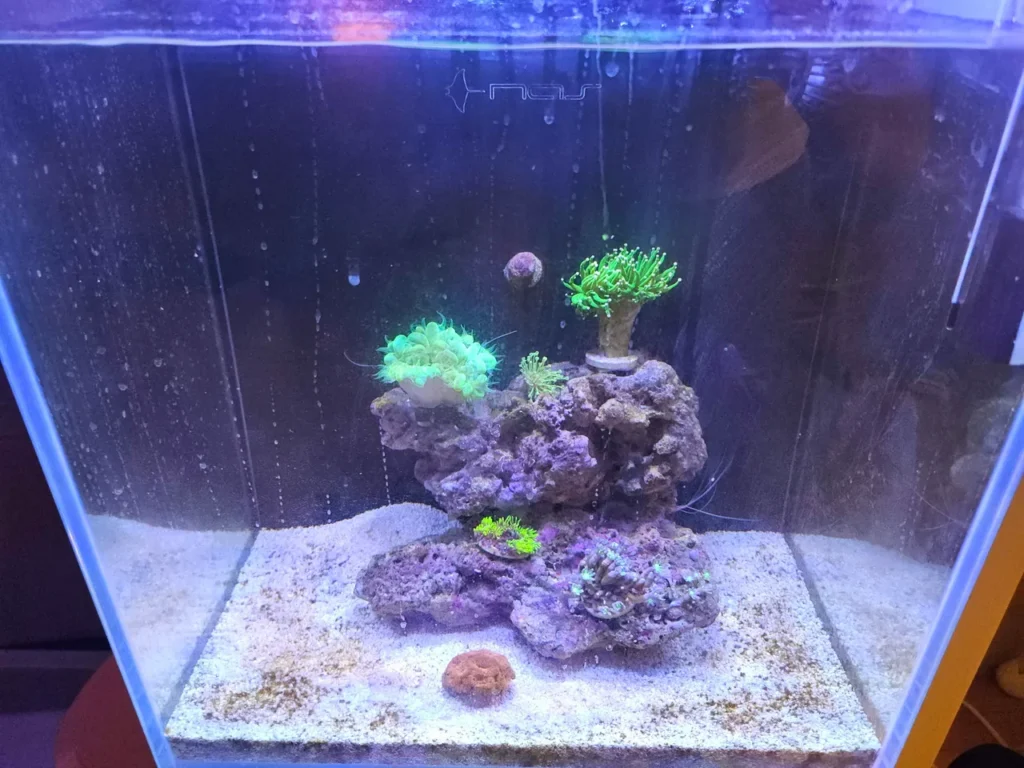
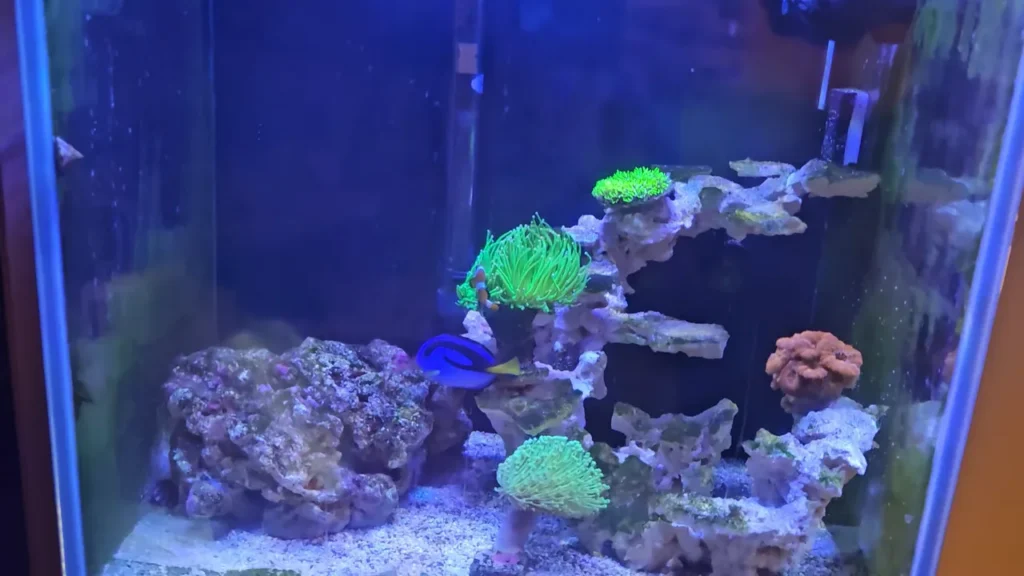
    A 45-cube tank with torch coral, star polyps, Acan coral, leather coral, Nemo, and a blue tang.

    Of course, not all symptoms that appeared in the livestock could have been found or prevented through testing.

    Still, it felt too frustrating to keep relying on gut feeling alone, and once I started measuring, at least I no longer looked at everything purely by instinct like before.

    I now had a reference point for seeing how the measured values were moving behind the visible changes, like whether the water looked clear, whether the corals were open, or whether algae was increasing.

    I hope the precious livestock grows better.

  • How to Use the Salifert Ca Calcium Test Kit

    I pulled out the Salifert Ca test kit to check the calcium level in the tank.

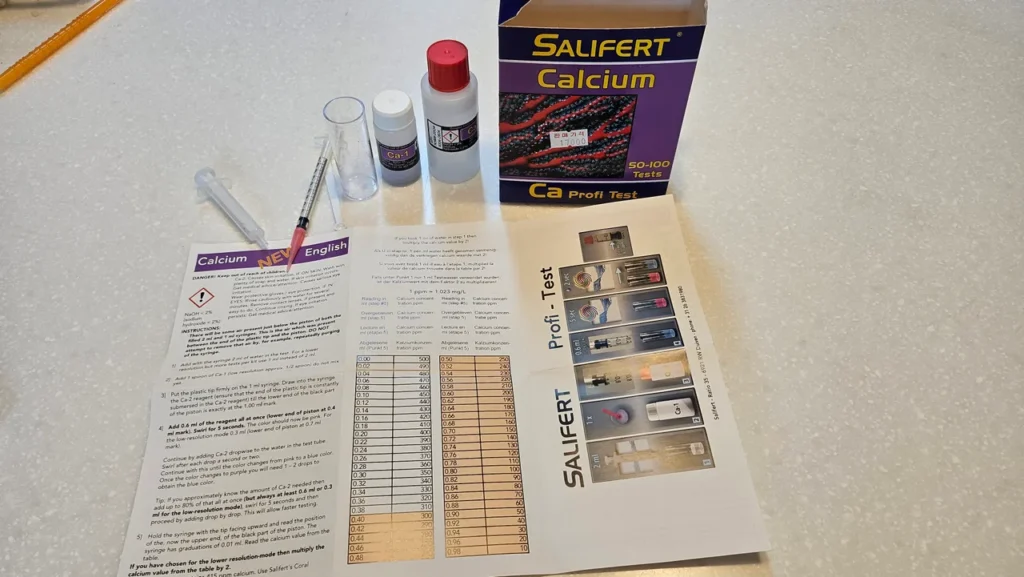
    The kit comes with a test vial, a 2 ml syringe, a 1 ml syringe, a plastic tip, the Ca-1 powder reagent, the Ca-2 liquid reagent, a special spoon, a chart, and the instructions.

    Salifert Ca test kit contents, instructions, vial, spoon, test solution, test powder, and syringes.

    Here is a quick summary of the testing steps.

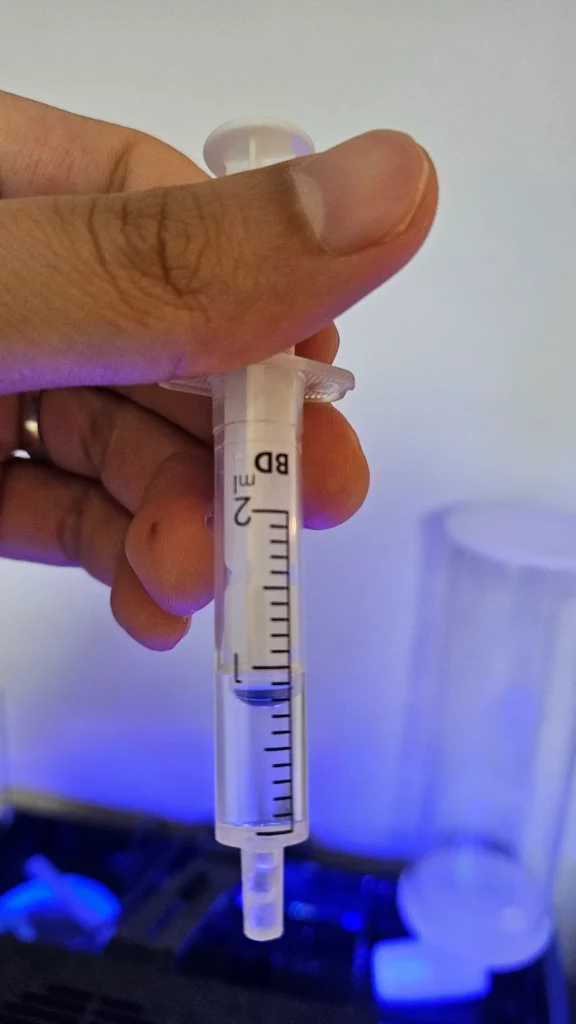
    1. Put 2 ml of tank water into the test vial.

    Draw 2 ml of water. Try to pull it up as cleanly as possible, with as little foam as possible.

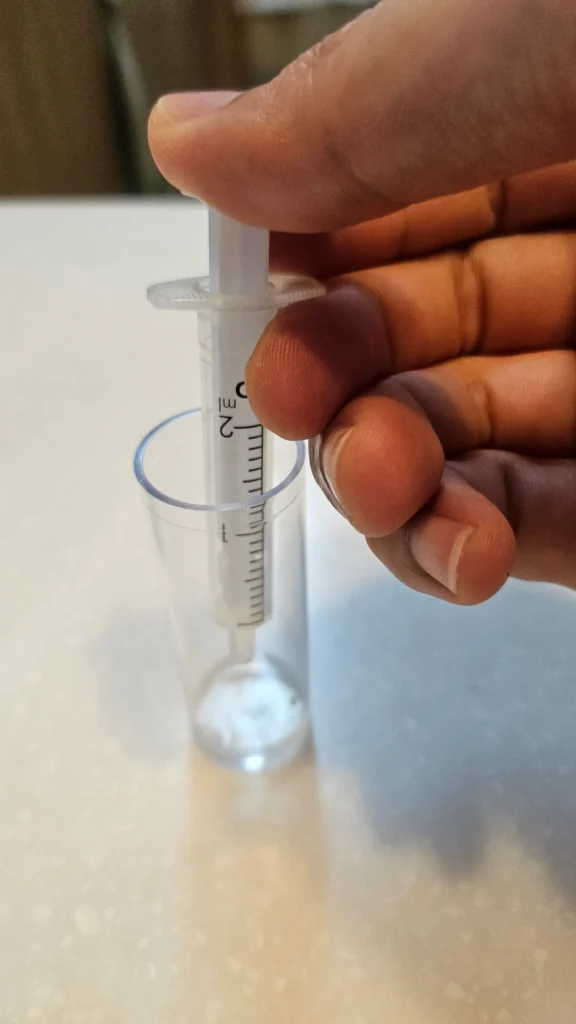
    When dispensing the water from the syringe into the vial, do it gently and slowly so it does not splash against the vial walls.

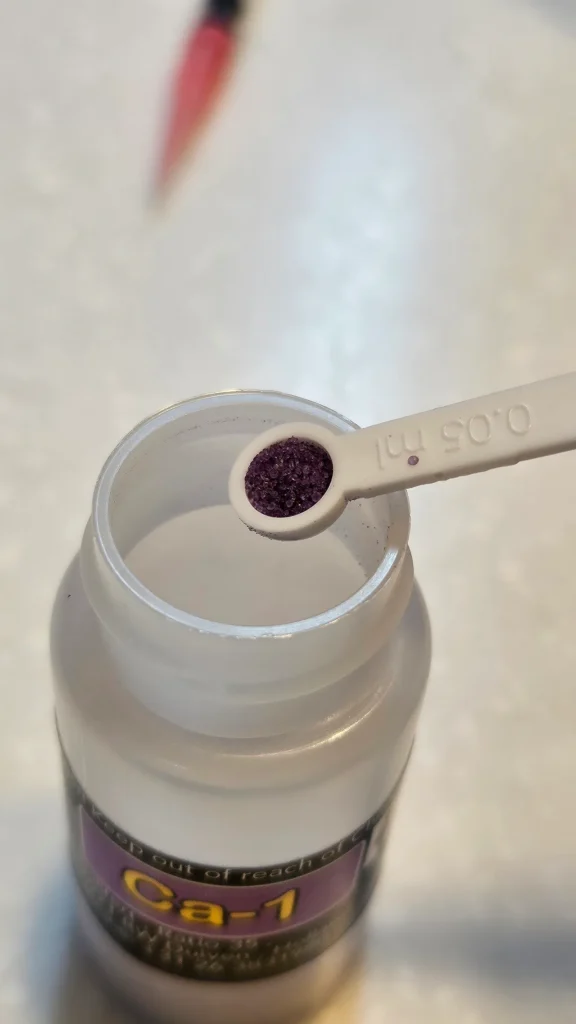
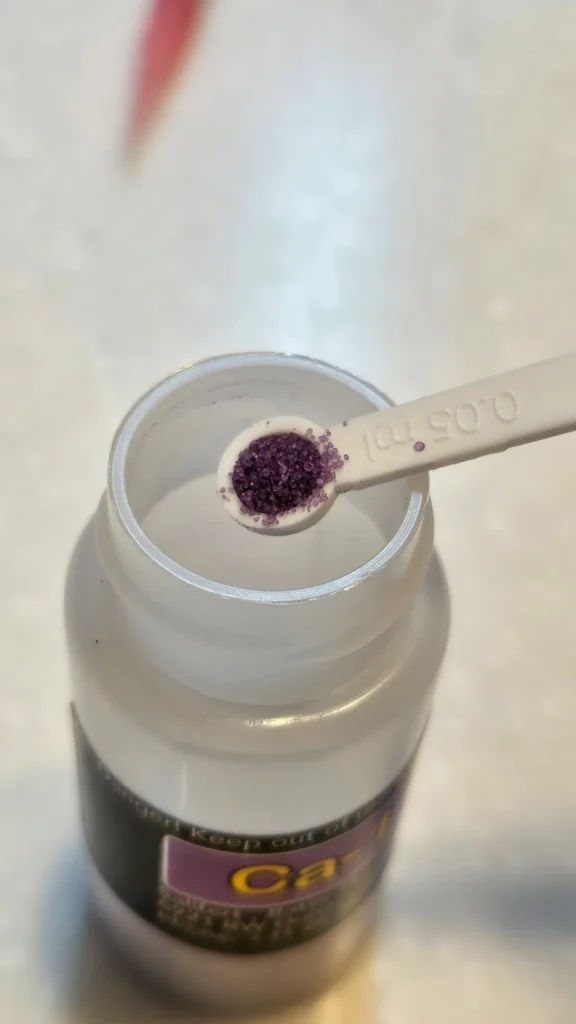
    2. Add one spoonful of the Ca-1 powder reagent with the special spoon.

    As with other test kits, fill the spoon generously first, then gently tap it with your finger so the spoon ends up full.

    3. Gently mix the vial for about 5 seconds.

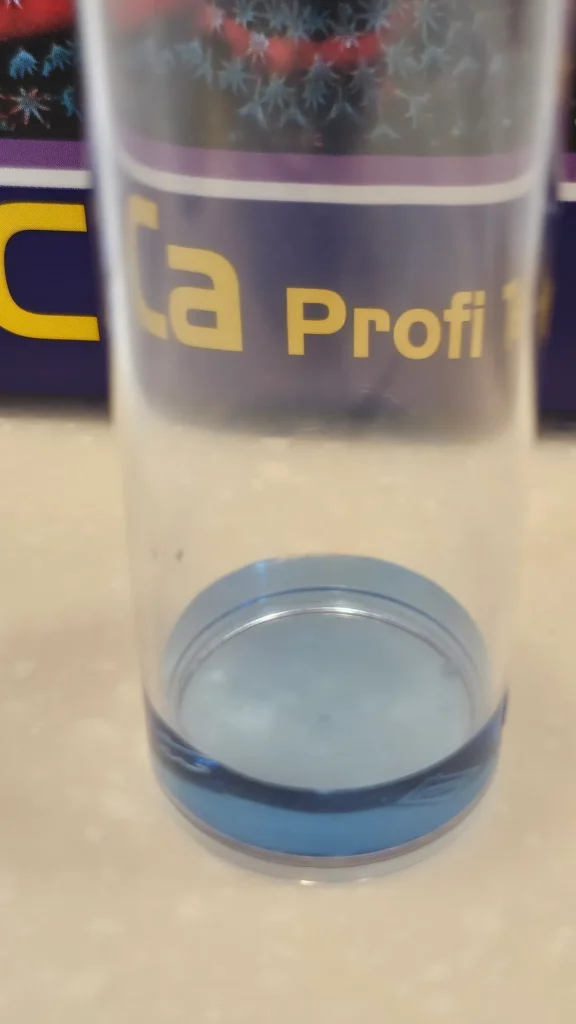
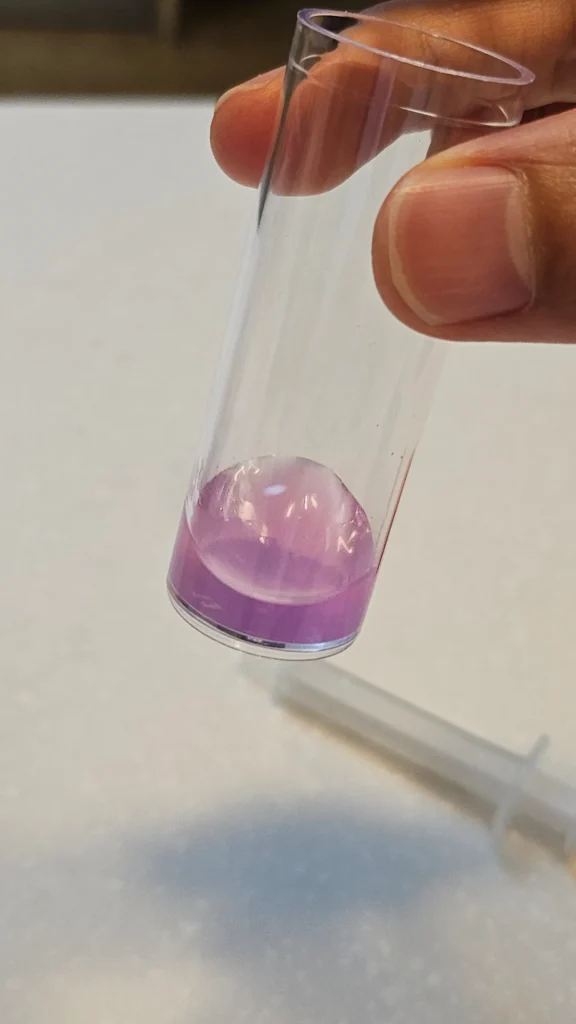
    The color after adding and mixing the Ca-1 powder.

    The instructions do not specifically say to mix, but if you do not, the Ca-1 powder remains in the water, so I gave it a quick mix.

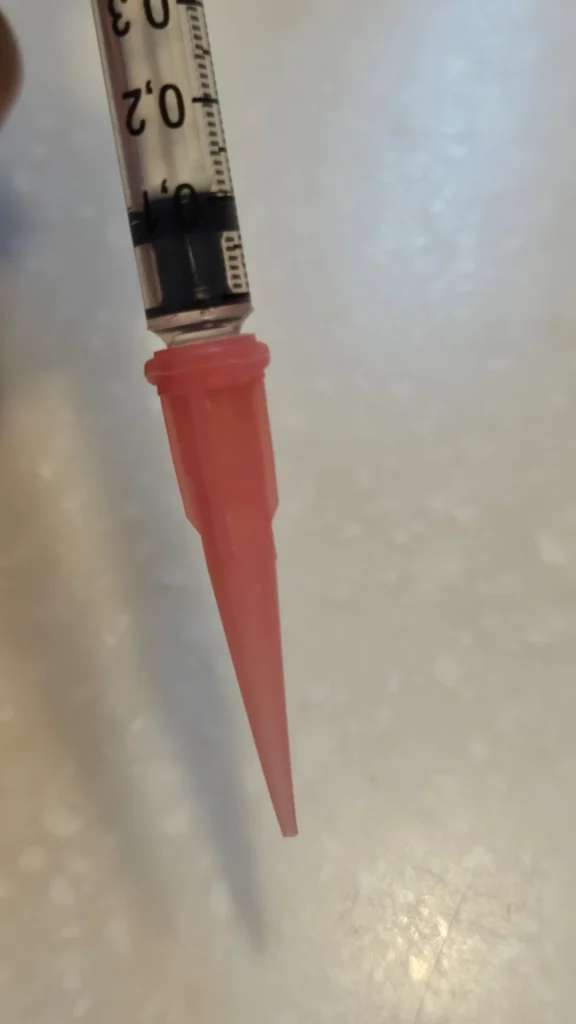
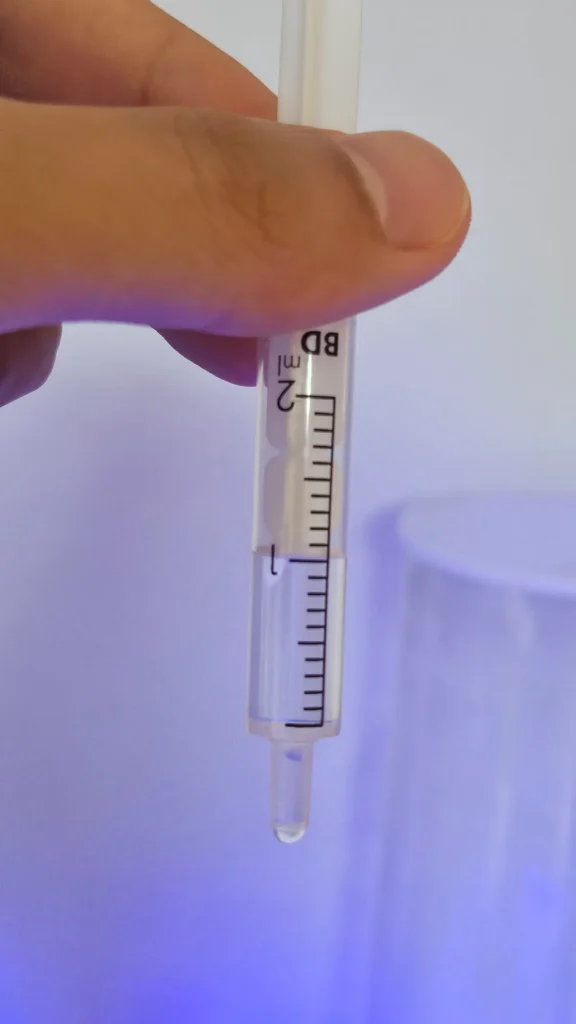
    4. Draw the Ca-2 solution into the syringe up to the black tip at 1 ml.

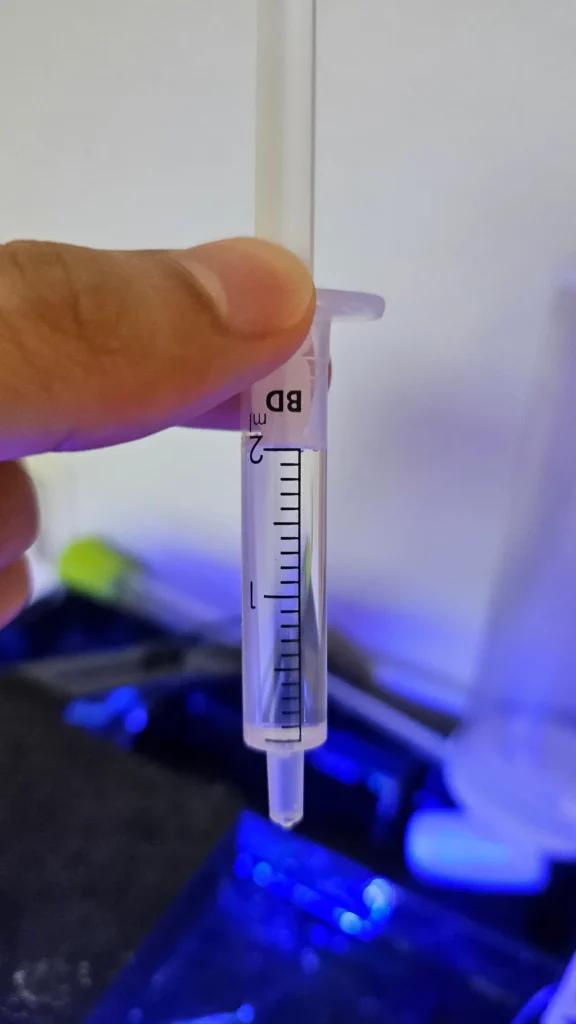
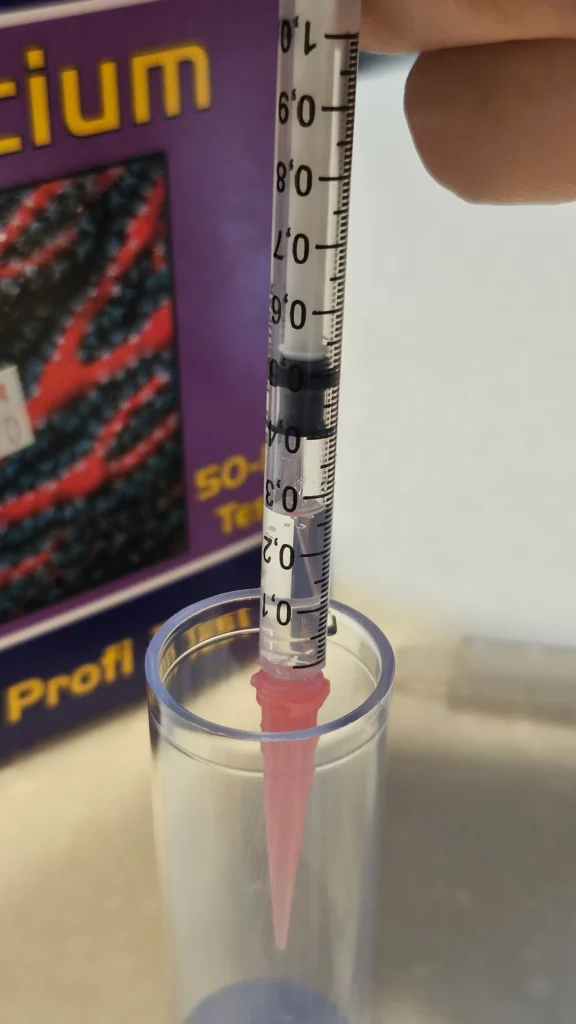
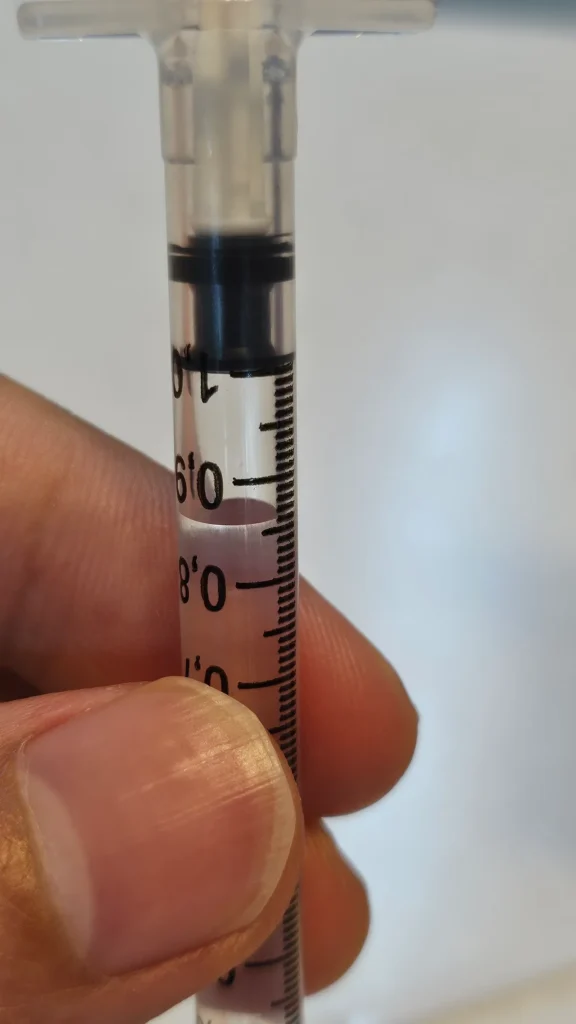
    After firmly attaching the plastic tip to the 1 ml syringe, draw the Ca-2 reagent up to the 1.00 ml mark. At this point, align the lower reference line of the black rubber piston with 1.00 ml.

    It was written in the instructions, but at first I was not sure whether the reference was the solution level or the tip, so I searched it and confirmed that, as shown in the photo, you line up the end of the black tip with 1.00 ml.

    5. Mix 0.6 ml of Ca-2 reagent into the water.

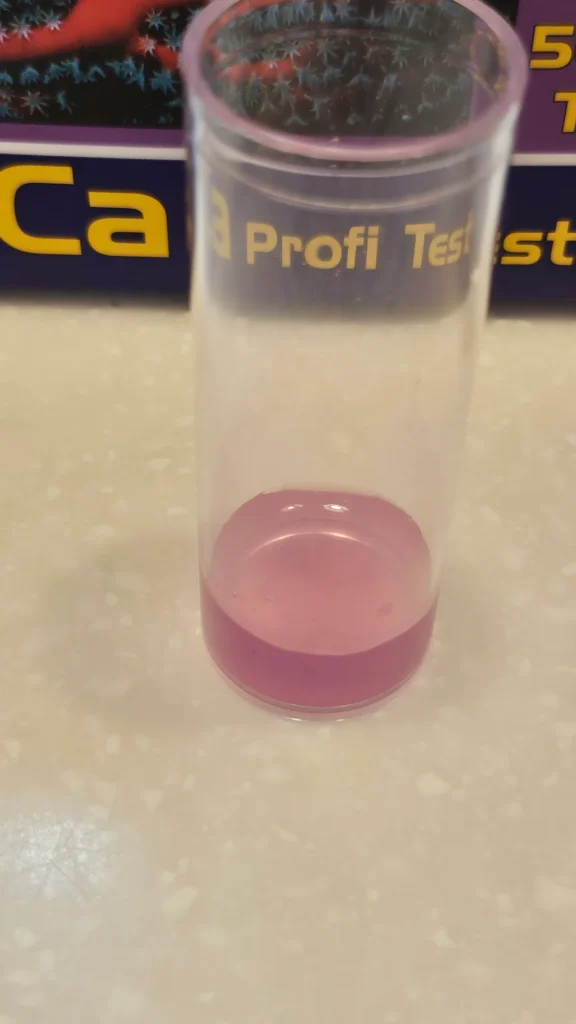
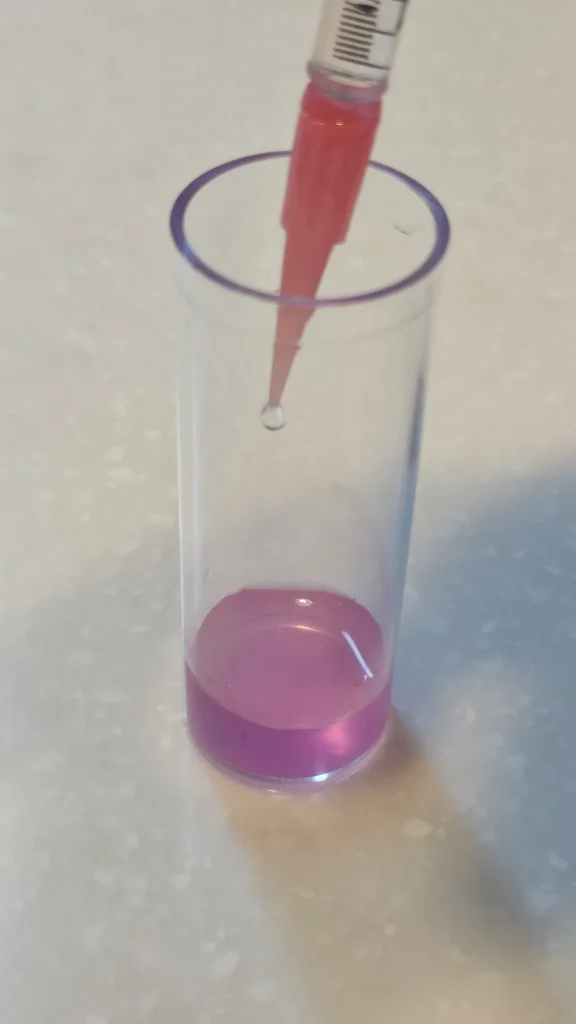
    With the syringe set to 1.00 ml, add 0.6 ml into the vial. The black tip of the syringe will then line up at 0.4 ml, and the liquid in the vial will turn pink.

    6. Add the Ca-2 reagent drop by drop, swirling for about 1 to 2 seconds each time.

    Keep going slowly until the color changes from pink to blue. When it starts looking purple in the middle, it feels like you are very close to the end, so from that point on I had to be more careful and watch it one drop at a time.

    Like with the KH/Alk test, you need to watch the point where the solution changes color, and this time too I needed to record the exact moment the color clearly changed.

    I thought video would make it clearer, so I recorded one. You can clearly see the color change.

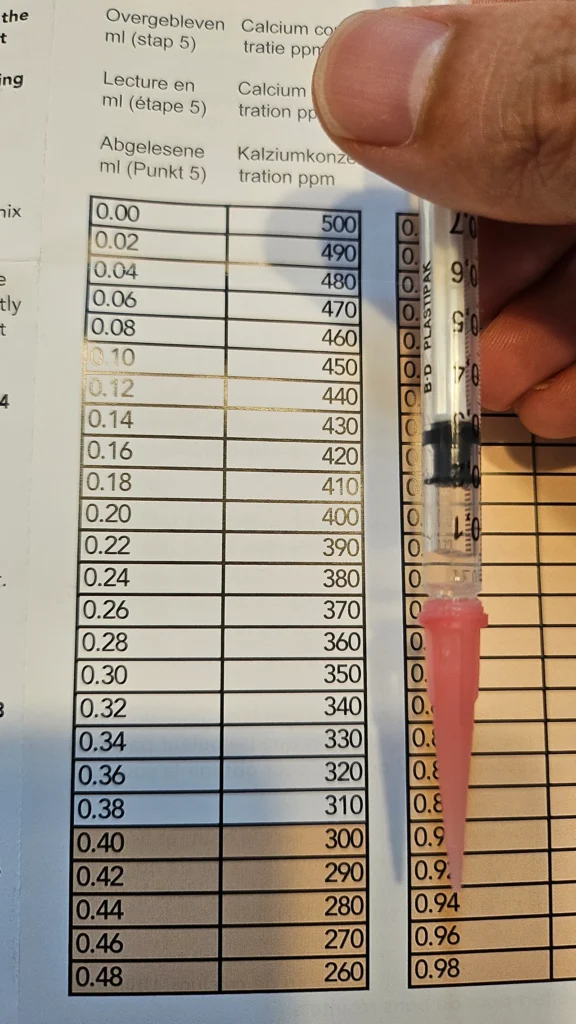
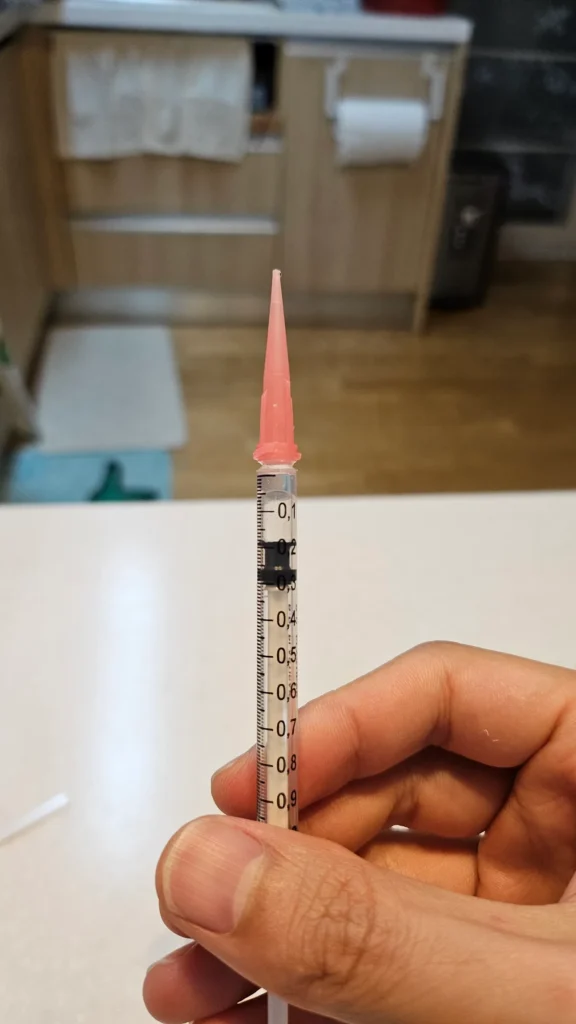
    Once the color turns blue, hold the syringe with the tip facing up and compare the position of the black rubber piston with the chart to read the tank's Ca level.

    Based on the photo above, the black mark looks to be around 0.19, which puts the result at about 405, between 0.18 and 0.20 on the chart.

    This reading

    This Ca reading looked to be around 405 ppm.

    As with other Salifert kits, this is not a digital measurement, so the result may be a little different from the actual value, but it still seems important to measure it the same way each time so you can keep track of the number.

  • A Look Back at the First Week of the strongorange Blog

    It has been about a week since I opened the blog.

    Before starting the blog, I kept wondering if I was just taking on more work when I already didn’t have much time.
    Could I really do this properly? I was already worried about starting a blog when I’m not even that good at writing.

    Still, I had been wanting to write better for a while. I also wanted to leave some thoughts in writing about the aquarium that became a new part of life after getting married. And I felt like it was too wasteful to keep thinking about it and do nothing, so I just started.

    Fortunately, after running the blog for a week, I’m enjoying the process itself, almost like I’ve started a new hobby.

    What I didn’t expect was that some unexpected questions would come up along the way.

    It took longer than I expected to write and edit.

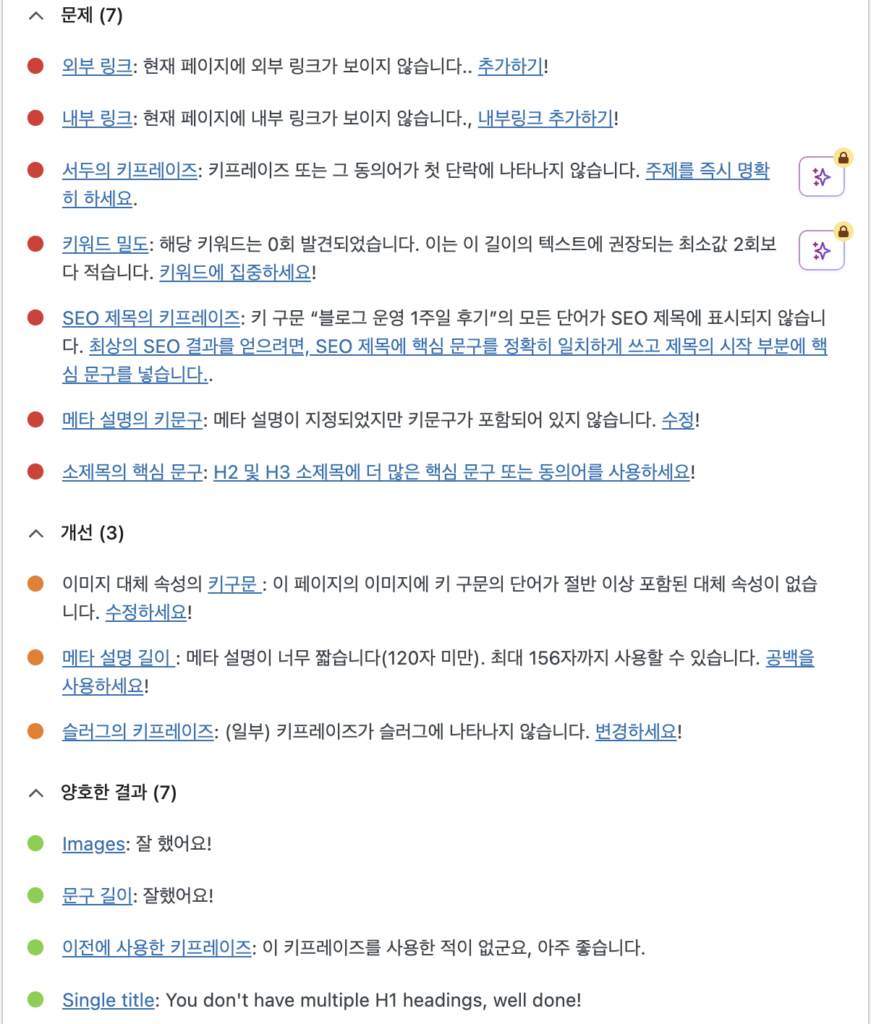
    Yoast SEO plugin checklist
    I never thought I’d be worrying about SEO while writing.

    What surprised me most was that polishing and revising the draft took longer than writing it in the first place. I honestly thought a quick round of editing after the draft would be enough.

    Once I finished a post and was about to publish it, I found myself checking whether the title was too stiff, whether the slug looked strange, whether it was written the way the Yoast SEO plugin suggested, and so on…

    Even so, I didn’t dislike the process. It feels like I’m slowly touching up a space that’s mine, which is annoying but strangely fun. As I keep writing, I’m also getting more of a desire to do better, so I’ve been pulling out some books on writing that I read before and revisiting them during my commute.

    I decided not to push too hard

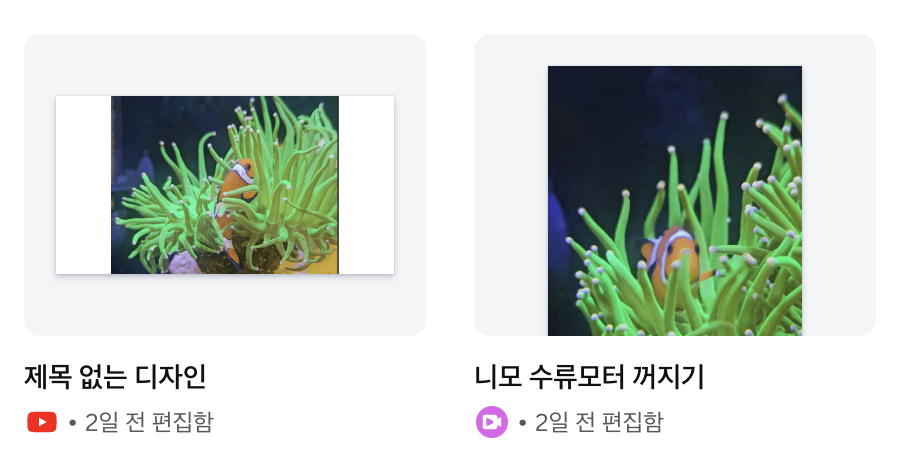
    A video made in Canva, and a YouTube video thumbnail
    The first time I’ve used Canva since my college days. I don’t think it used to do video editing, but now it does.

    I said I would keep things very light, but I’ve already made and started using an English version, an image optimization tool, a draft-writing tool, and an editing tool.

    I’ve even tried video editing, something I’d never done before. It’s just cut editing and adding music, but still. I uploaded it to YouTube, made a Threads account, and linked my blog posts there too. I’m already doing quite a bit.

    I’ve had more than a few projects that started with too much energy and then fell apart as I lost steam, so when I feel myself overdoing it, I think it would help to remember the purpose of writing about my aquarium and reset my direction like this once a week.

    I thought there would be no visitors at all

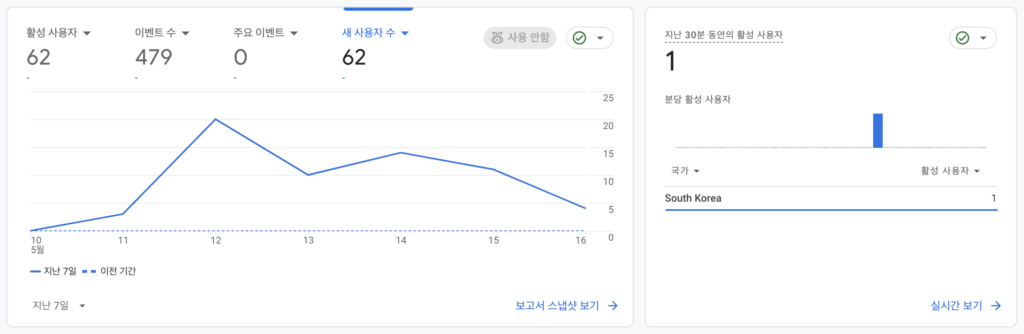
    Google Analytics screen, with 1 real-time visitor appearing while I was writing.
    Google Analytics. There were more visitors than I expected. A real-time visitor showed up while I was writing. Thank you!

    At first, I honestly thought there would be zero visitors except for family and acquaintances, but strangely enough, about one person a day comes in through search.

    What was especially fun was that, since I was also posting in English, people came from the U.S., Poland, Canada, and elsewhere. Thank you!

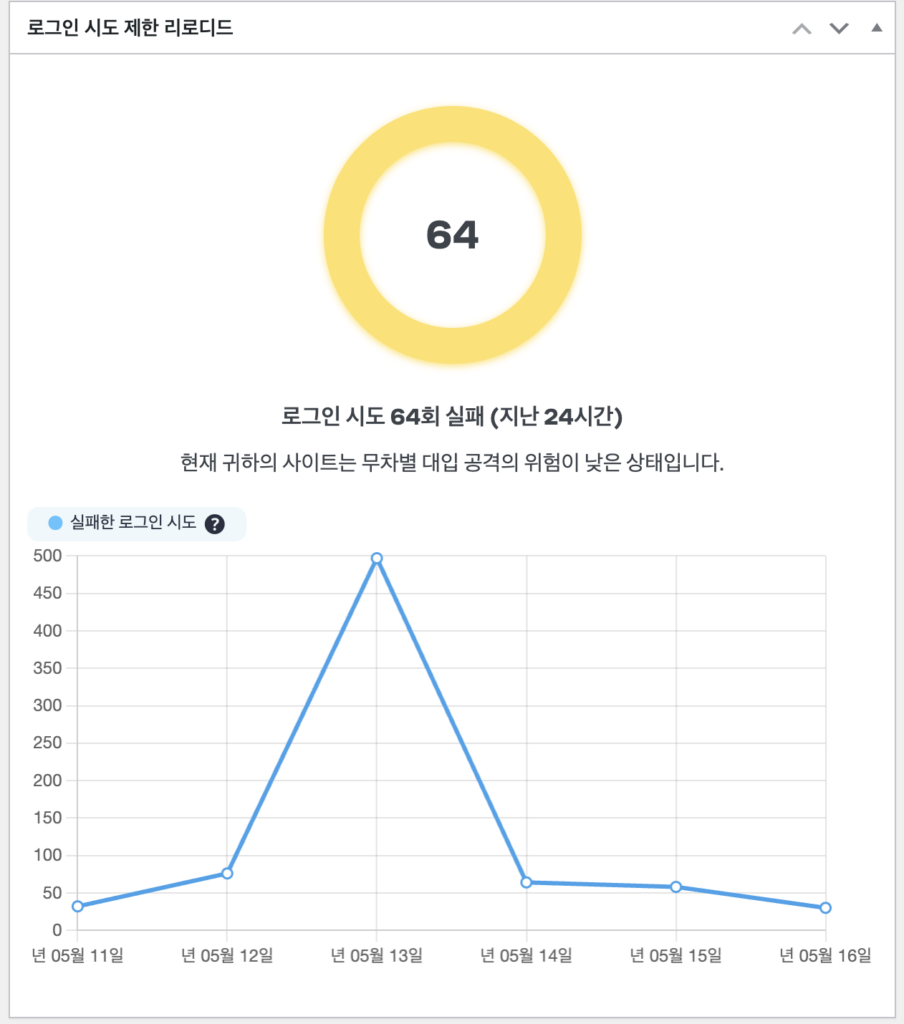
    But there were more hacking attempts.

    hacking tries for my wp admin account.

    There are far more malicious visits than real visitors.

    Lately the attacks seem to have dropped a bit, maybe because they were blocked and moved on to other targets, but brute-force attempts are still coming in.

    But even that is kind of funny. Even if it isn’t a person, someone is still finding this place!

    Next week

    Next week, I’m planning to organize some aquarium photos, finish the Salifert post, and pull out records on the tank livestock one by one.

    A clownfish hiding quietly behind the torch coral during a water change.
    To wrap up, the cute clownfish hiding behind the torch coral during the water change
  • Nemo Looking Startled While Rubbing Against the Torch Coral

    The Nemo I keep now really likes the torch coral.
    Its name is Jamo, short for “wild Nemo” in Korean.

    Jamo is almost always rubbing against the torch like this. Watching the torch coral tentacles sway while Jamo keeps nestling into them has become one of the small joys of keeping the tank.

    A guest was over, and while we were talking about the tank, I mentioned that when the flow pump turns off, the torch coral tentacles freeze in place as if they had been struck by lightning. They were curious, so I turned the flow pump off for a moment.

    As soon as the water flow stopped, the torch coral tentacles barely moved, and Nemo stopped too. The way it looked confused, almost like a little fish that had suddenly lost its home, was both cute and funny.

  • Salifert NO3 Test: Nitrate Kit Notes From My Reef Tank

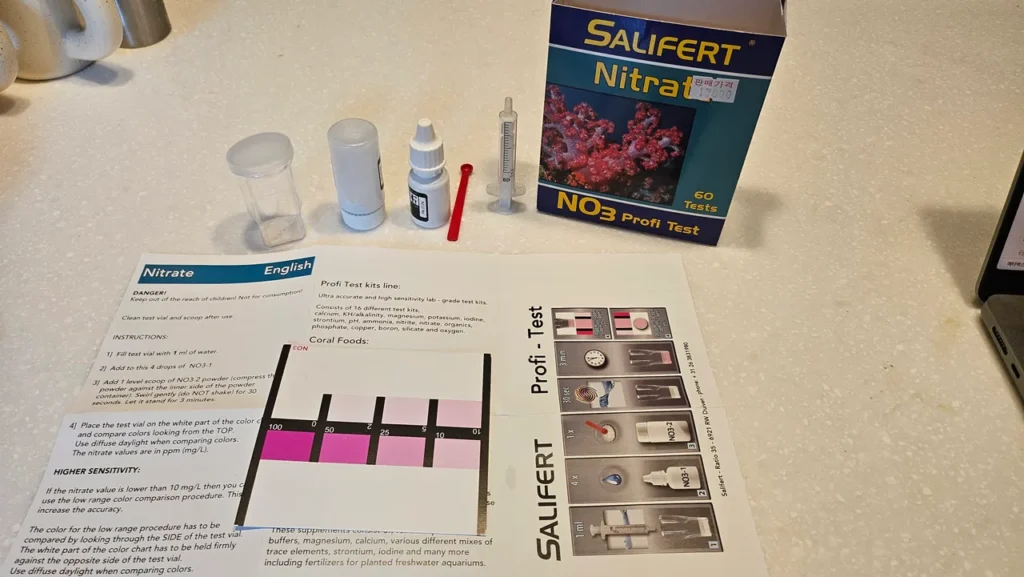
    I pulled out the Salifert NO3 test kit to check nitrate in the reef tank.

    The kit itself is simple: a test vial, 1 ml syringe, NO3-1 liquid reagent, NO3-2 powder reagent, the supplied spoon, color chart, and instructions.

    Salifert NO3 nitrate test kit components

    The basic test process is:

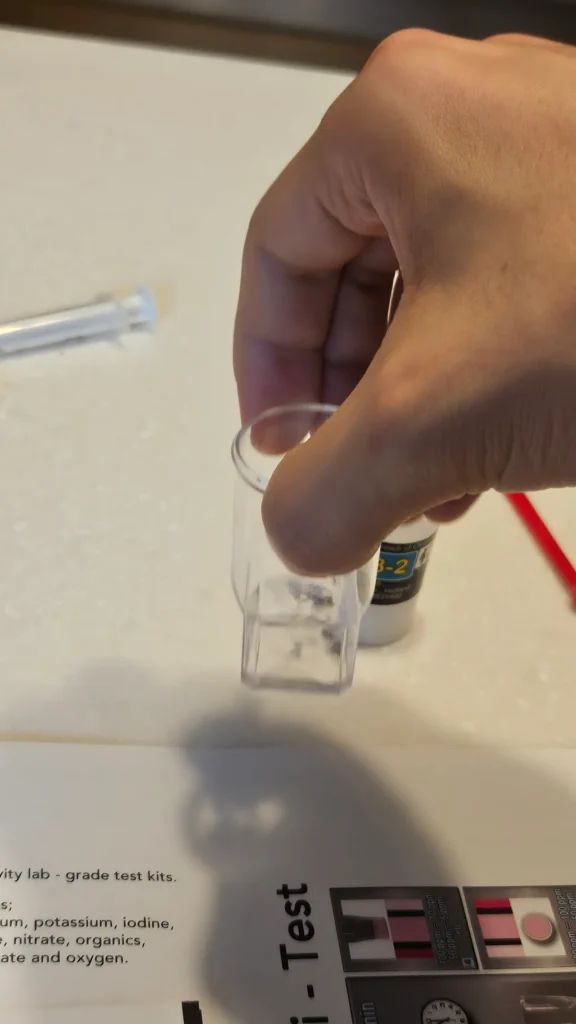
    1. Add 1 ml of tank water to the test vial.

    At this point, I try to draw the sample with as few bubbles as possible.

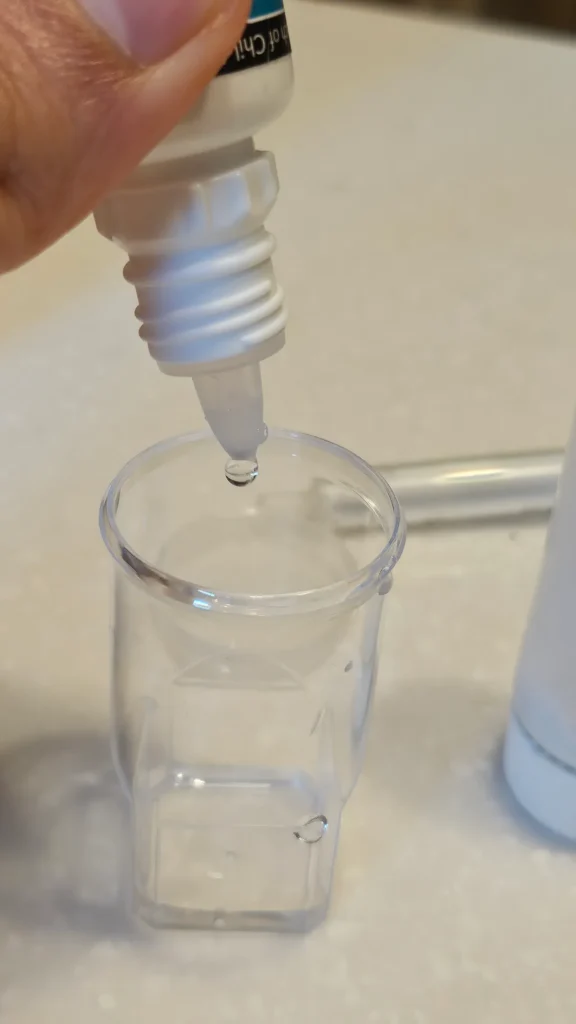
    2. Add 4 drops of NO3-1 liquid reagent.

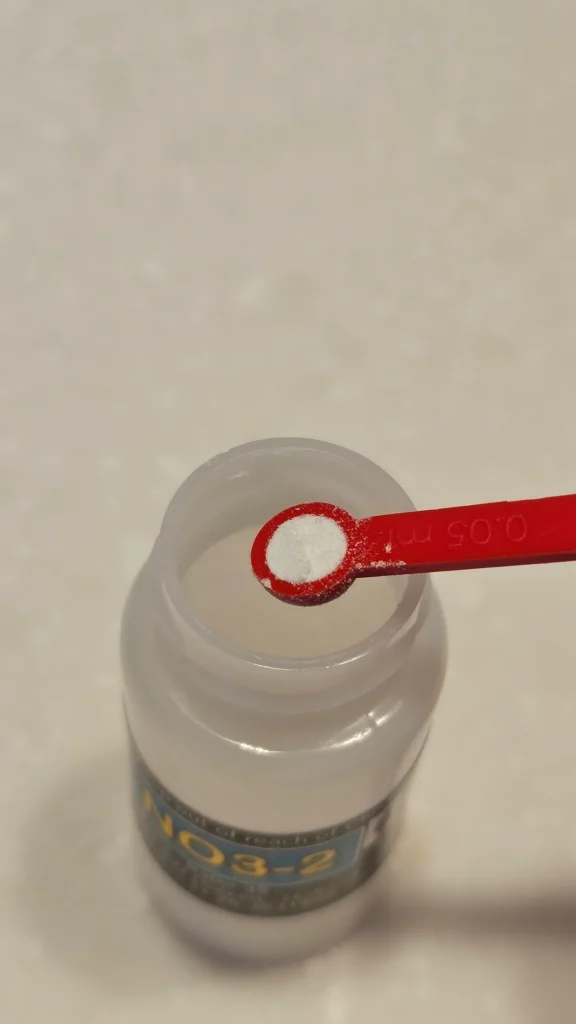
    3. Add one level spoon of NO3-2 powder reagent.

    Salifert NO3-2 powder reagent on the supplied scoop

    According to the instructions, the spoon should be filled and then leveled off.

    When scooping the powder, it can be a little too full or a little short. I found it easiest to scoop a bit generously and gently tap off the excess so it sits level with the spoon.

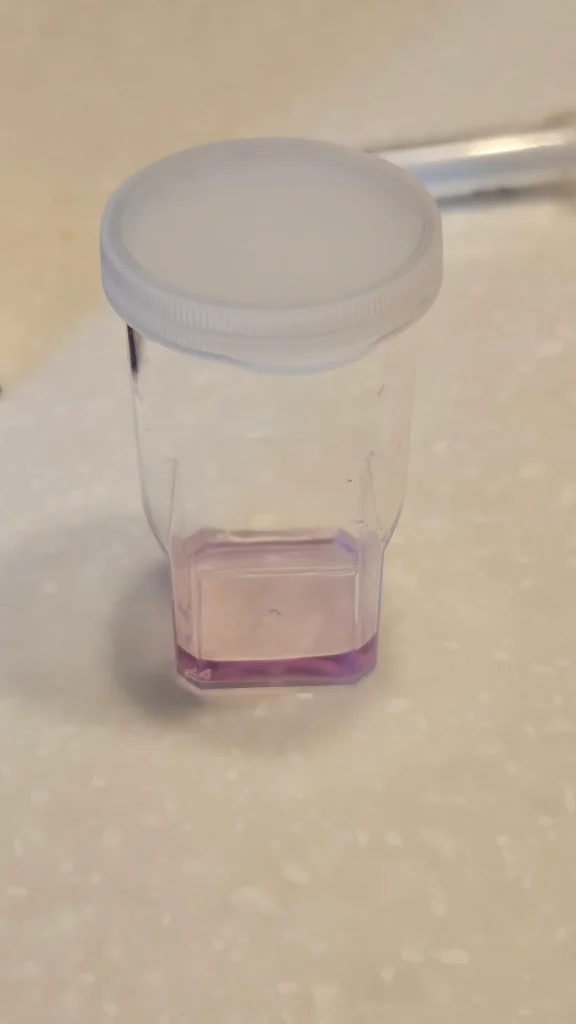
    4. Mix gently for 30 seconds, then wait 3 minutes.

    Since the test uses a powder reagent, I felt better timing the mixing instead of just giving it a quick swirl and moving on.

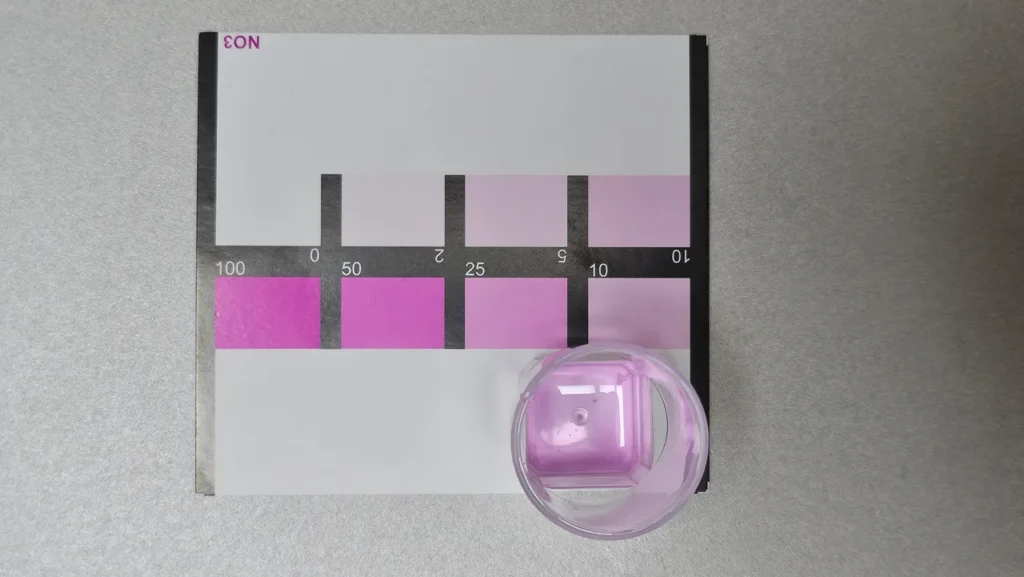
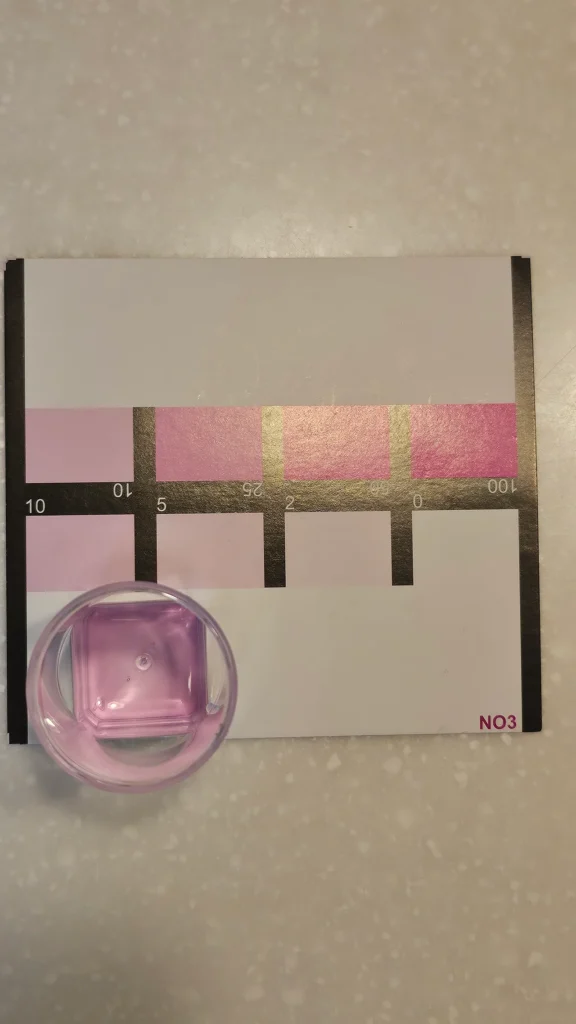
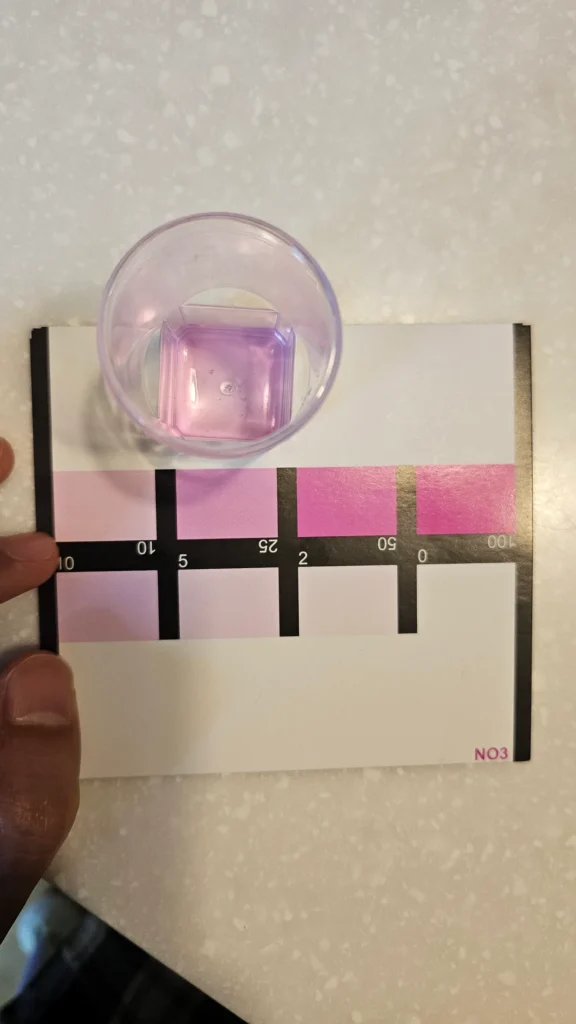
    5. Read the Salifert NO3 test from above on the white area of the color chart.

    The part I found most confusing in the Salifert NO3 test was how to read the color chart.

    The basic method is to place the test vial on the white area of the color chart and compare the color while looking down from above.

    The instructions also say to compare the color in diffuse natural light.
    Under blue reef lighting, the color can look different.

    It would be nice if the color landed on one exact block, but in practice it often looks like it sits between two colors. In that case, I record it as a middle value instead of forcing it into one number.

    Comparing the Salifert NO3 test vial against the color chart on white paper

    While waiting for the 3-minute mark, I wondered whether I would need to make a new sample if I missed the exact reading time.

    So I compared the color at the 3-minute mark with the color after roughly 30 minutes.

    The left one is the first reading. The right one is after 30 minutes.

    To my eyes, the value did not seem to change much. I did not compare it over several time intervals, but if the sample has been sitting around for a long time, I would rather test again than treat it as a clean reading.

    I could not find a clear cutoff in Reef2Reef or other overseas reefing discussions either. Most of what I found came back to the same practical point: read it as close to the 3-minute instruction as possible, and do not rely too much on a sample that has been left out for a long time.

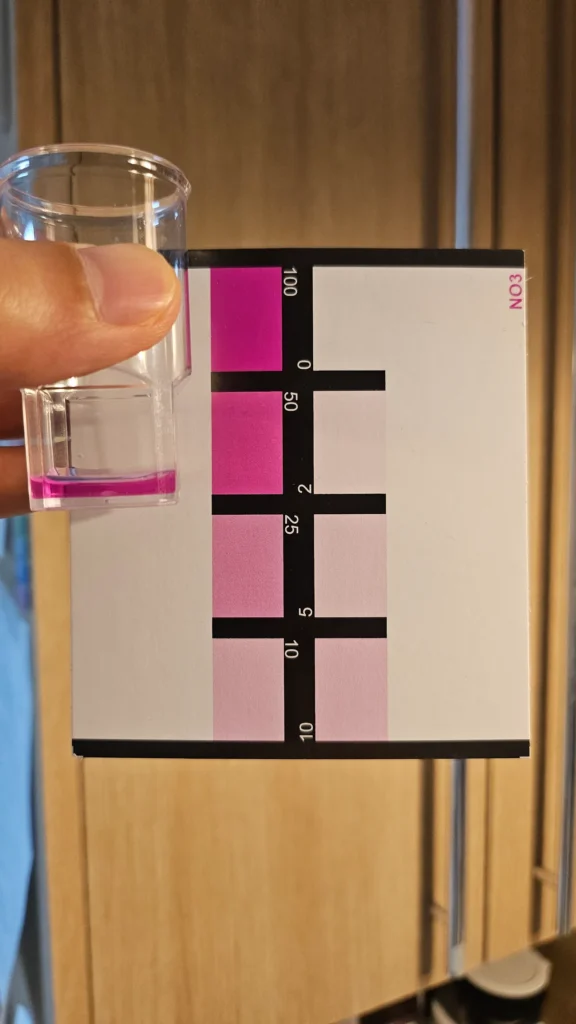
    Reading the vial from the side

    While checking whether the method I described was right, I also found that the kit can be read from the side.

    For that method, hold the test vial upright, place the white part of the color chart behind the vial, and look through it from the side.

    Because the color looks stronger from the side, the number on the chart should not be recorded as-is. It needs to be divided by 10.

    For example, if the side view looks close to the 50 ppm color, I would record the result as about 5 ppm.

    Reading the Salifert NO3 test vial from the side against the color chart

    For normal use, I would use the top-down reading first, then use the side view only as a supporting method when the value is hard to judge.

    This test result

    This NO3 reading looks like it falls somewhere between 10 and 25 ppm, roughly 15-20 ppm by eye.