Blog

  • Salifert NO3 Test: Nitrate Kit Notes From My Reef Tank

    I pulled out the Salifert NO3 test kit to check nitrate in the reef tank.

    The kit itself is simple: a test vial, 1 ml syringe, NO3-1 liquid reagent, NO3-2 powder reagent, the supplied spoon, color chart, and instructions.

    Salifert NO3 nitrate test kit components

    The basic test process is:

    1. Add 1 ml of tank water to the test vial.

    At this point, I try to draw the sample with as few bubbles as possible.

    2. Add 4 drops of NO3-1 liquid reagent.

    3. Add one level spoon of NO3-2 powder reagent.

    Salifert NO3-2 powder reagent on the supplied scoop

    According to the instructions, the spoon should be filled and then leveled off.

    When scooping the powder, it can be a little too full or a little short. I found it easiest to scoop a bit generously and gently tap off the excess so it sits level with the spoon.

    4. Mix gently for 30 seconds, then wait 3 minutes.

    Since the test uses a powder reagent, I felt better timing the mixing instead of just giving it a quick swirl and moving on.

    5. Read the Salifert NO3 test from above on the white area of the color chart.

    The part I found most confusing in the Salifert NO3 test was how to read the color chart.

    The basic method is to place the test vial on the white area of the color chart and compare the color while looking down from above.

    The instructions also say to compare the color in diffuse natural light.
    Under blue reef lighting, the color can look different.

    It would be nice if the color landed on one exact block, but in practice it often looks like it sits between two colors. In that case, I record it as a middle value instead of forcing it into one number.

    Comparing the Salifert NO3 test vial against the color chart on white paper

    While waiting for the 3-minute mark, I wondered whether I would need to make a new sample if I missed the exact reading time.

    So I compared the color at the 3-minute mark with the color after roughly 30 minutes.

    The left one is the first reading. The right one is after 30 minutes.

    To my eyes, the value did not seem to change much. I did not compare it over several time intervals, but if the sample has been sitting around for a long time, I would rather test again than treat it as a clean reading.

    I could not find a clear cutoff in Reef2Reef or other overseas reefing discussions either. Most of what I found came back to the same practical point: read it as close to the 3-minute instruction as possible, and do not rely too much on a sample that has been left out for a long time.

    Reading the vial from the side

    While checking whether the method I described was right, I also found that the kit can be read from the side.

    For that method, hold the test vial upright, place the white part of the color chart behind the vial, and look through it from the side.

    Because the color looks stronger from the side, the number on the chart should not be recorded as-is. It needs to be divided by 10.

    For example, if the side view looks close to the 50 ppm color, I would record the result as about 5 ppm.

    Reading the Salifert NO3 test vial from the side against the color chart

    For normal use, I would use the top-down reading first, then use the side view only as a supporting method when the value is hard to judge.

    This test result

    This NO3 reading looks like it falls somewhere between 10 and 25 ppm, roughly 15-20 ppm by eye.

  • How to Use the Salifert KH/Alk Test Kit

    I took out the Salifert test kit to check the KH/Alk in my 45 cm cube reef tank.

    The kit is simple: a test vial, KH-Ind reagent, KH reagent, a 1 ml syringe, a plastic tip, and the instruction sheet.

    The test itself is simple, but the details were much more confusing: where to line up the 1 ml syringe mark, and exactly where to count the color-change endpoint.
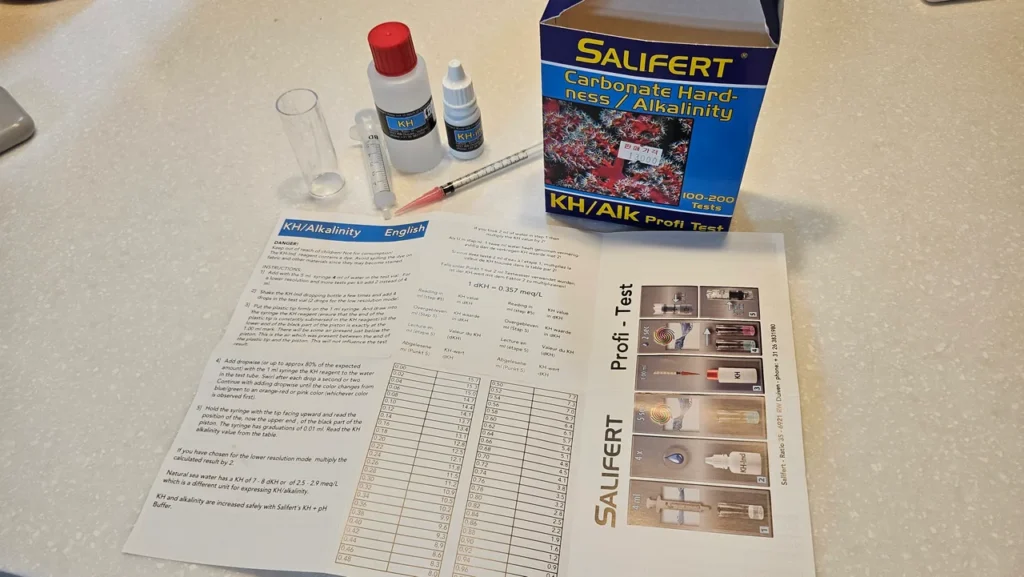
    To summarize the test method:

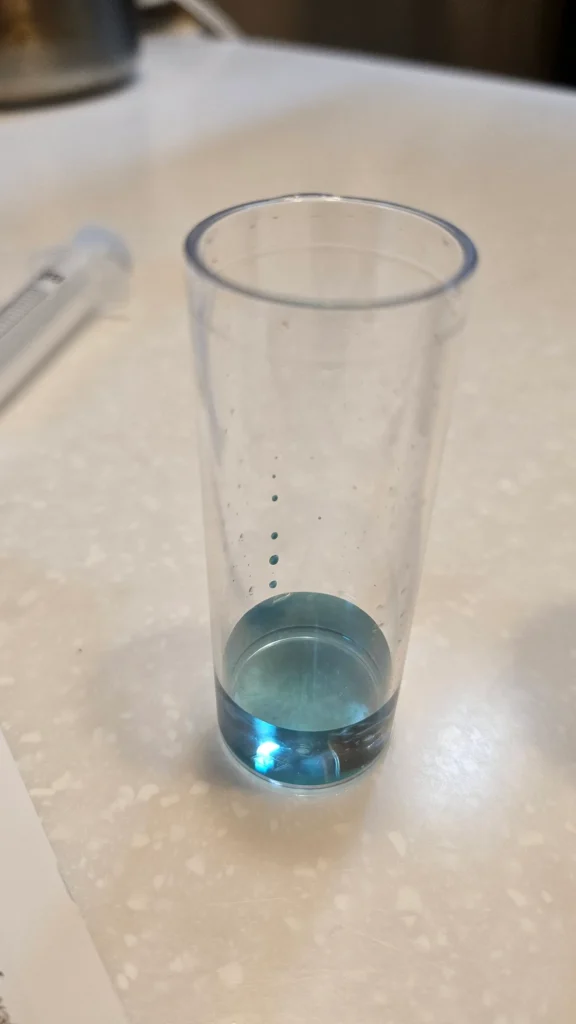
    1. Add 4 ml of tank water to the test vial.
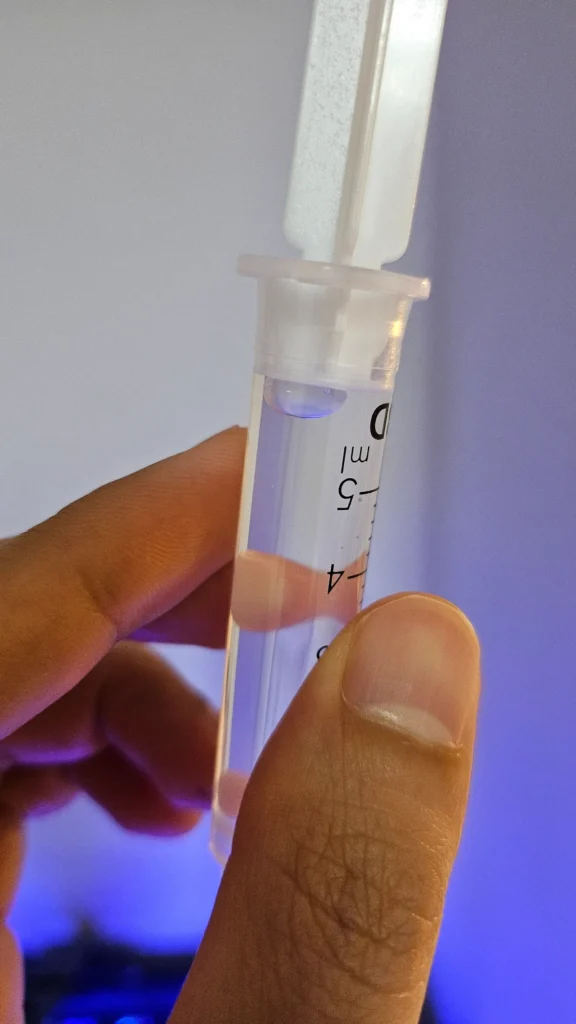
    Try to keep bubbles out as much as possible here.

    2. Add 4 drops of KH-Ind reagent and gently swirl for 5 seconds.
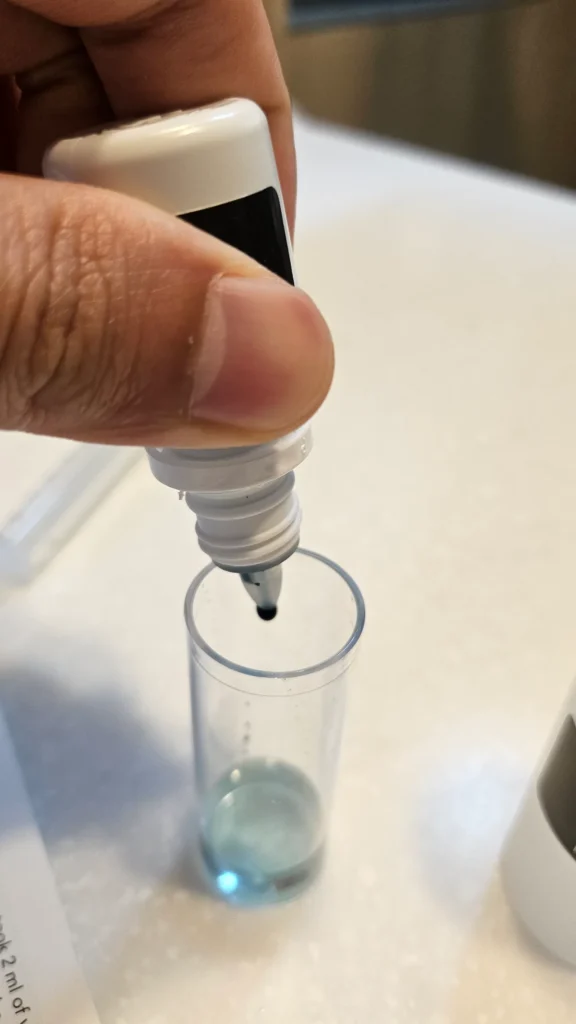
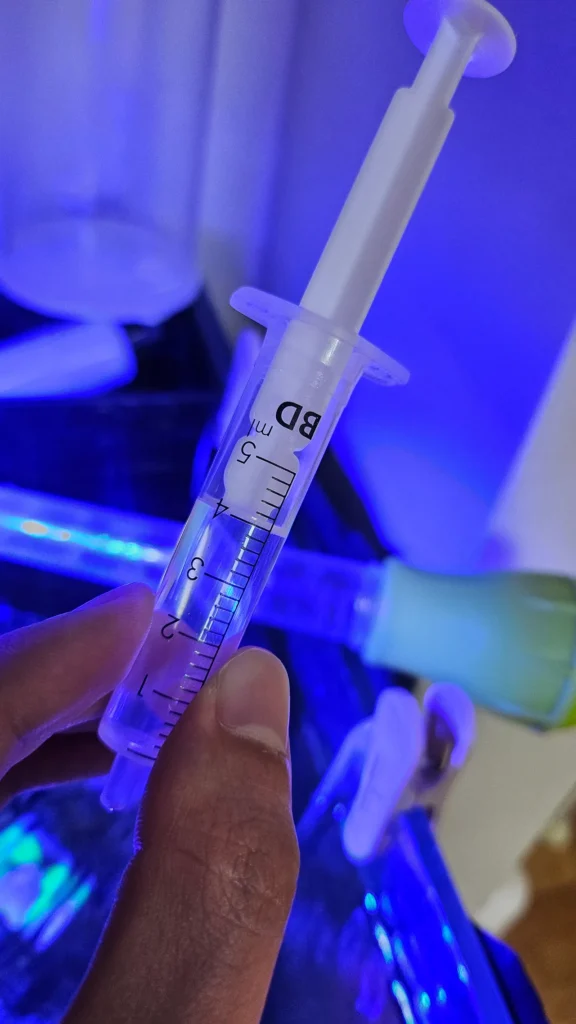
    3. Fill the syringe with 1 ml of KH reagent.
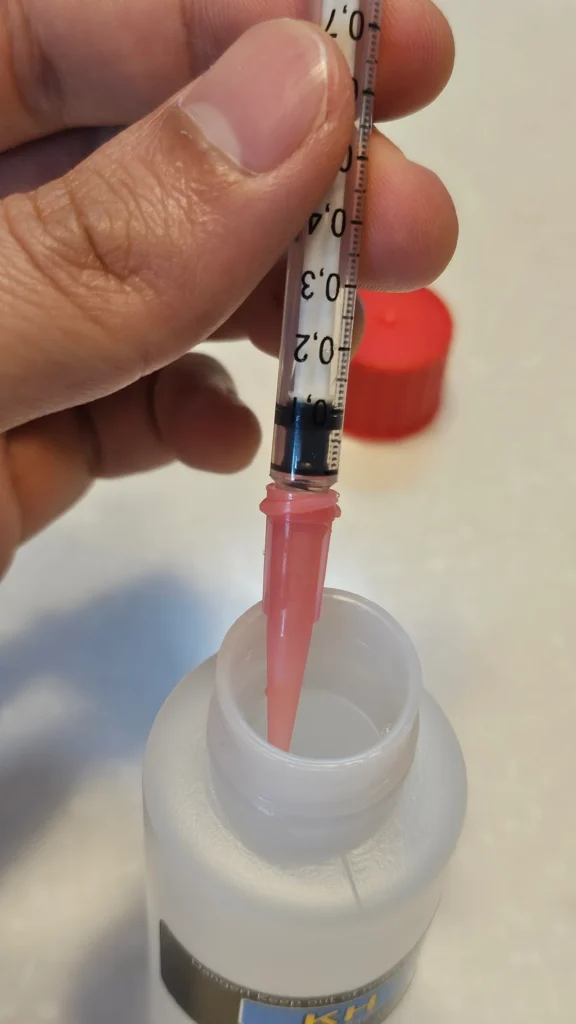
    Checking that the tip is attached to the syringe

    At this point, make sure the tip is tightly attached to the syringe.

    The part that confused me most at first was drawing the KH reagent into the 1 ml syringe.

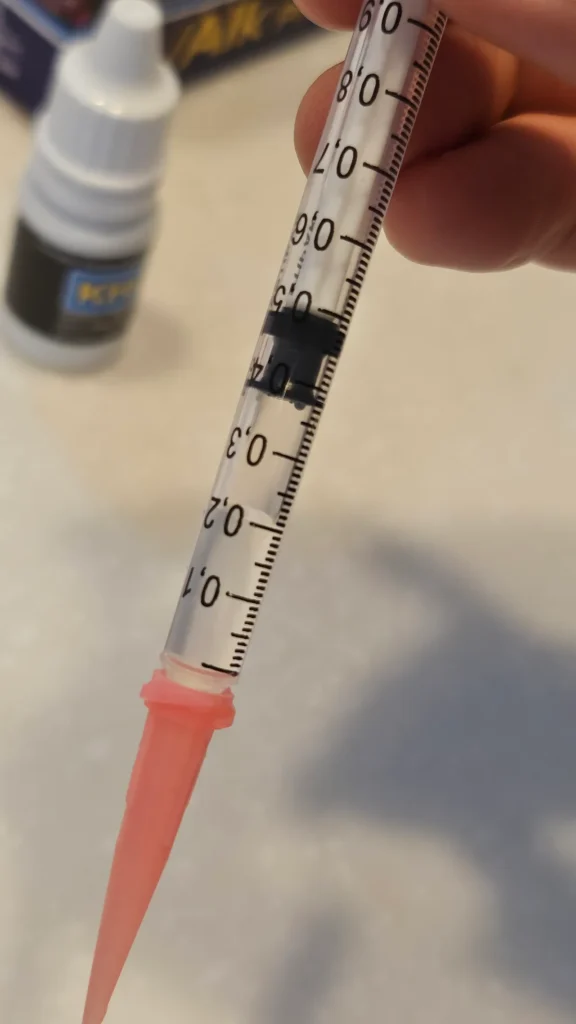
    I thought the liquid itself had to come up to the 1 ml mark, but it should be aligned by the black rubber piston, not the liquid level.

    If you pull more reagent to make the liquid surface line up with 1 ml,
    you can end up using more reagent than the instruction sheet assumes, and the result can be thrown off.
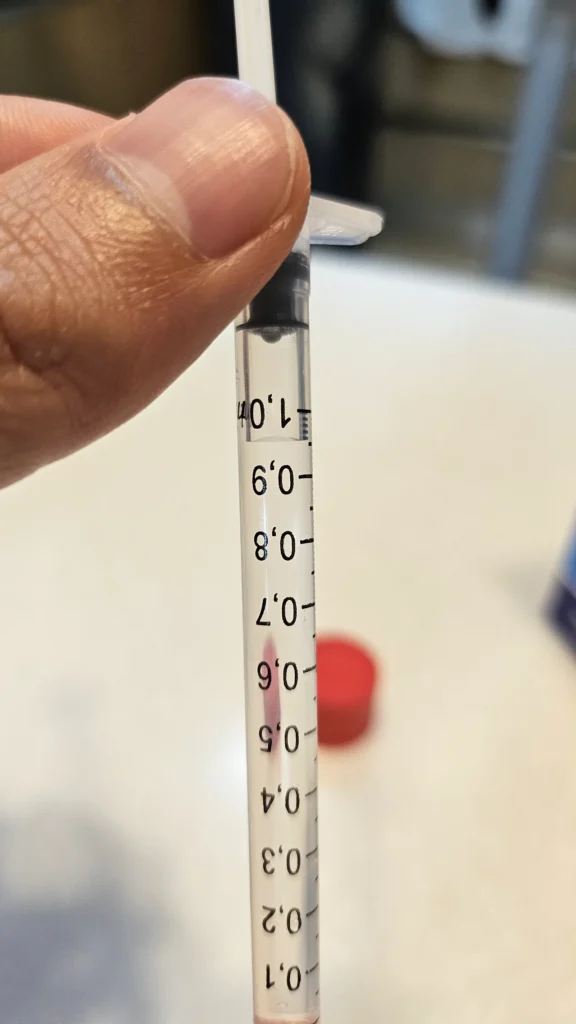
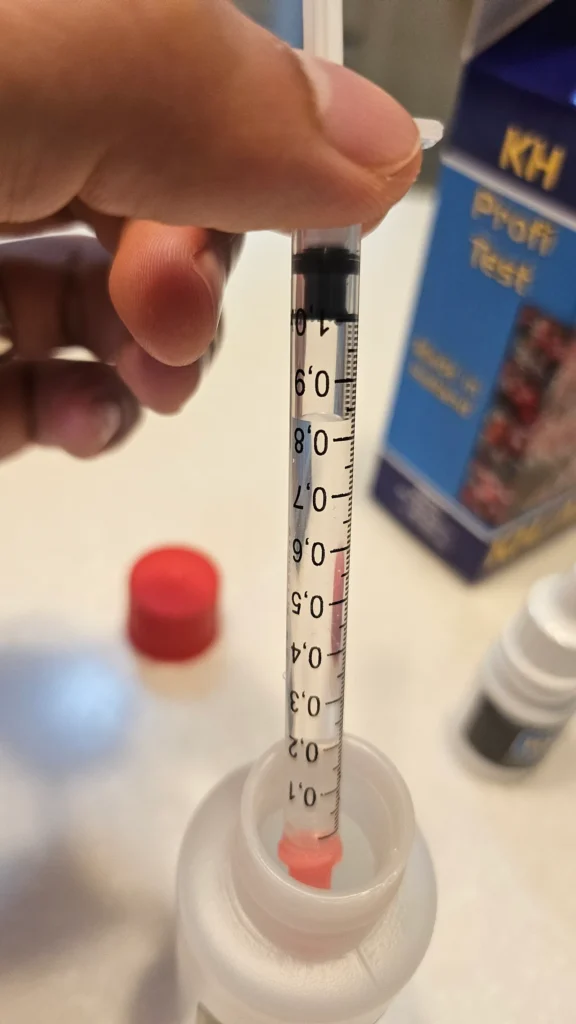
    Always line up 1 ml by the black piston, like in the photo on the right.

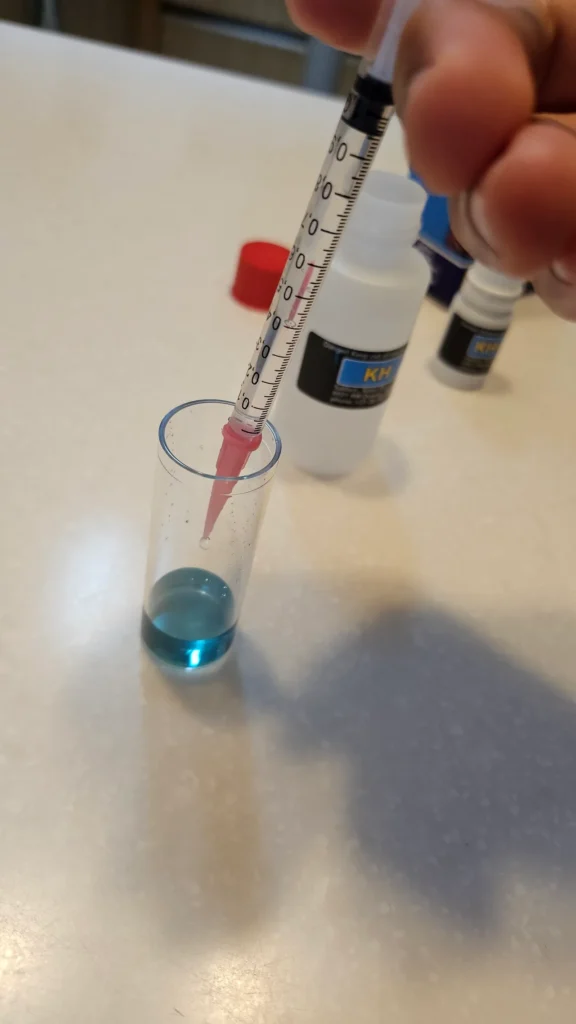
    4. Add one drop, swirl for 2 seconds, and repeat until you reach the color-change point.
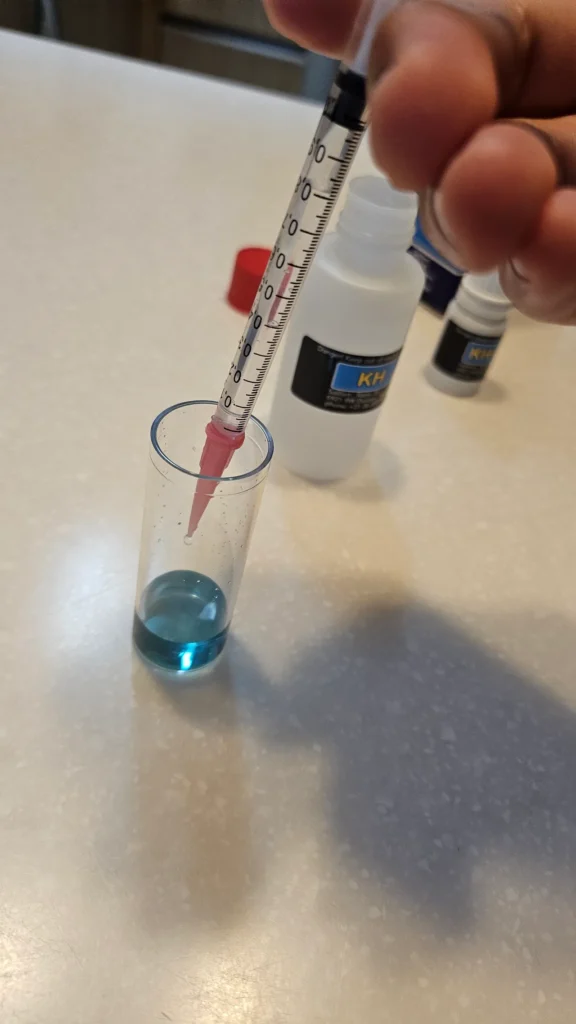
    Another confusing point was exactly where to count the color change.

    At first the solution looks blue or greenish; as you add the KH reagent one drop at a time, it gradually moves toward orange, pink, and red tones.

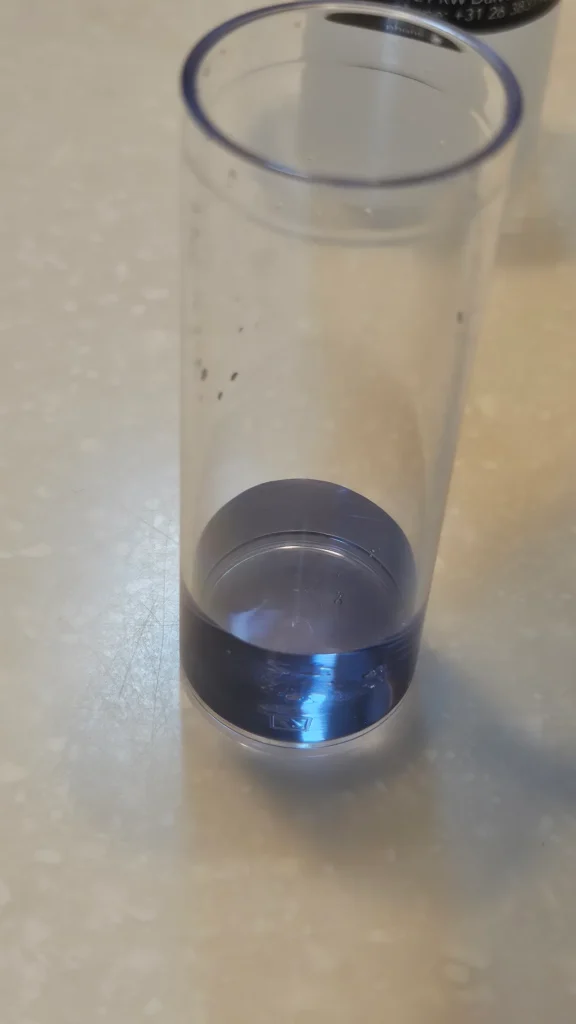
    According to the instruction sheet, the endpoint is the first point where the color changes to an orange, red, or pink tone.

    But there was a moment where the first visible change looked ambiguous, almost like 50% blue and 50% red.


    At that point I was not sure whether to stop right away or add one more drop.

    After looking it up, I decided that if the color still looks half-and-half, I would treat it as an intermediate stage and add one more drop.


    Then, after swirling for about 1-2 seconds, I treat the first moment when orange, pink, or red is clearly dominant overall as the measurement point.

    I do not wait until it becomes a deep red.

    • Swirl well after every drop.
    • View it against a white background.
    • If blue/green is still the main color, add one more drop.
    • Stop at the first point where red tones are dominant overall.

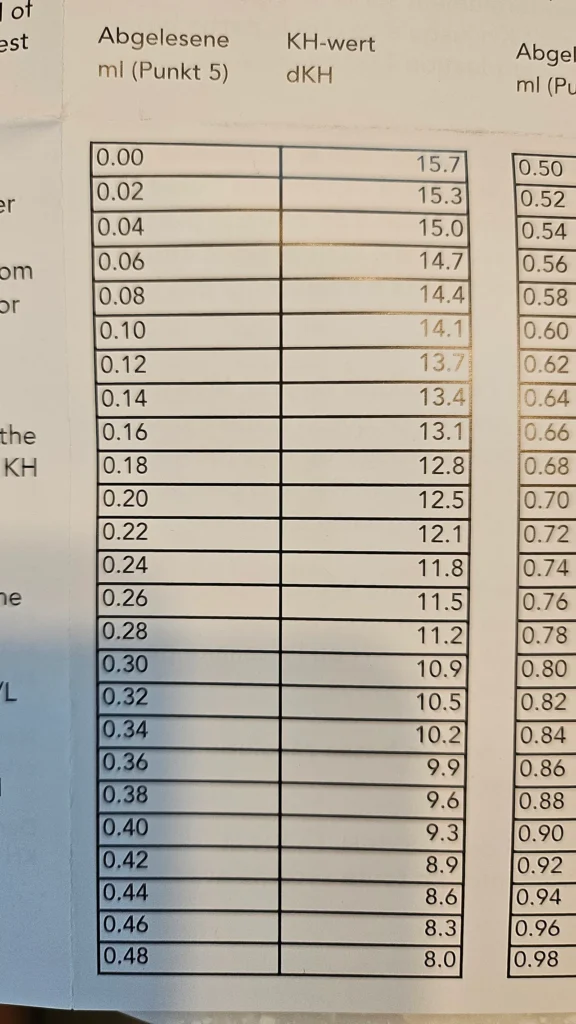
    5. Read the syringe mark and check the KH/Alk value in the chart.
    This Measurement

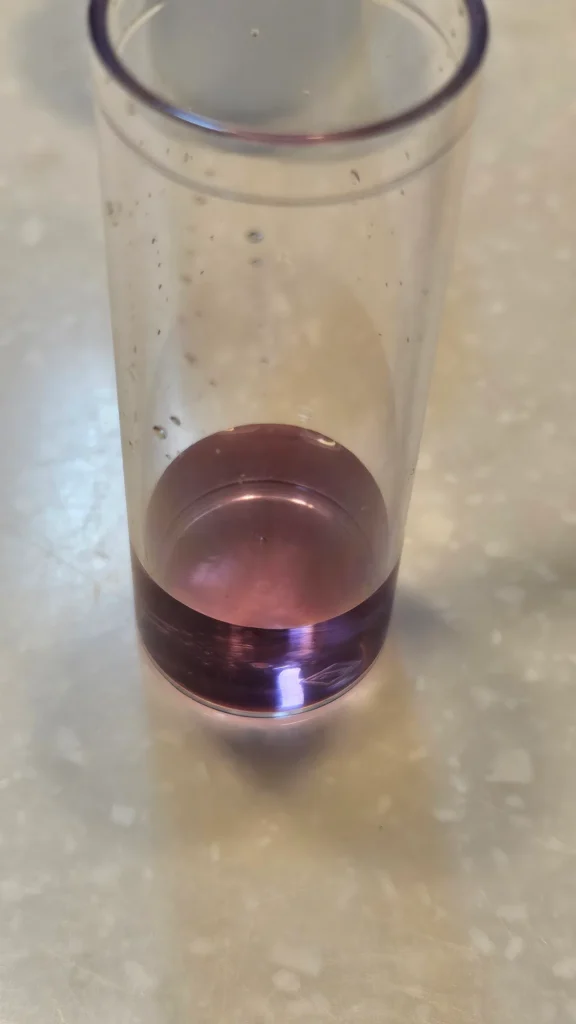
    The KH/Alk reading this time came out around 9.6 dKH.

    Since the black piston on the syringe was around the 0.38 mark, I just found that value in the chart and checked it.
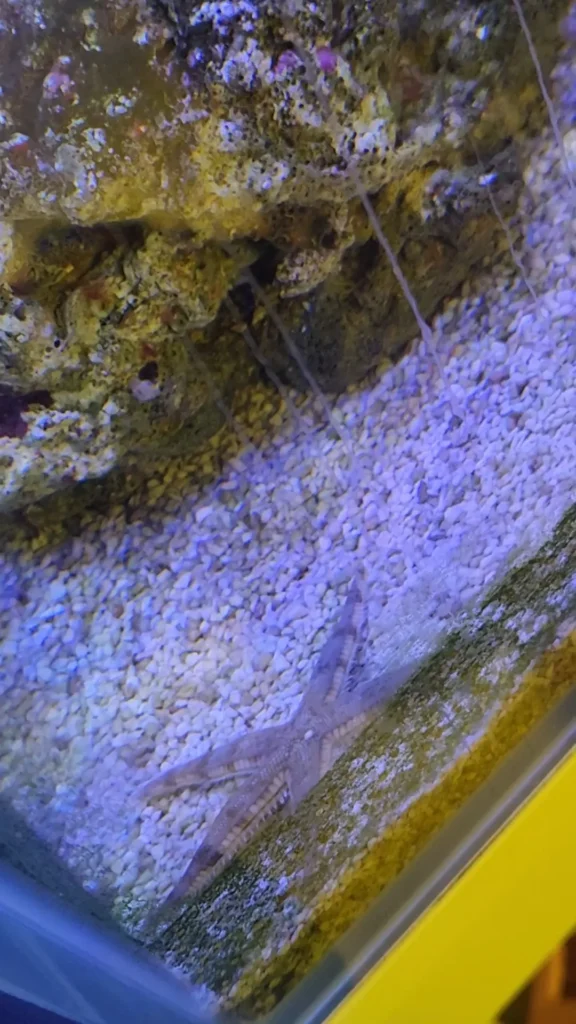
  • Not a Sand-Sifting Starfish, Just a Falling Leaf

    Not a Sand-Sifting Starfish, Just a Falling Leaf

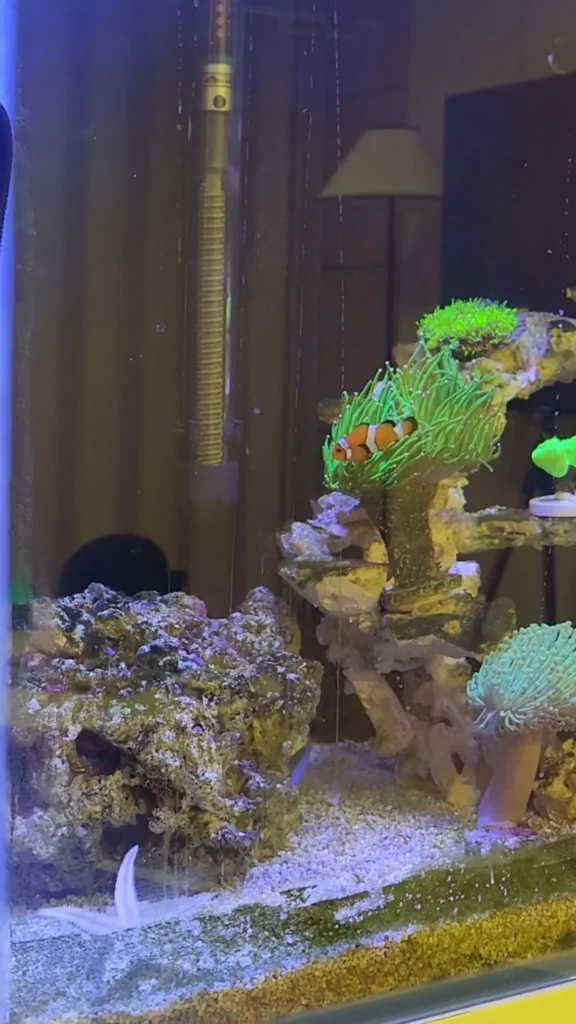
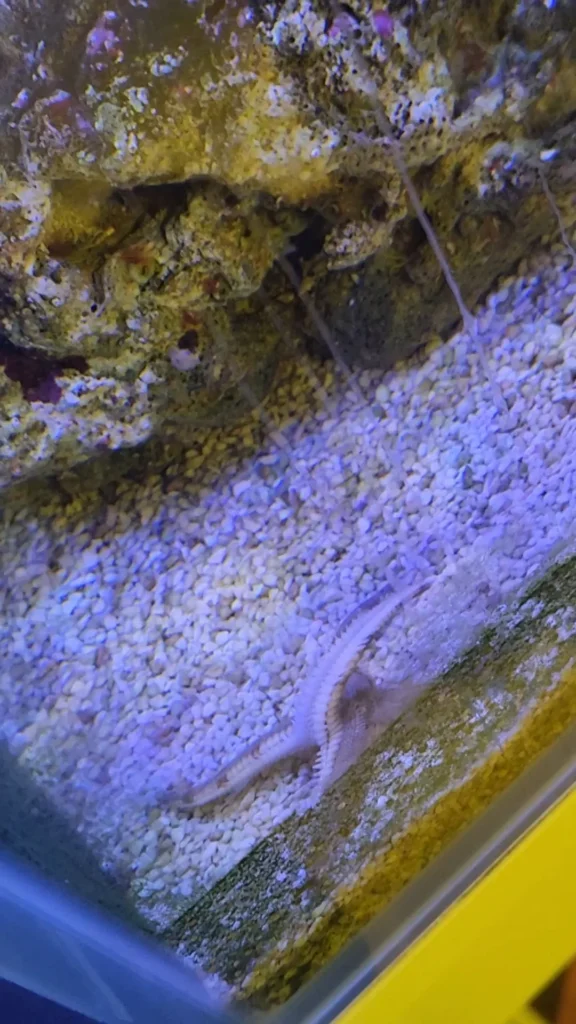
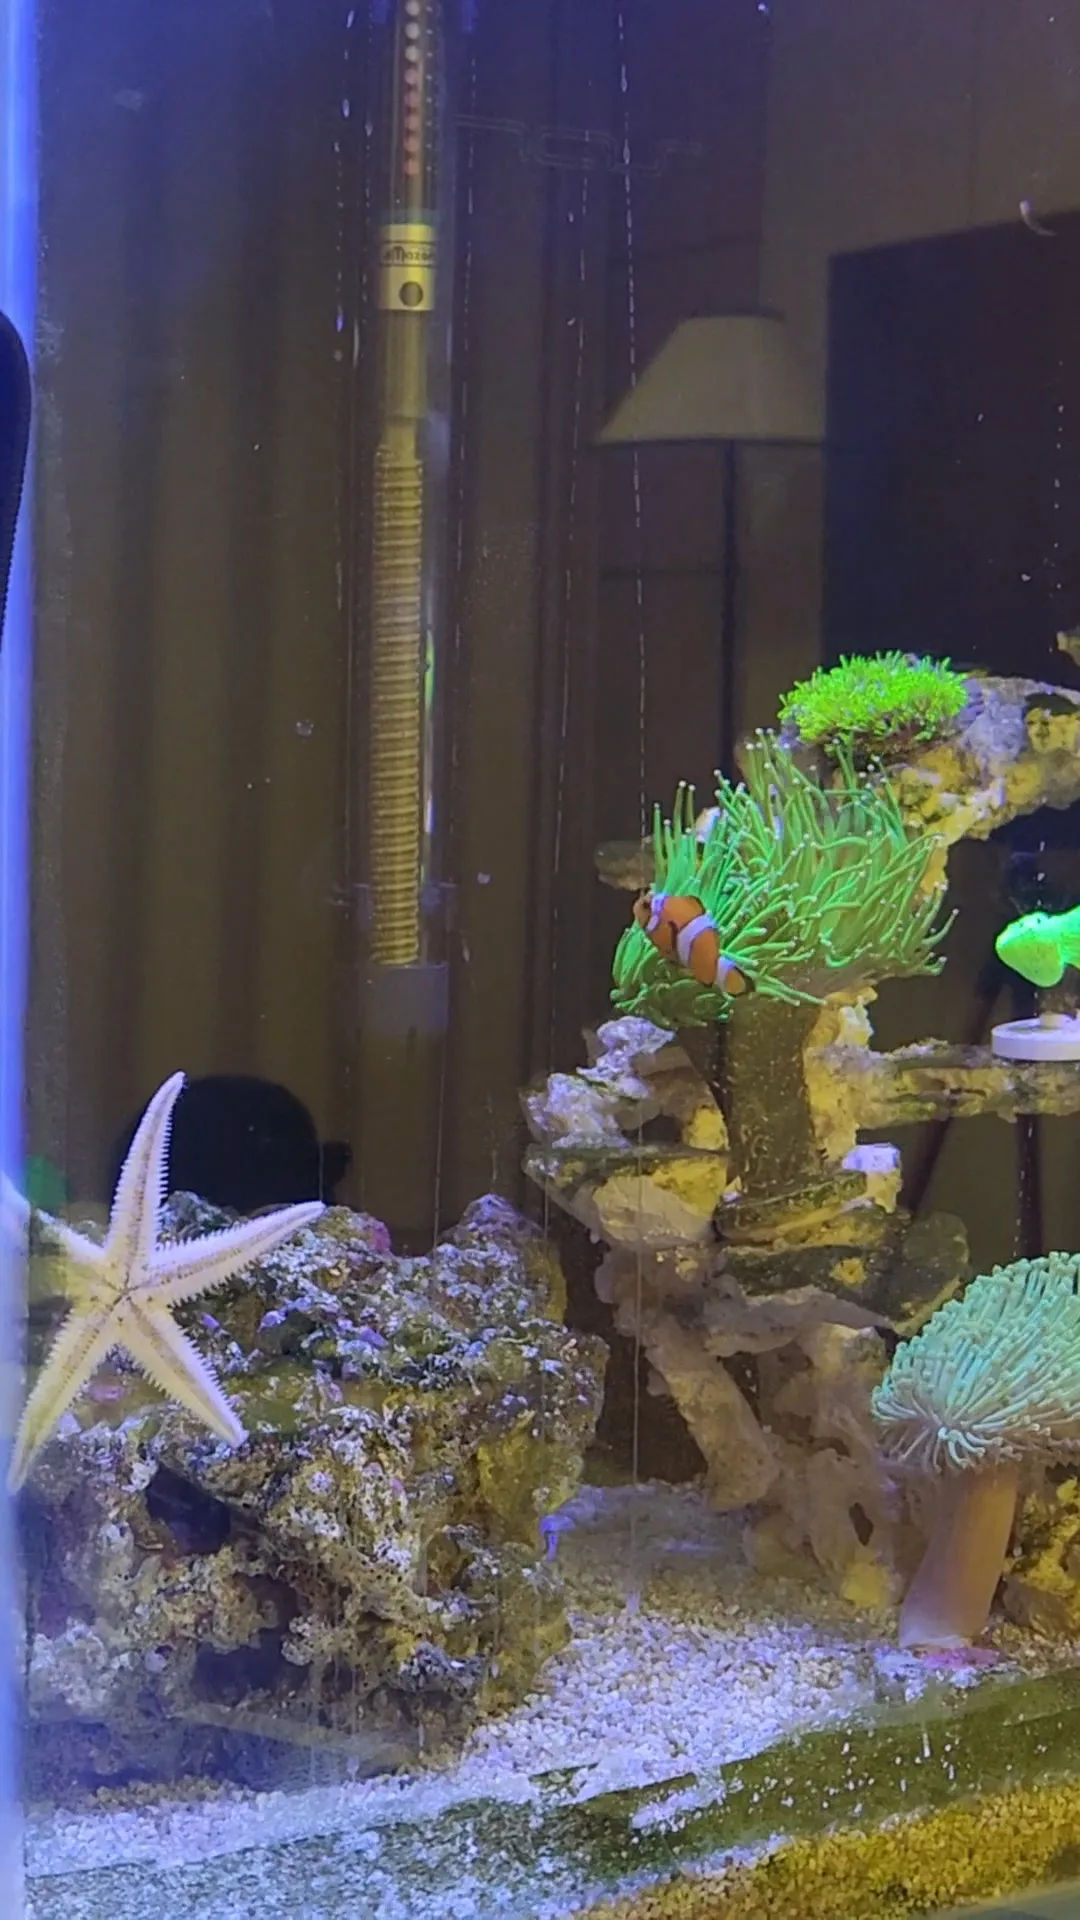
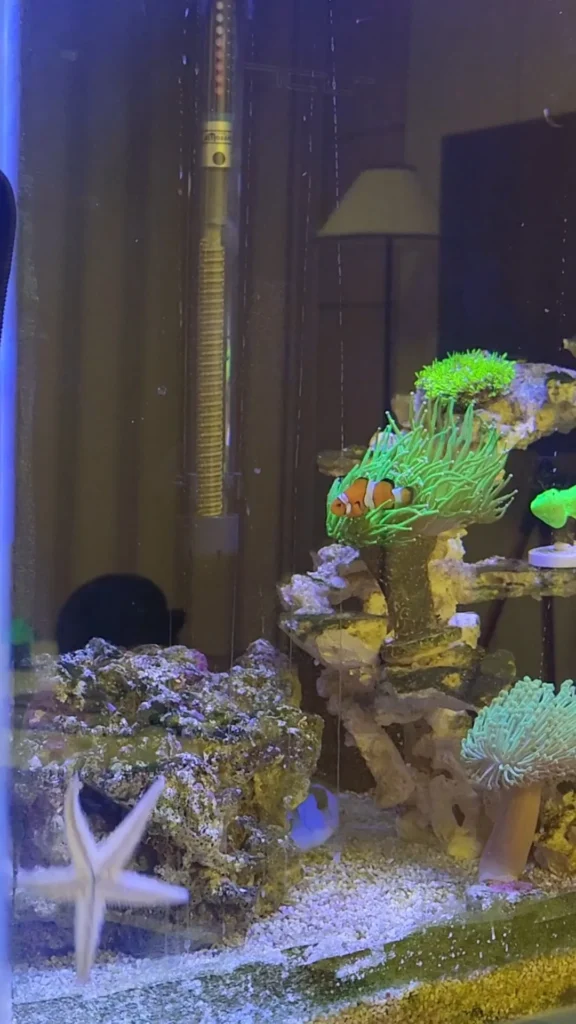
    I was watching the tank when my sand-sifting starfish started climbing the glass and slipped.

    After sliding down, it somehow managed to pull itself back up perfectly.

    It was fun because this was the first time I had caught my sand-sifting starfish getting back into position like that on video.

    I still don’t know how I happened to be filming at exactly the right moment. Lucky timing.

    Cute little sand-sifting starfish.