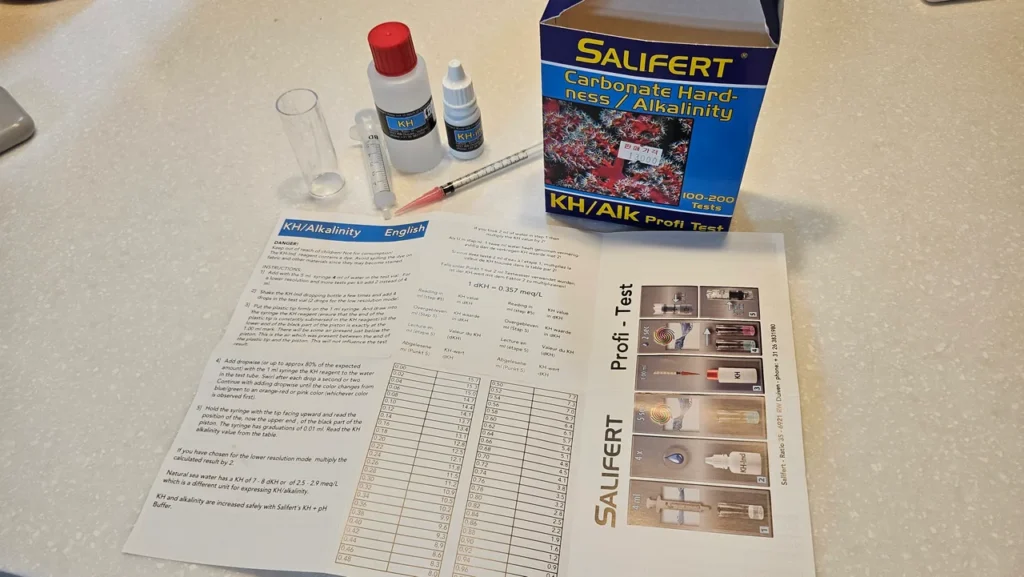
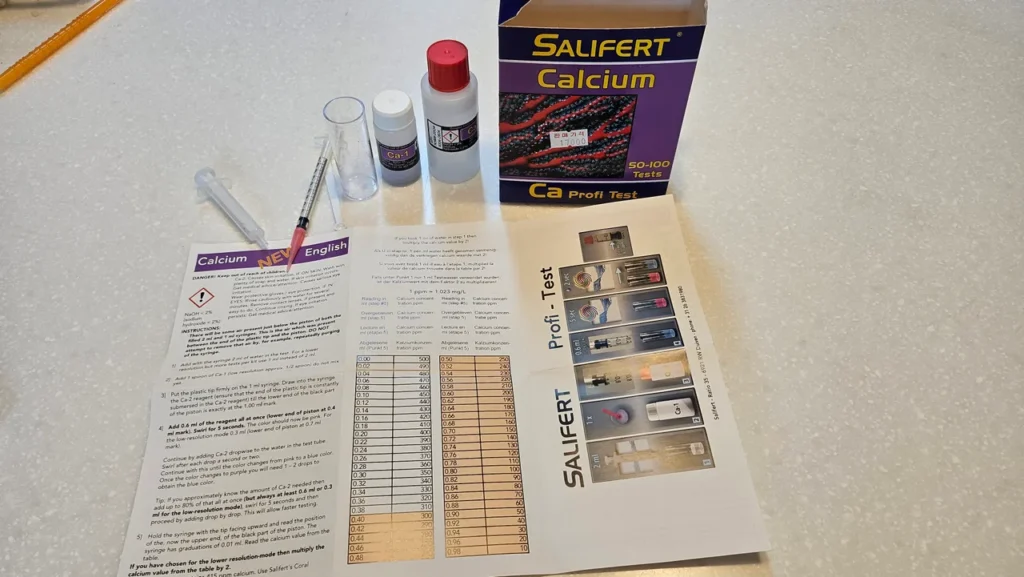
I pulled out the Salifert Ca test kit to check the calcium level in the tank.
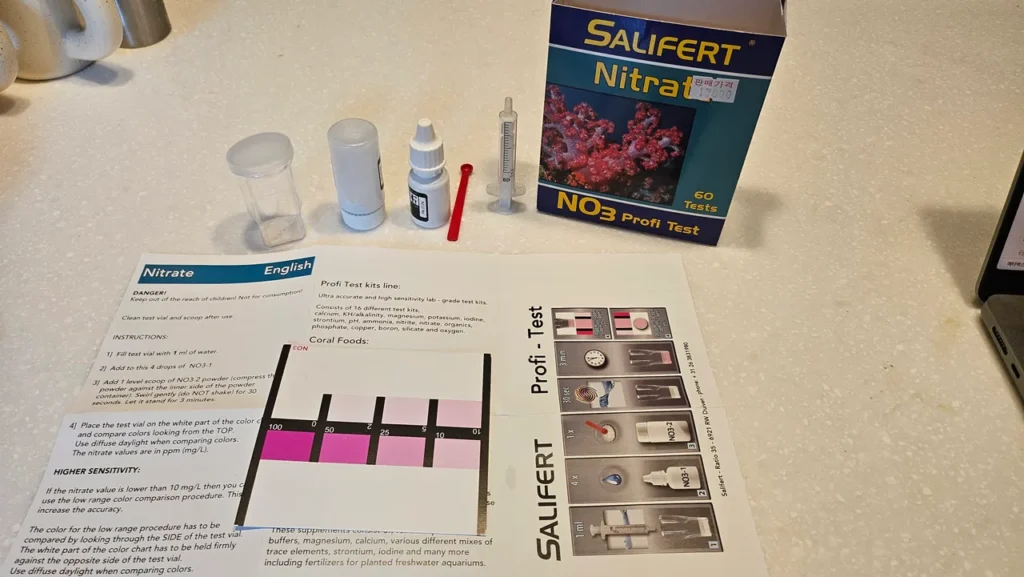
The kit comes with a test vial, a 2 ml syringe, a 1 ml syringe, a plastic tip, the Ca-1 powder reagent, the Ca-2 liquid reagent, a special spoon, a chart, and the instructions.
Here is a quick summary of the testing steps.
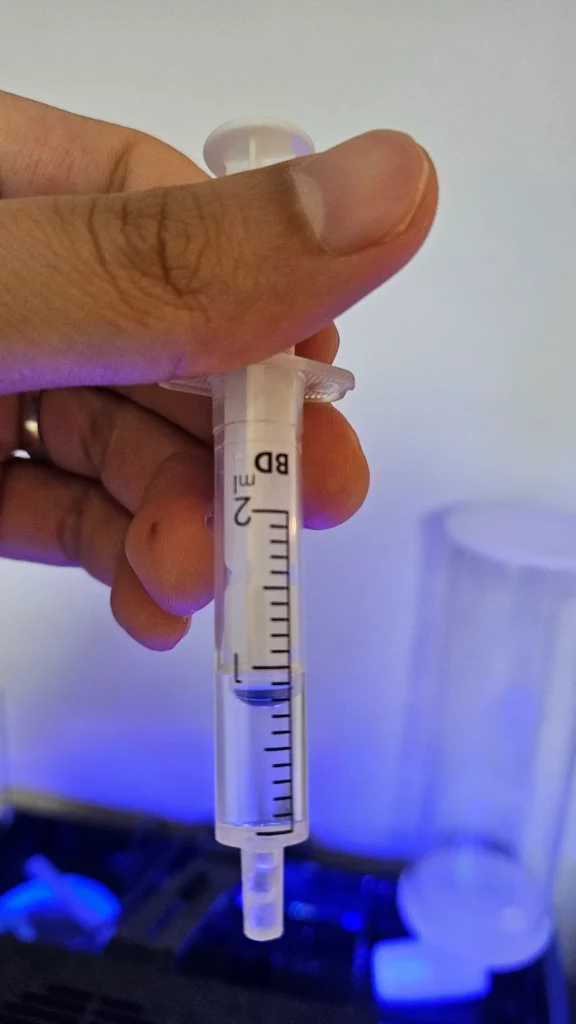
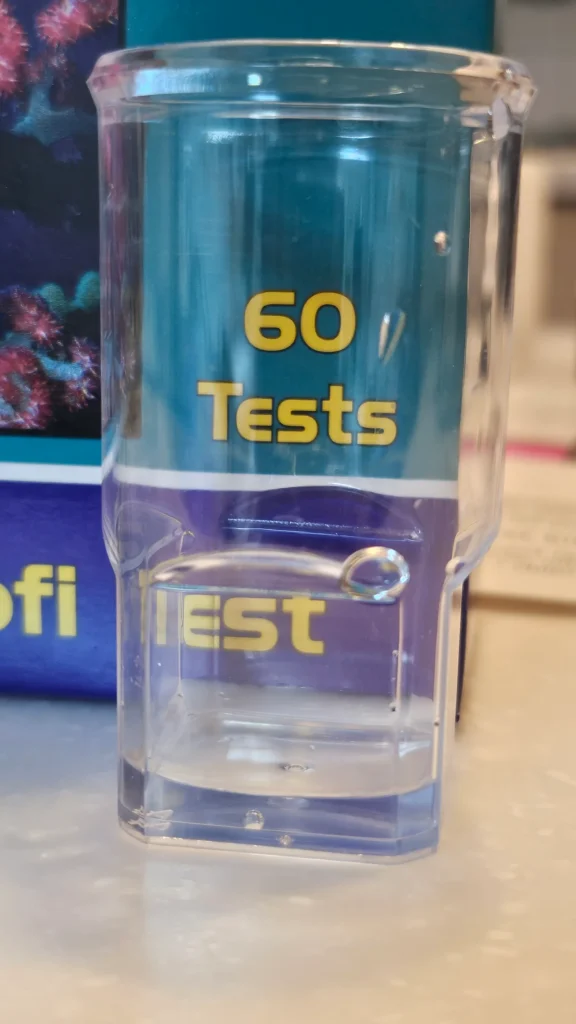
1. Put 2 ml of tank water into the test vial.
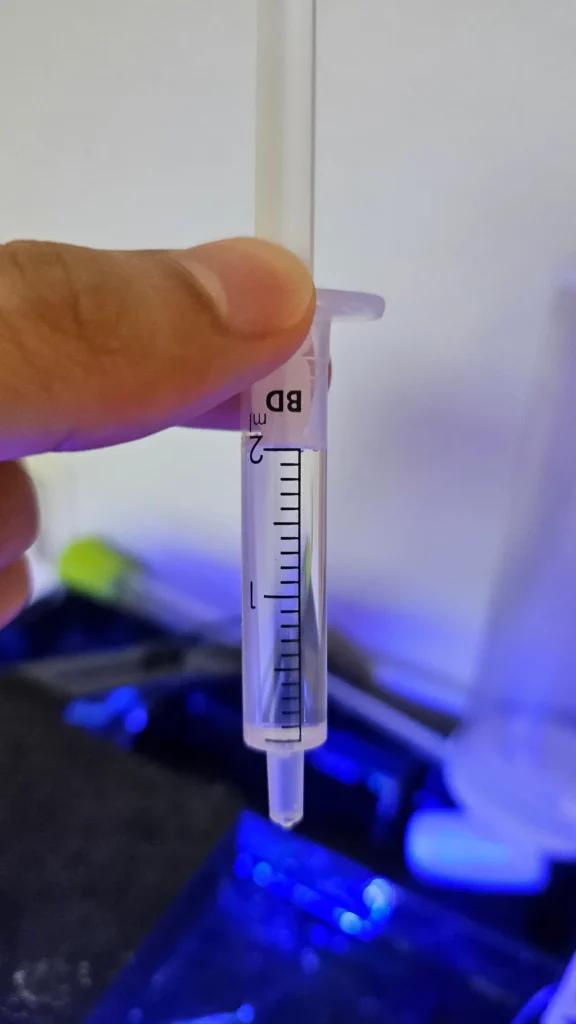
Draw 2 ml of water. Try to pull it up as cleanly as possible, with as little foam as possible.
When dispensing the water from the syringe into the vial, do it gently and slowly so it does not splash against the vial walls.
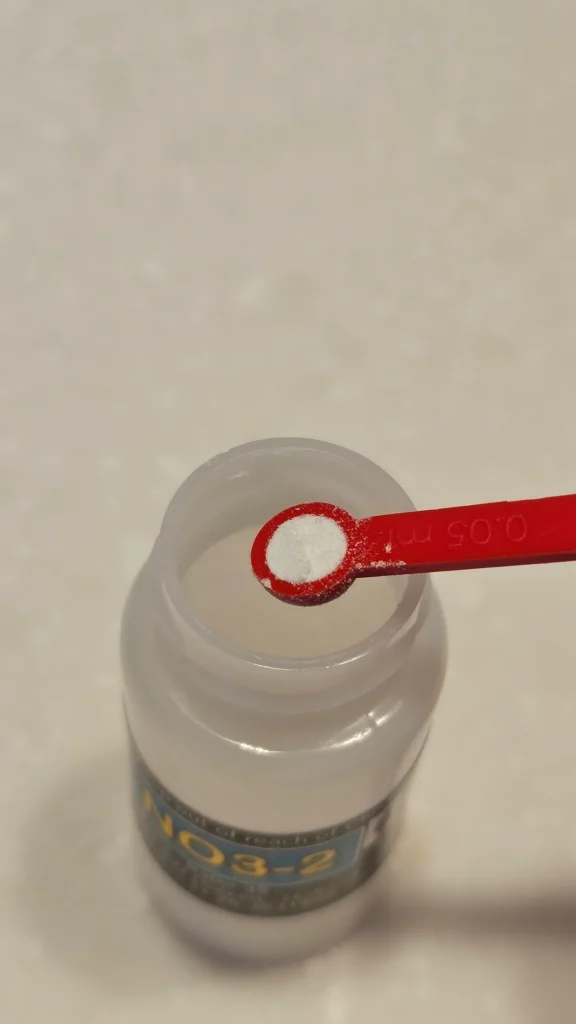
2. Add one spoonful of the Ca-1 powder reagent with the special spoon.

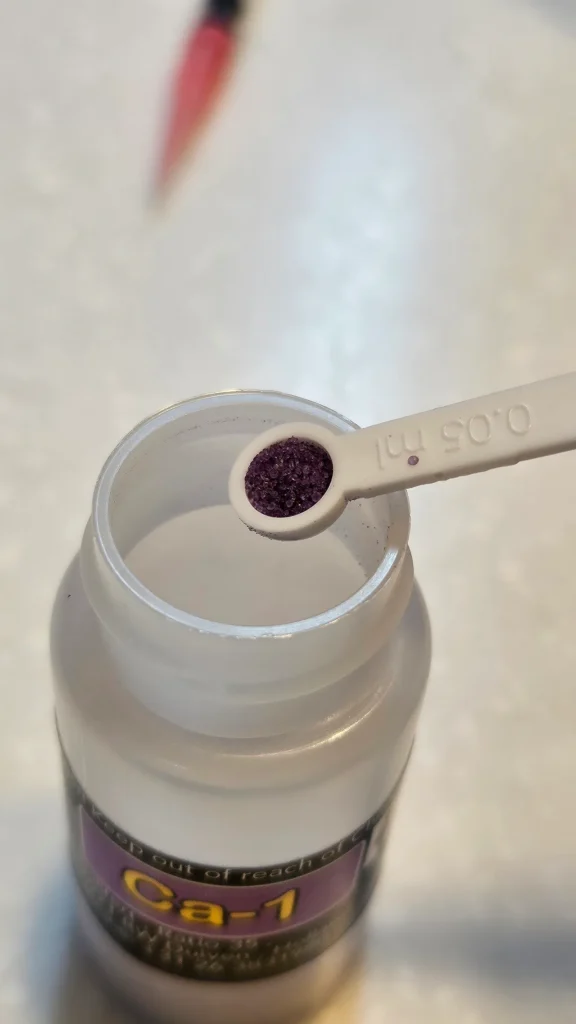
As with other test kits, fill the spoon generously first, then gently tap it with your finger so the spoon ends up full.
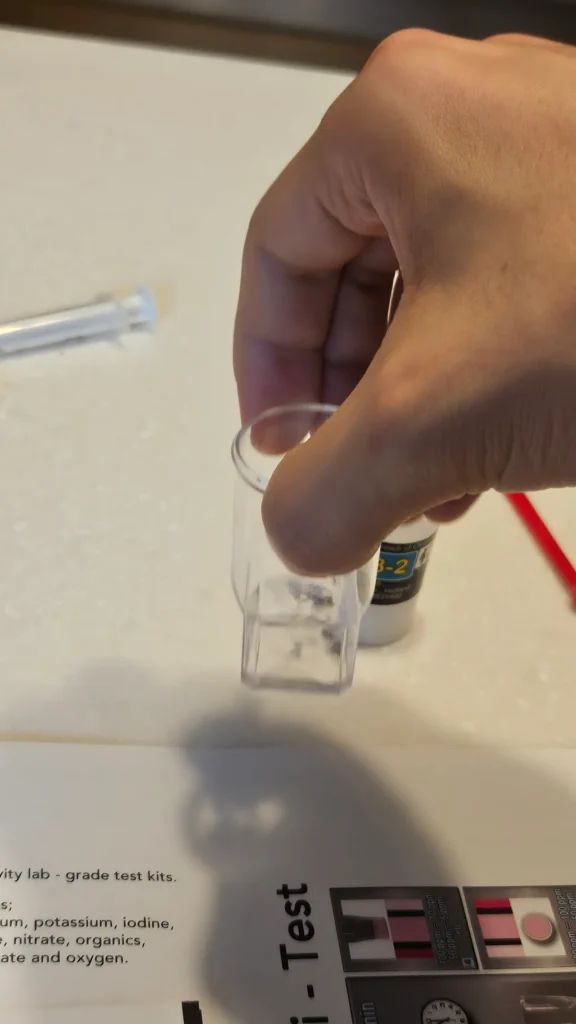
3. Gently mix the vial for about 5 seconds.
The instructions do not specifically say to mix, but if you do not, the Ca-1 powder remains in the water, so I gave it a quick mix.
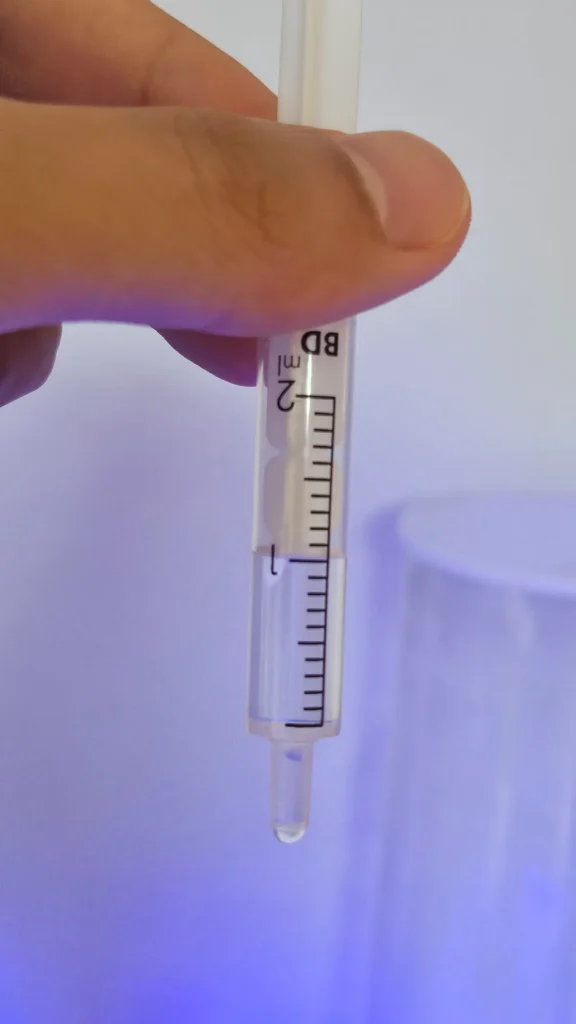
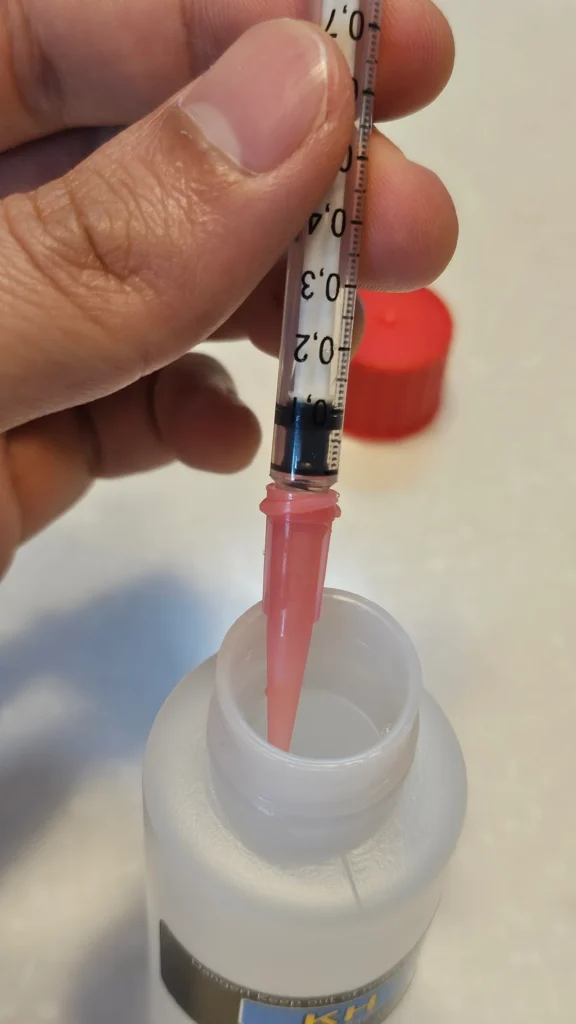
4. Draw the Ca-2 solution into the syringe up to the black tip at 1 ml.
The solution does not need to reach 1 ml exactly.
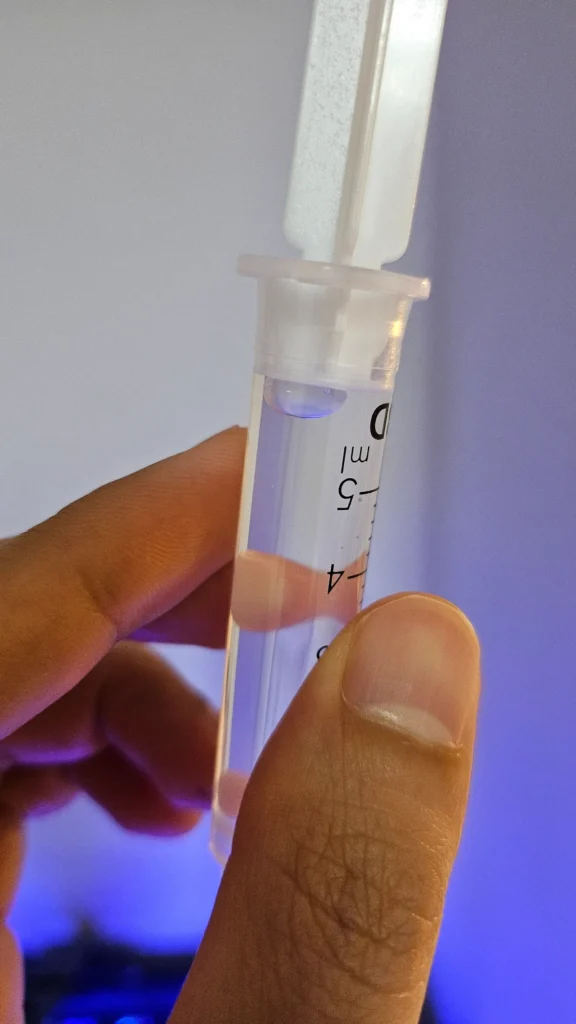
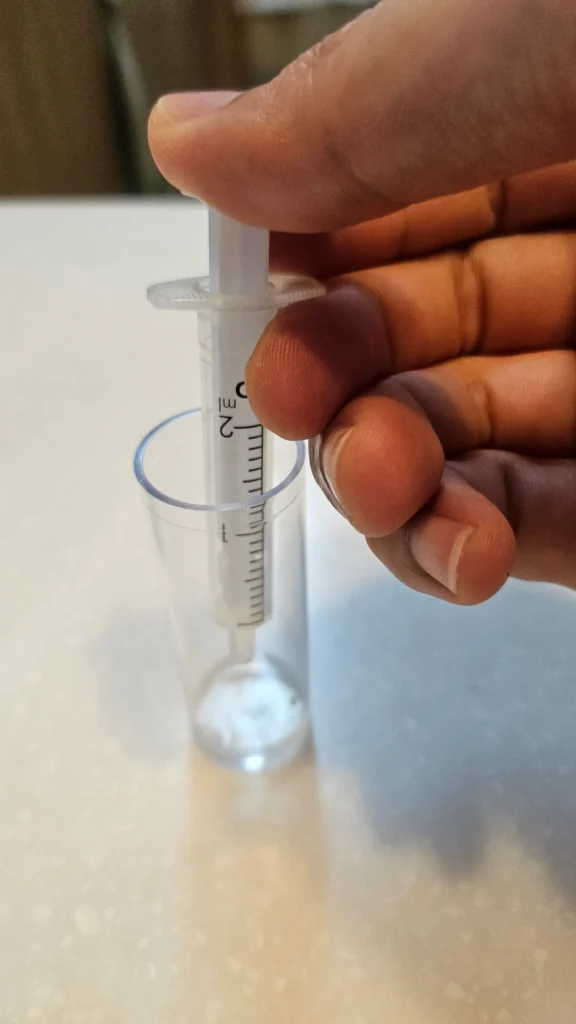
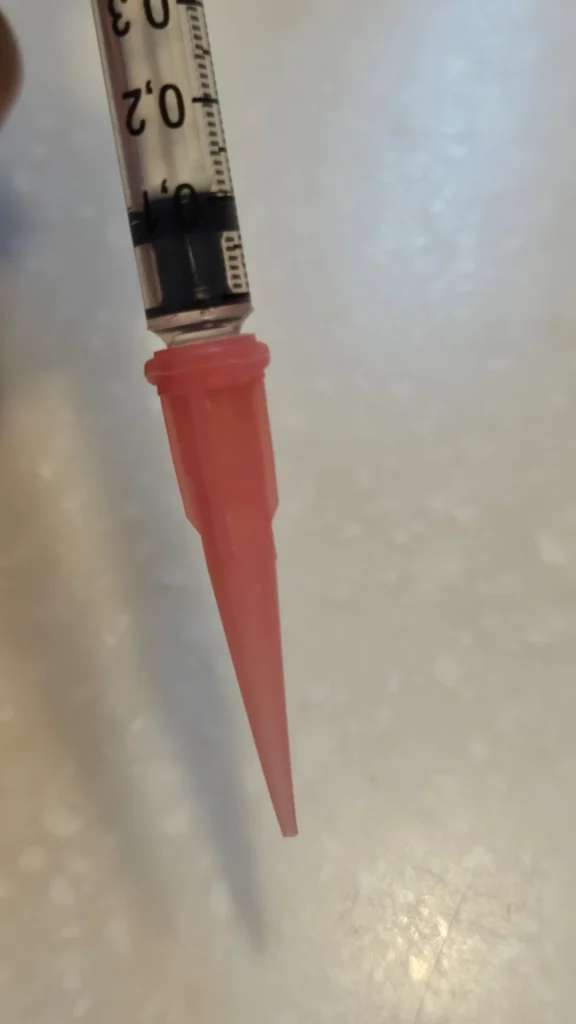
After firmly attaching the plastic tip to the 1 ml syringe, draw the Ca-2 reagent up to the 1.00 ml mark. At this point, align the lower reference line of the black rubber piston with 1.00 ml.
It was written in the instructions, but at first I was not sure whether the reference was the solution level or the tip, so I searched it and confirmed that, as shown in the photo, you line up the end of the black tip with 1.00 ml.
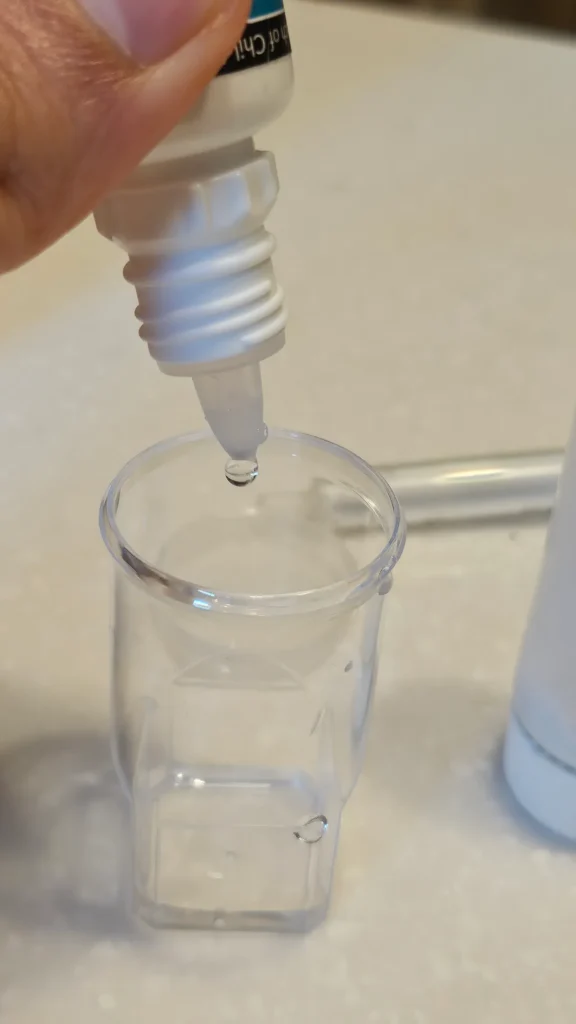
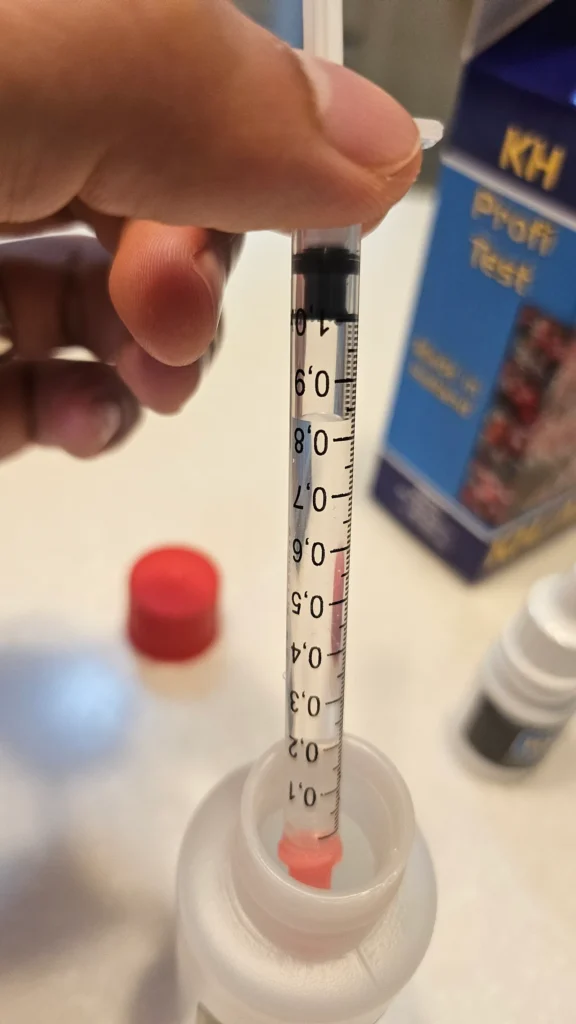
5. Mix 0.6 ml of Ca-2 reagent into the water.

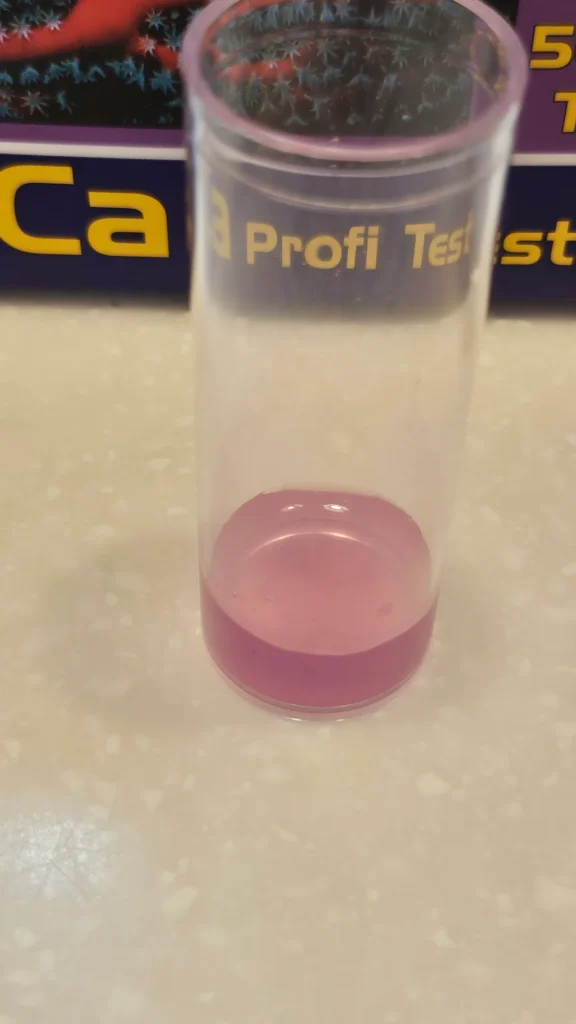
With the syringe set to 1.00 ml, add 0.6 ml into the vial. The black tip of the syringe will then line up at 0.4 ml, and the liquid in the vial will turn pink.
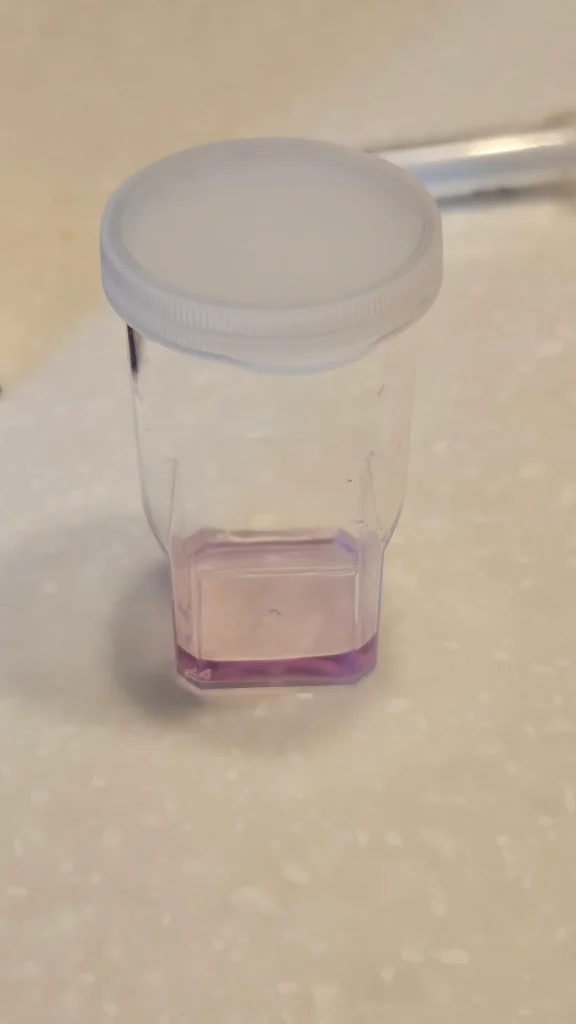
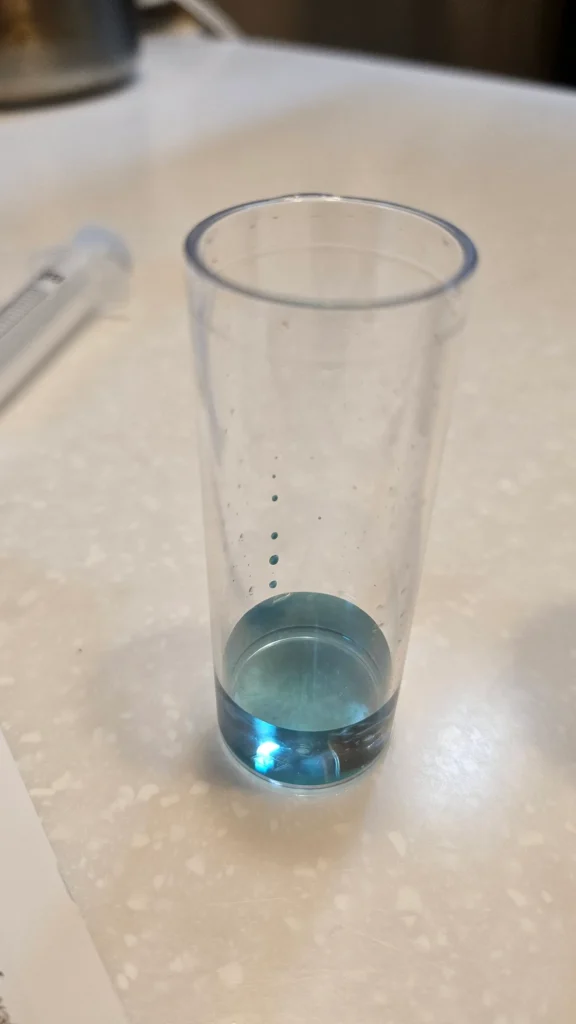
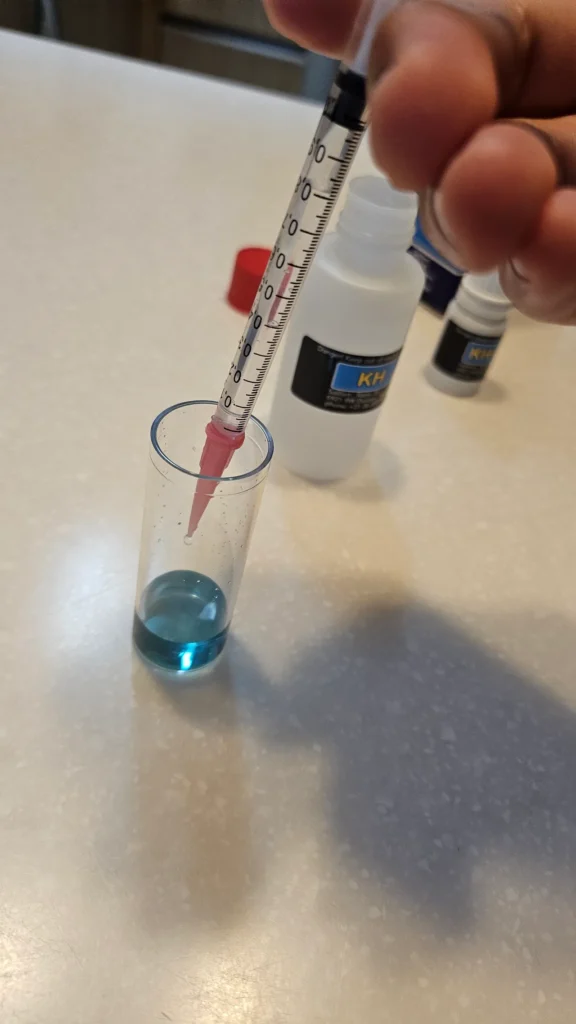
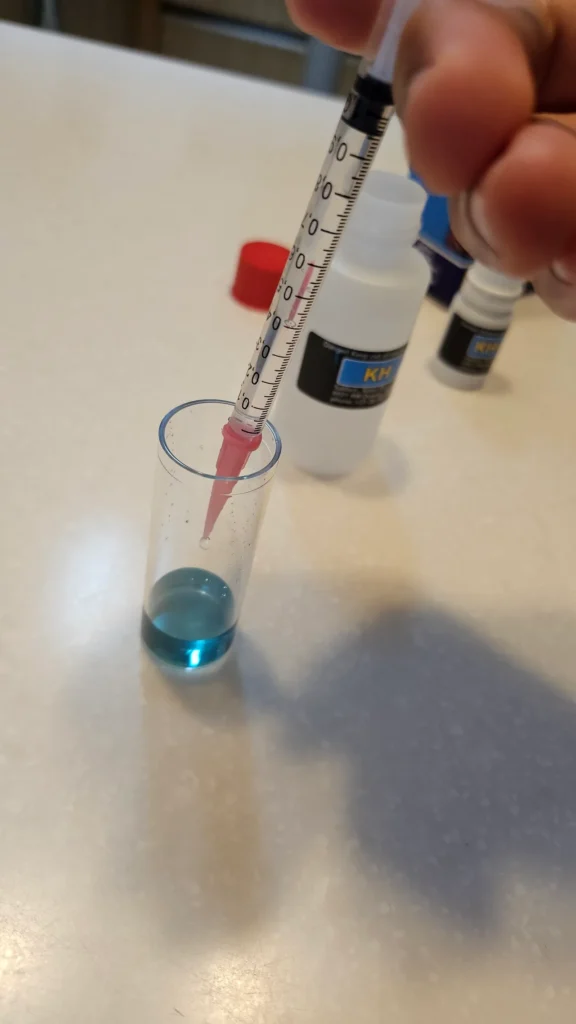
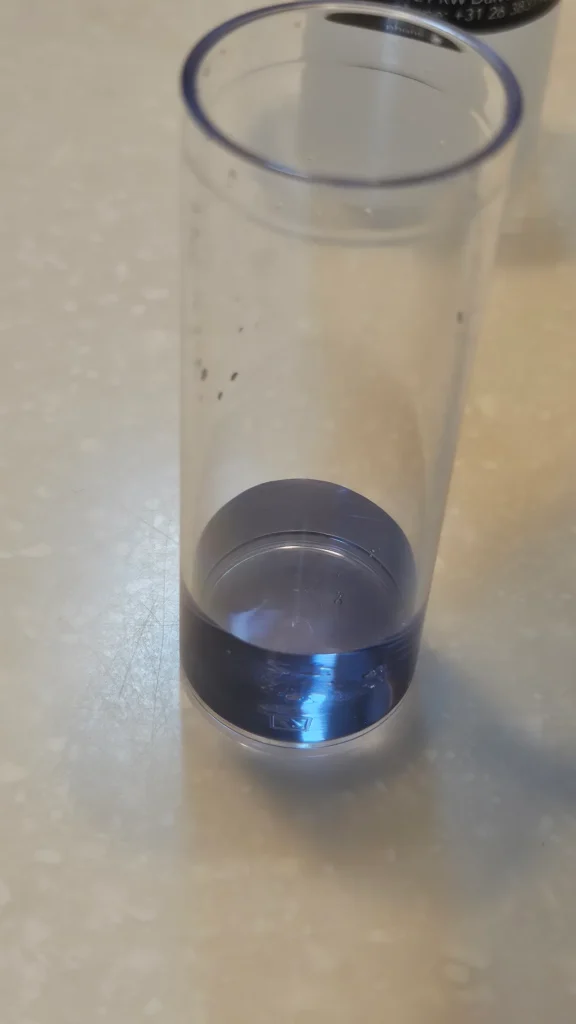
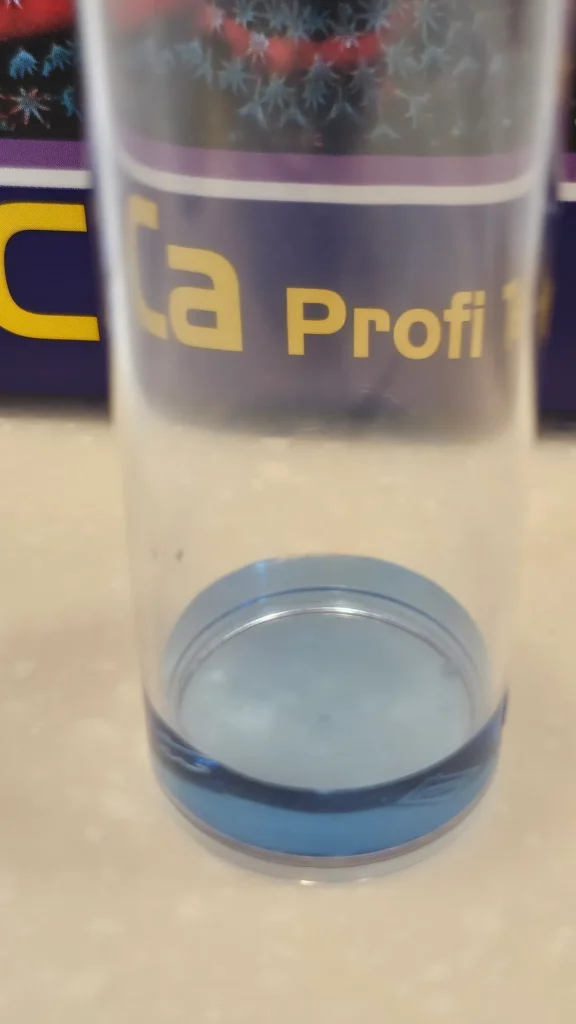
6. Add the Ca-2 reagent drop by drop, swirling for about 1 to 2 seconds each time.
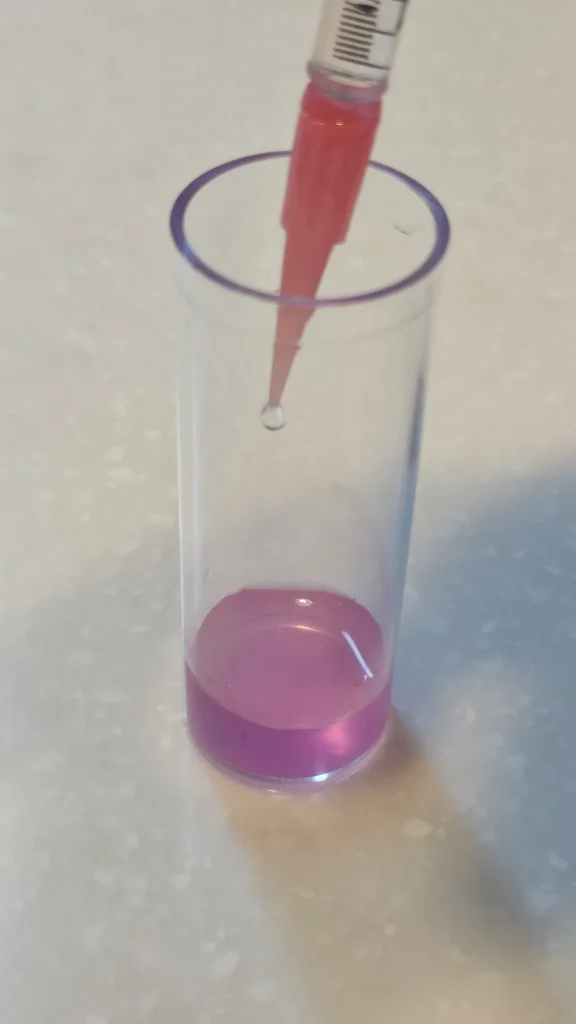
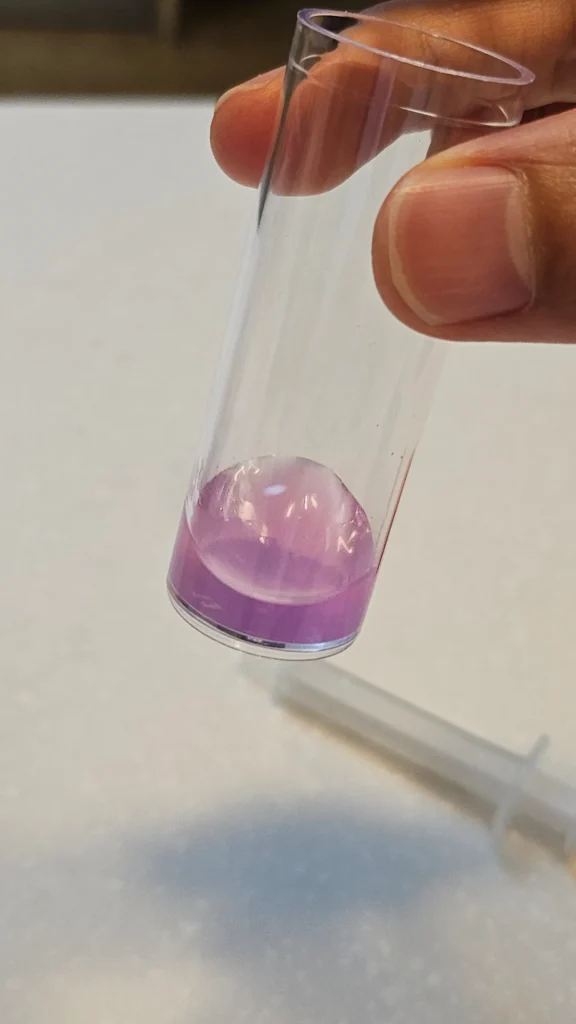
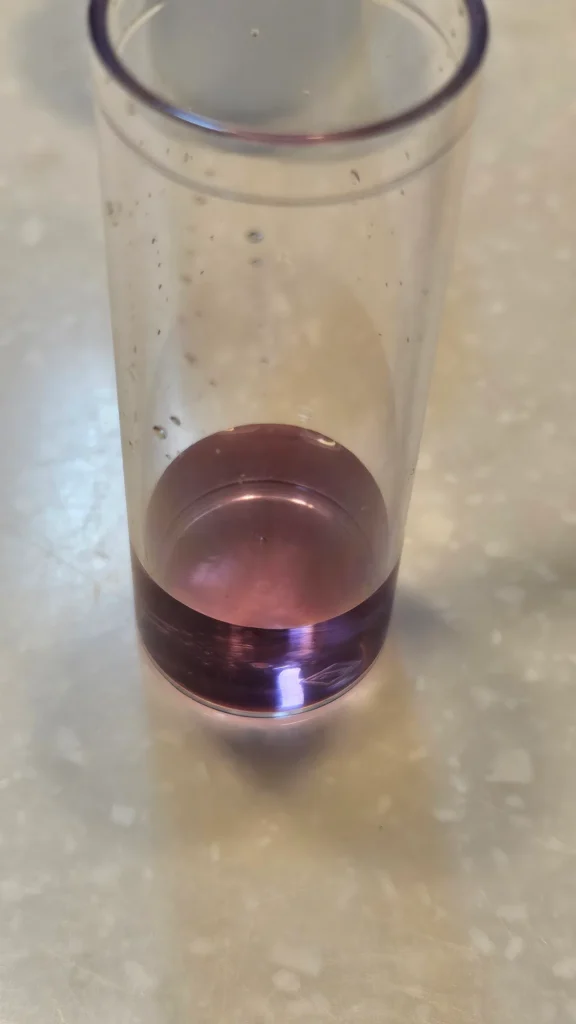
Keep going slowly until the color changes from pink to blue. When it starts looking purple in the middle, it feels like you are very close to the end, so from that point on I had to be more careful and watch it one drop at a time.
Like with the KH/Alk test, you need to watch the point where the solution changes color, and this time too I needed to record the exact moment the color clearly changed.
I thought video would make it clearer, so I recorded one. You can clearly see the color change.
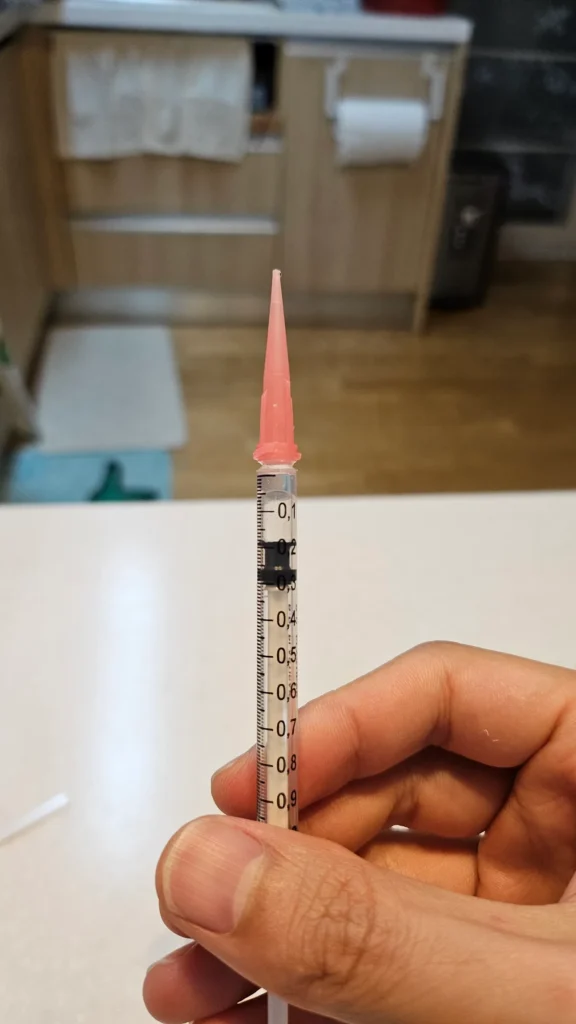
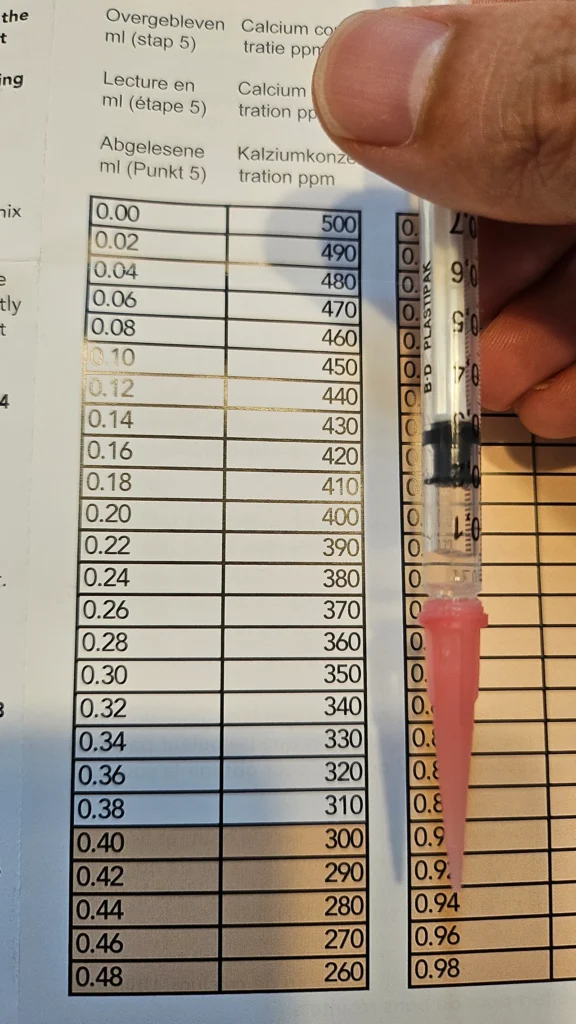
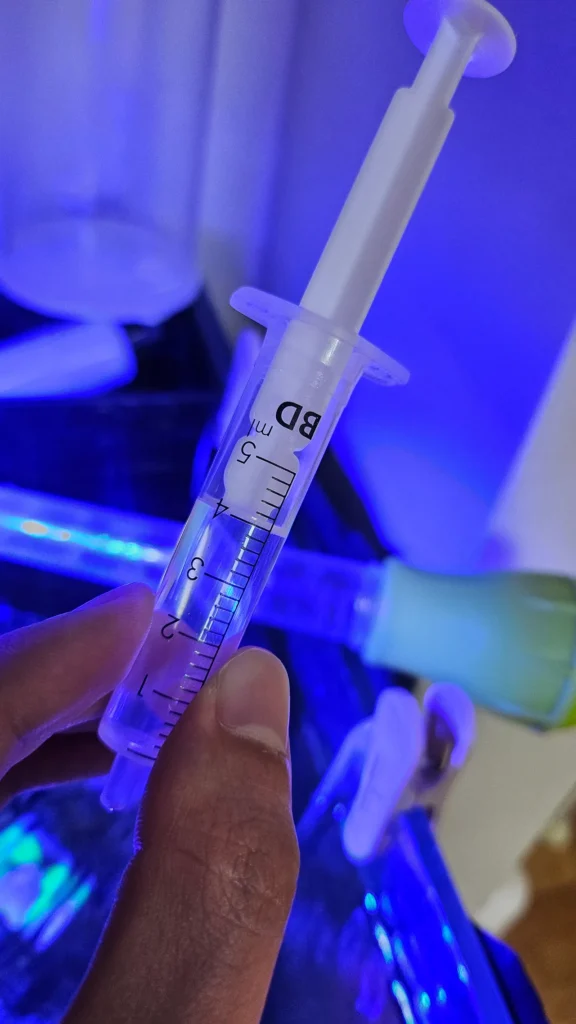
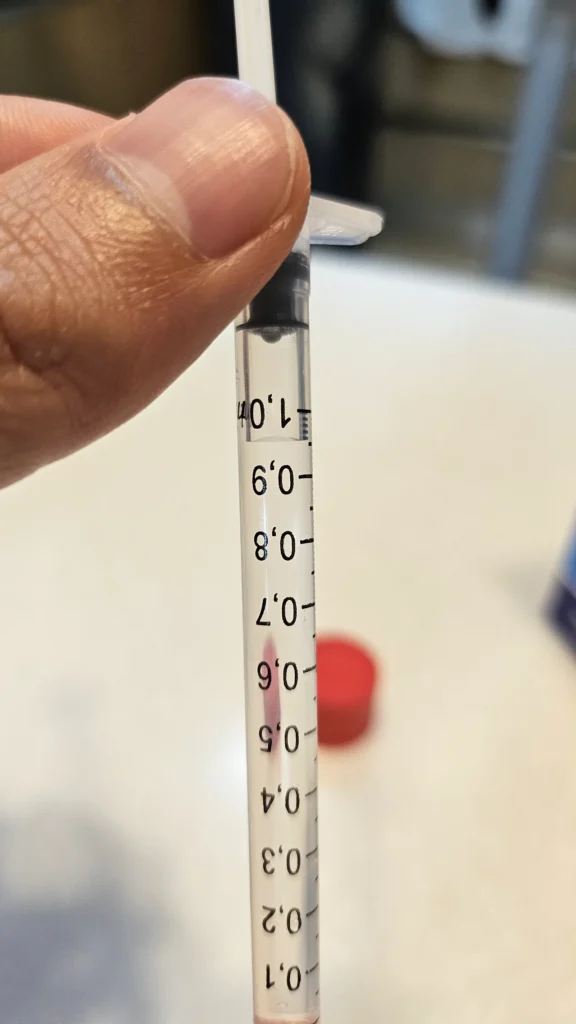
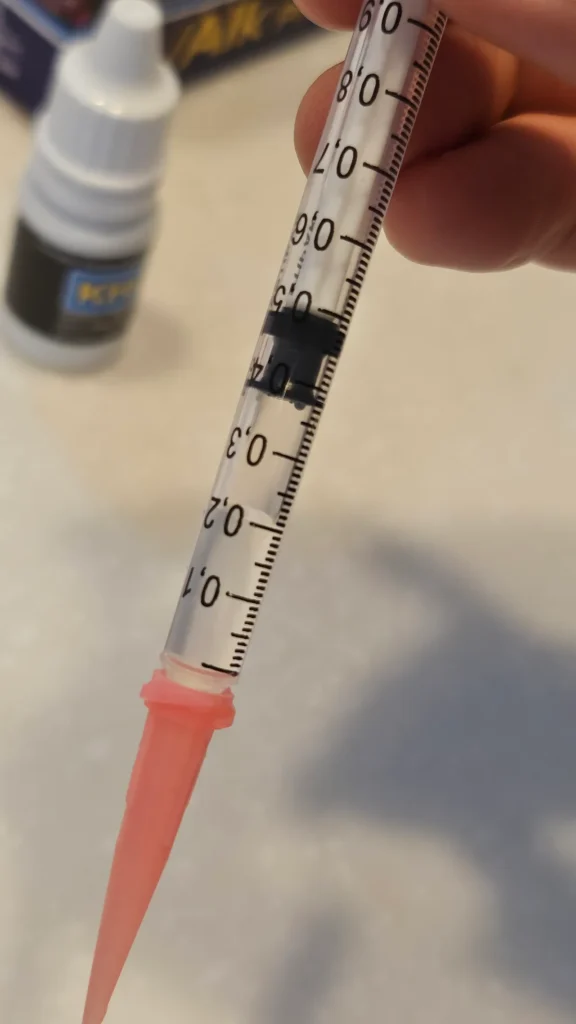
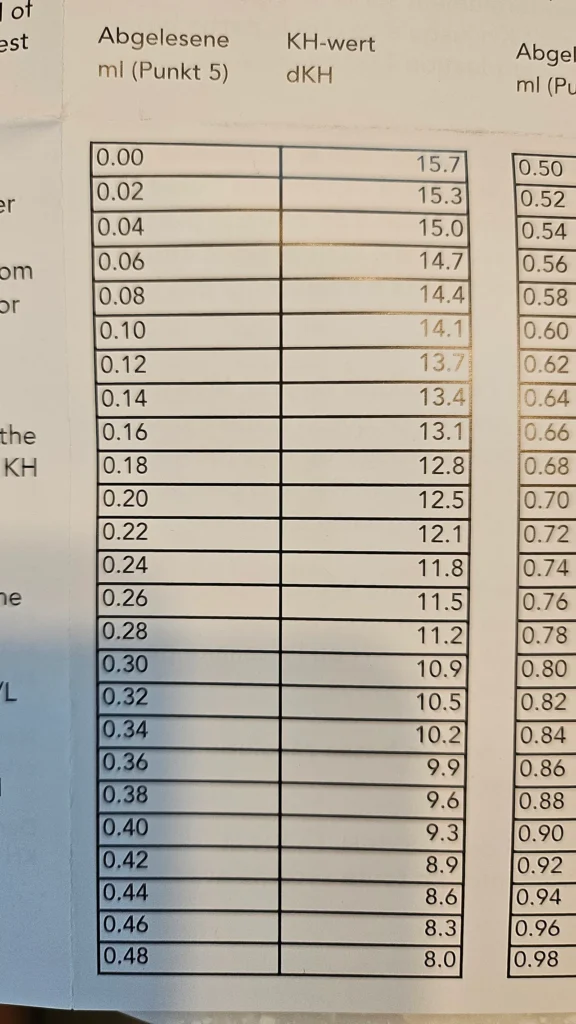
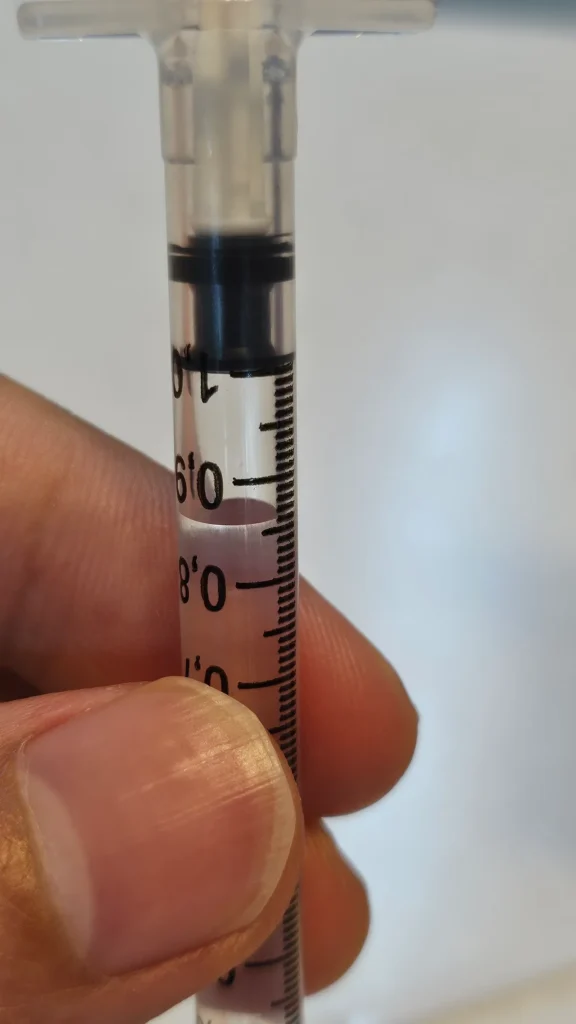
Once the color turns blue, hold the syringe with the tip facing up and compare the position of the black rubber piston with the chart to read the tank's Ca level.
Based on the photo above, the black mark looks to be around 0.19, which puts the result at about 405, between 0.18 and 0.20 on the chart.
This reading
This Ca reading looked to be around 405 ppm.
As with other Salifert kits, this is not a digital measurement, so the result may be a little different from the actual value, but it still seems important to measure it the same way each time so you can keep track of the number.