The water looks clear, but why are there days when corals stay a little less open than usual, or livestock behave differently?
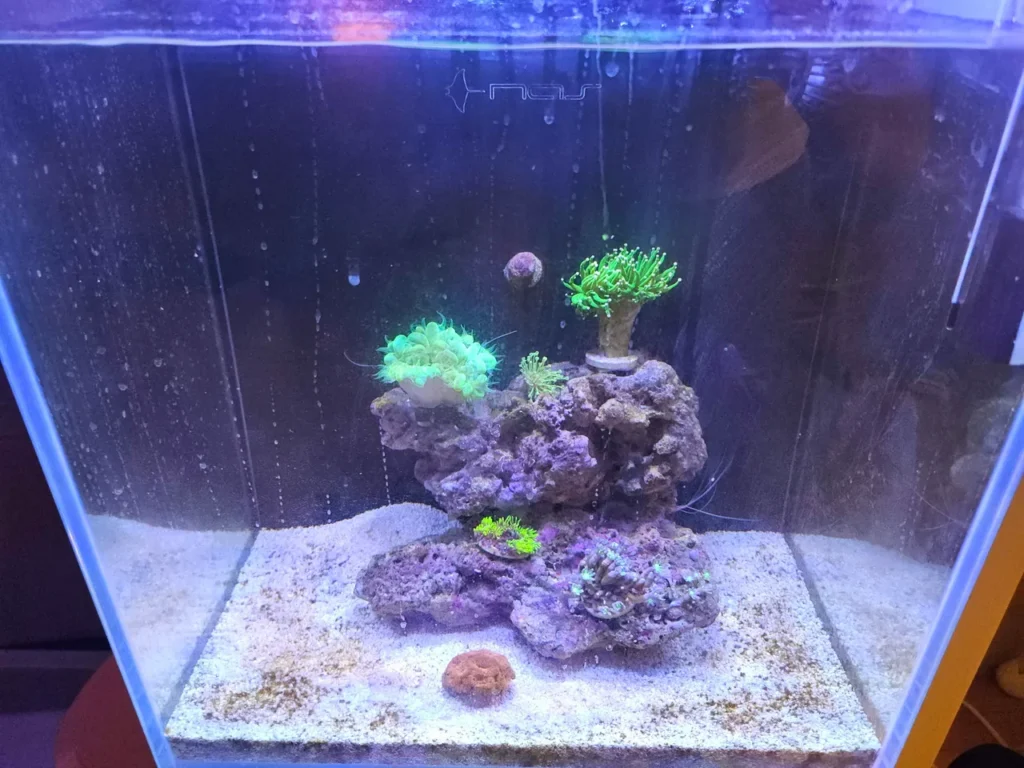
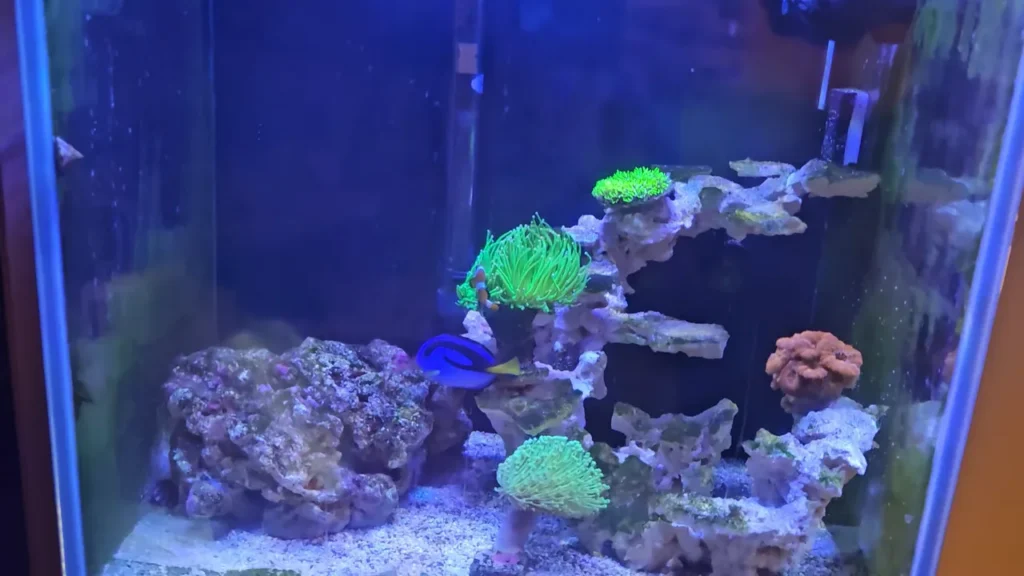
While keeping a 45-cube reef tank, the most frustrating moments were probably when I couldn't figure out the cause of what was happening in the tank.
Dealing with hitchhikers, deciding on a water change schedule, and dealing with algae growth are all difficult, but for me, the hardest part was the time when I had to guess at the reason corals or other livestock were doing poorly.
For about a year after starting the 45-cube tank, I was watching the tank's condition with my eyes and my gut. Temperature and salinity are relatively simple. They're easy to measure, and you can immediately understand why they matter without anyone explaining it to you.
But I kept wondering whether the values people commonly call water parameters really needed to be measured at all. Each one needed its own test kit, and the testing methods looked more difficult than temperature or salinity, so I kept putting it off.
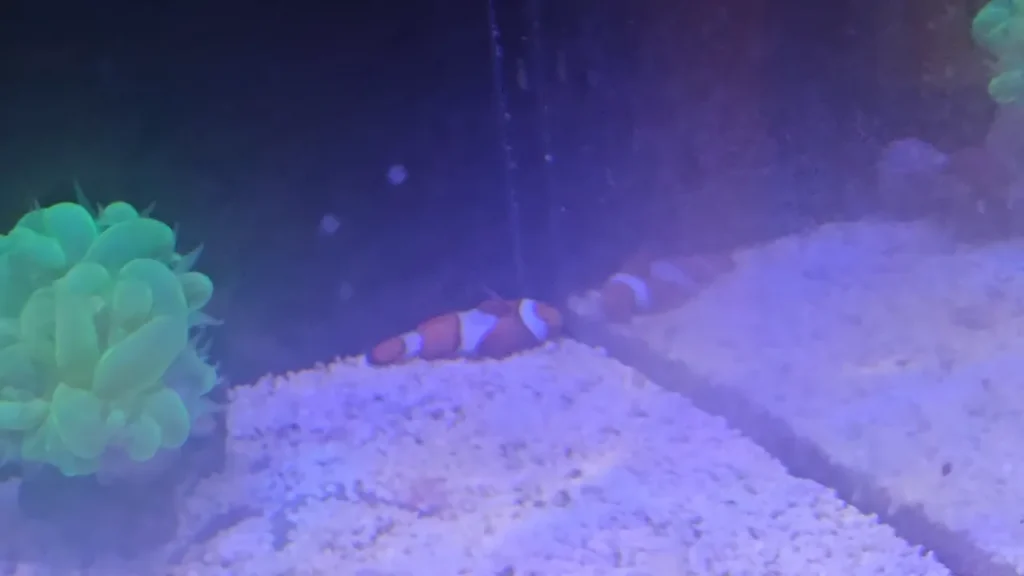
Then something happened. I did a water change at the same time and in the same way as usual, but after the water change, white spots started appearing on the fish, the tips of the globe polyps that used to open fully no longer opened, and brown algae gradually started covering the globe polyps.
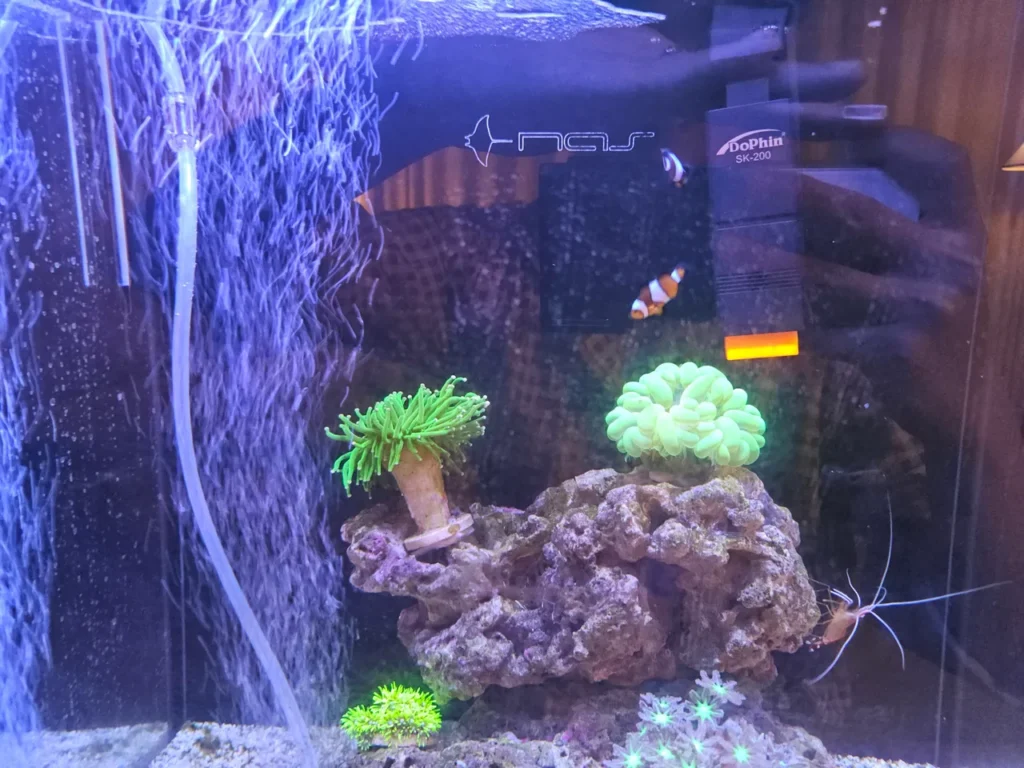
I especially knew something was wrong when Nemo, who had been eating well and breathing normally, stopped eating and started breathing harder and harder.
I searched online. Since I kept seeing people say to do a water change if something seemed wrong, I started doing a water change once a day, and thinking the corals might be lacking oxygen, I hurriedly bought an airstone and added bubbles too.
With the airstone running and daily water changes, things seemed to improve a little. Then, when I looked at the tank after work with a nervous feeling, I saw a dead fish. Not long after that, the globe polyps died too.
After that, the bubble coral, the yellow tang, and the coral I called the bouquet coral suddenly started doing poorly too, and then were gone.
It was really painful. And I kept wondering what on earth was wrong. I had done the water change the way I usually did, so was the problem with the water change? Or was it something else?
I remembered water testing, which I had felt wasn't really necessary. If I had tested the water, would I have been able to figure out what the problem was?
I decided to start measuring the water. I wanted to figure out what absolutely needed to be checked in a tank where I keep corals and fish together, so from that point I looked a little more into individual parameters and decided to measure four high-priority ones.
The four I decided to measure
KH/Alk and Ca are closer to the side that helps corals build skeletons and stay stable. NO3 and PO4 are closer to the nutrient side connected to food, waste, filtration, and algae.
Simply put, one is the flow corals use, and the other is the flow that stays in the tank and builds up there.
- KH/Alk: alkalinity connected to pH buffering and coral skeleton formation
- Ca: calcium that LPS and stony corals use to build calcium carbonate skeletons
- NO3: nitrate left behind after food, waste, and biological filtration
- PO4: phosphate connected to food, organic matter, and even the storage capacity of rock and sand
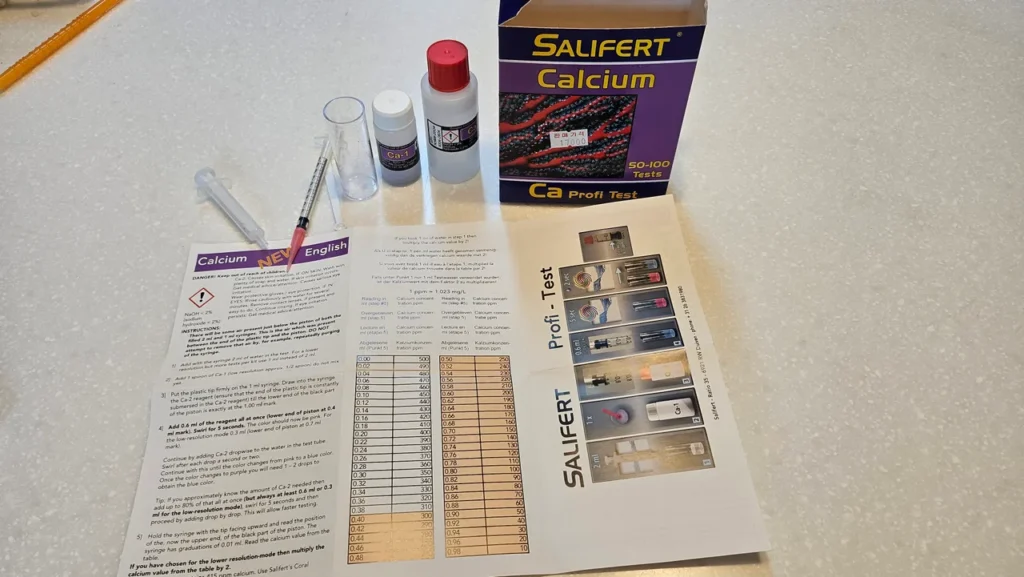
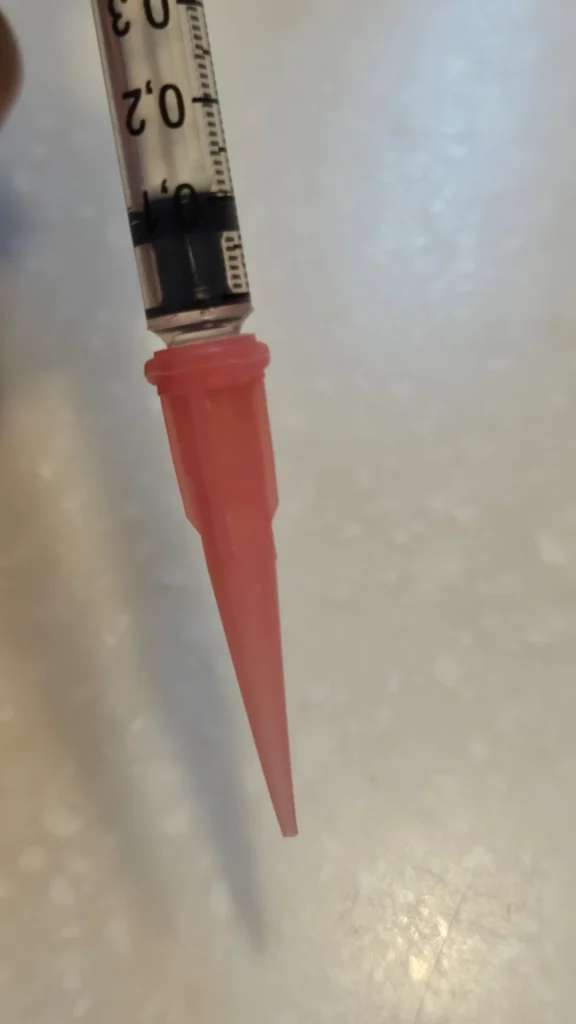
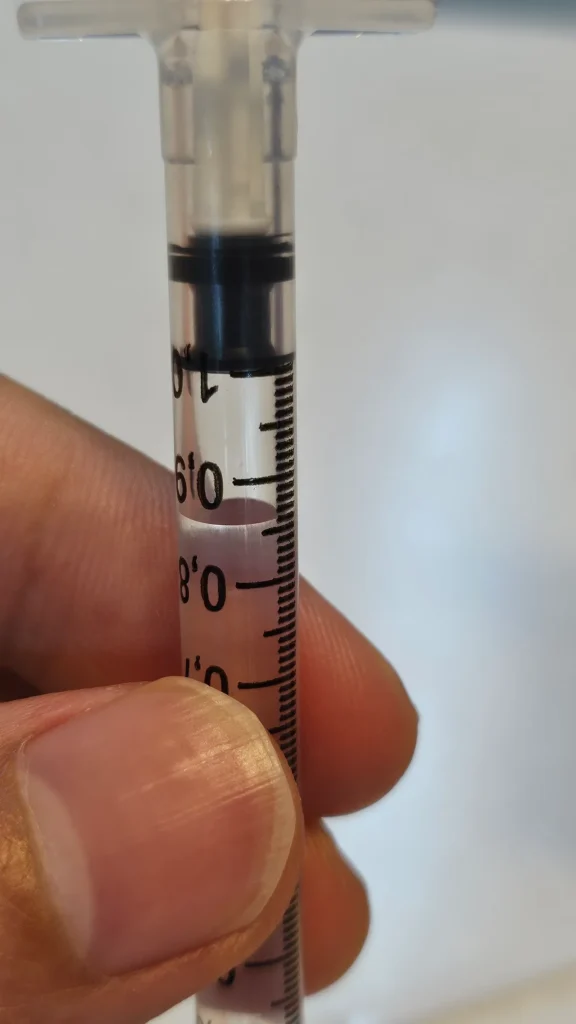
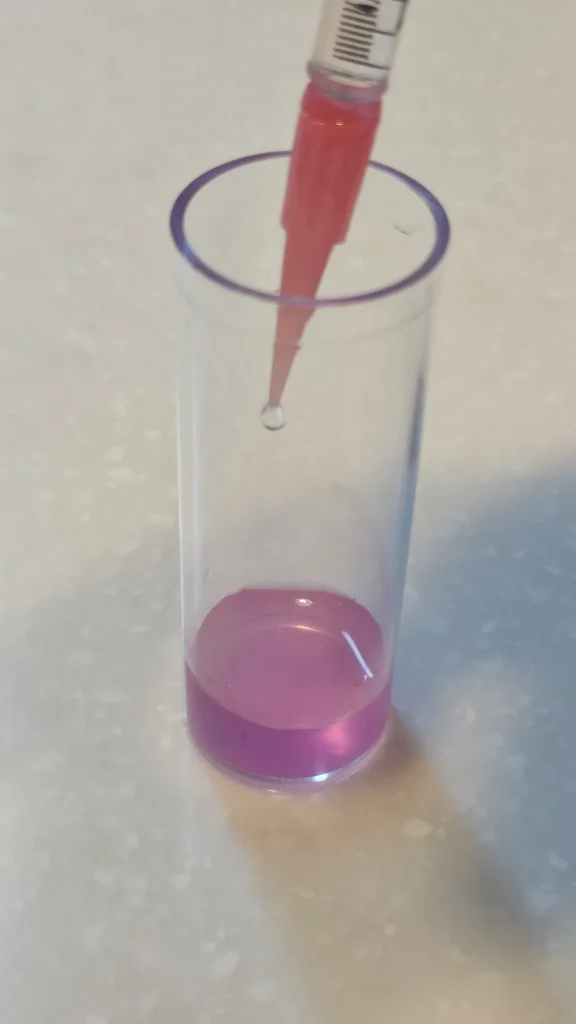
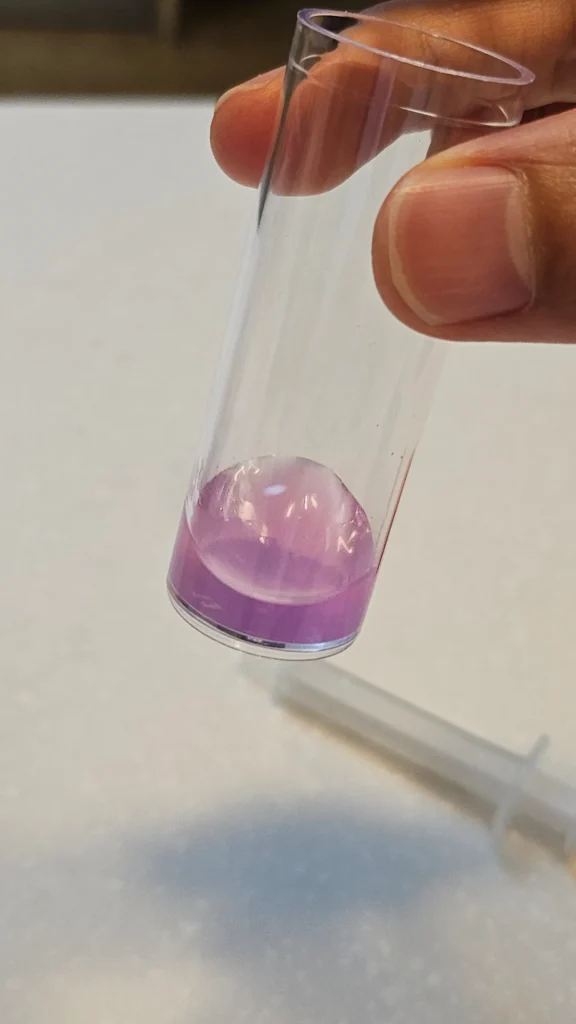
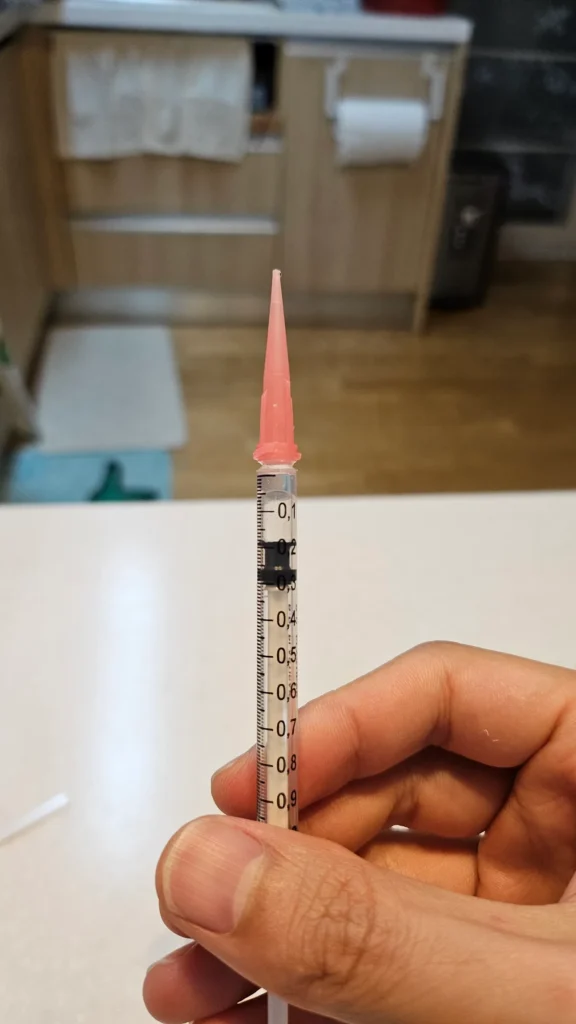
I wrote up separate notes about actually running each test.
- Salifert KH/Alk test instructions
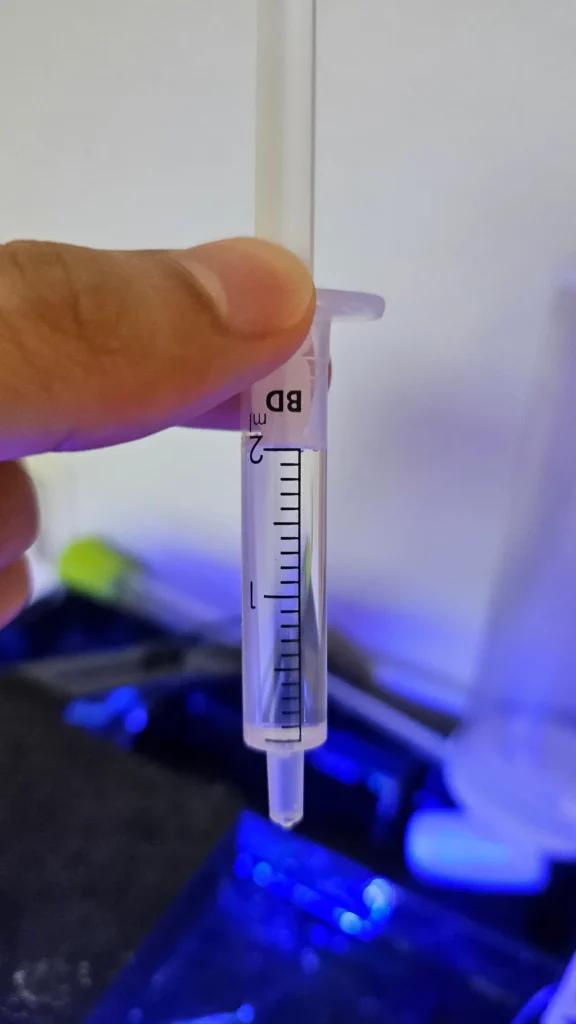
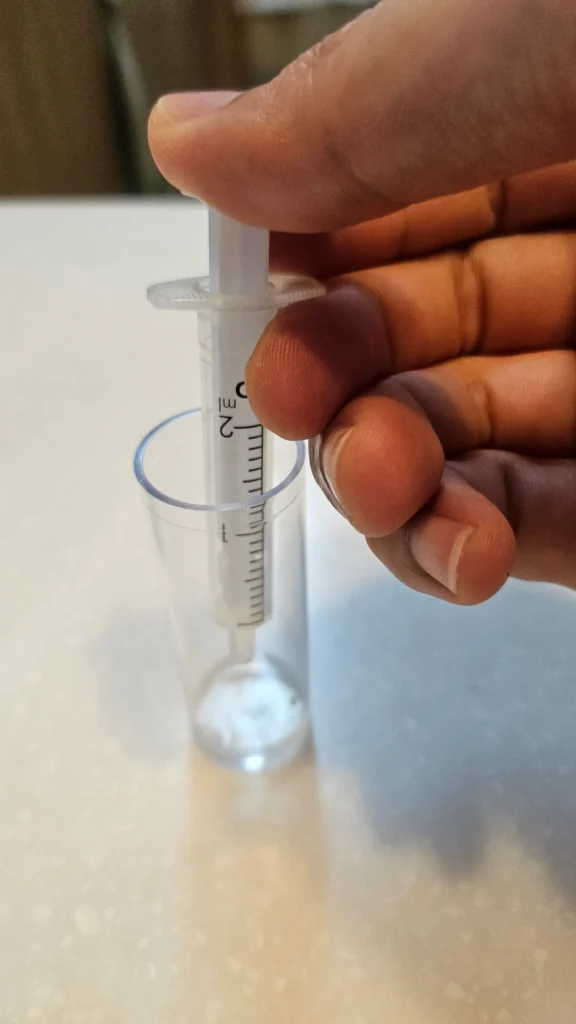
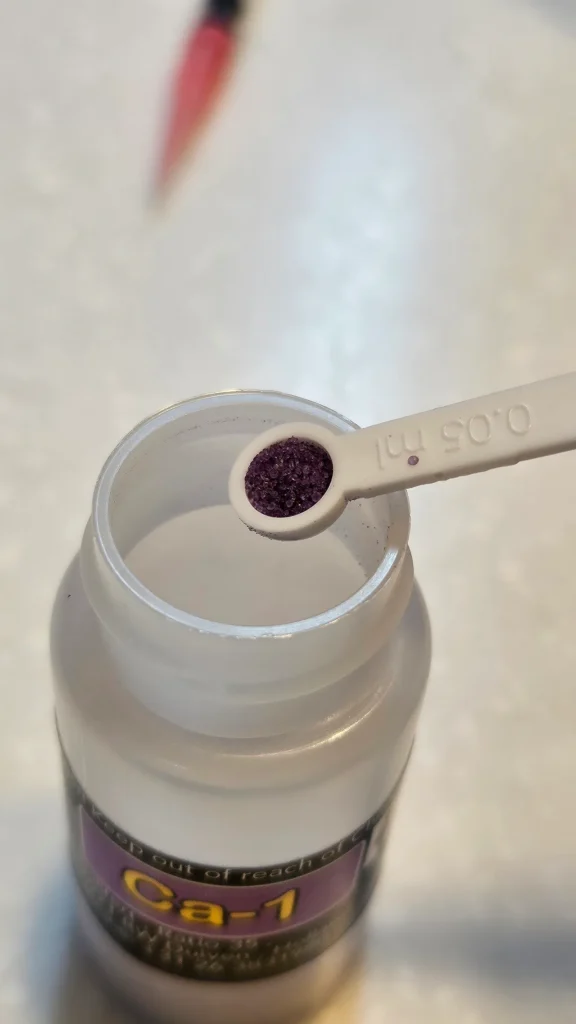
- Salifert Ca calcium test instructions
- Salifert NO3 nitrate test instructions
- Salifert PO4 phosphate test instructions
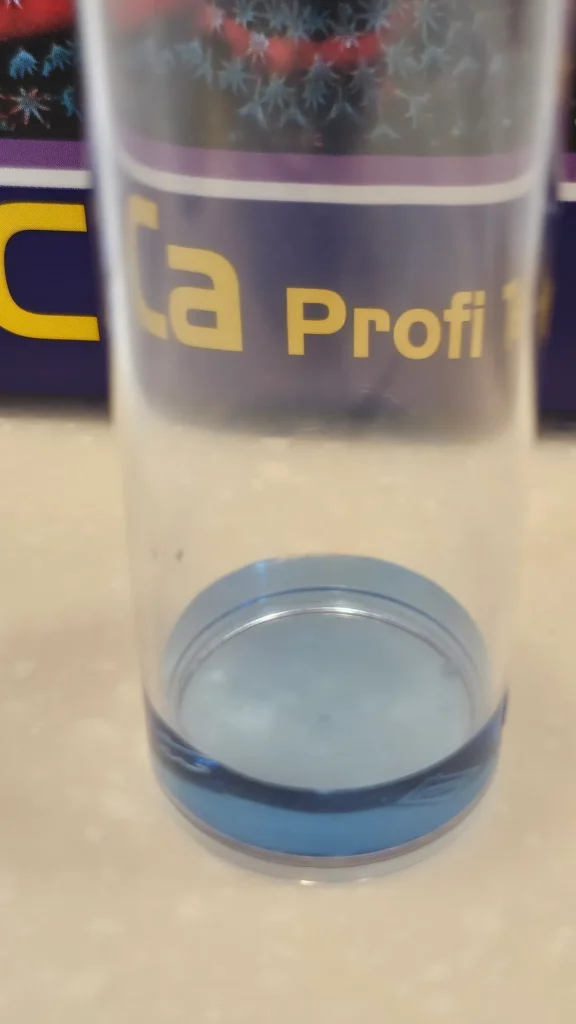
KH/Alk: the buffering strength corals rely on
The reason I looked at KH/Alk first was that I felt it was directly tied to coral response. KH is not pH itself, but alkalinity, which shows how well the water can resist shifts toward the acidic side.
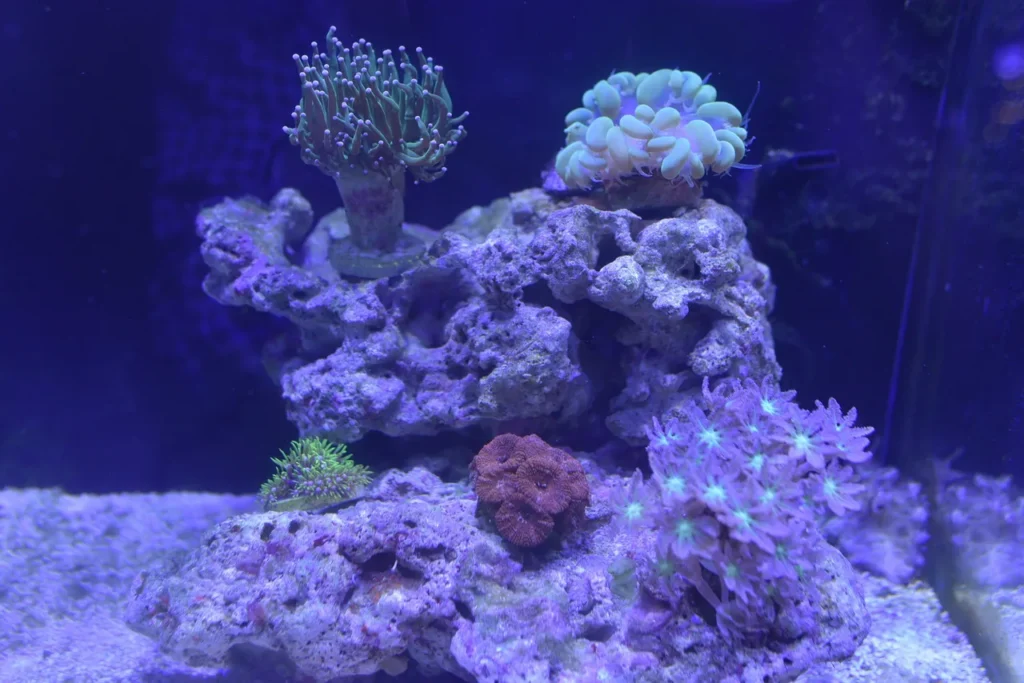
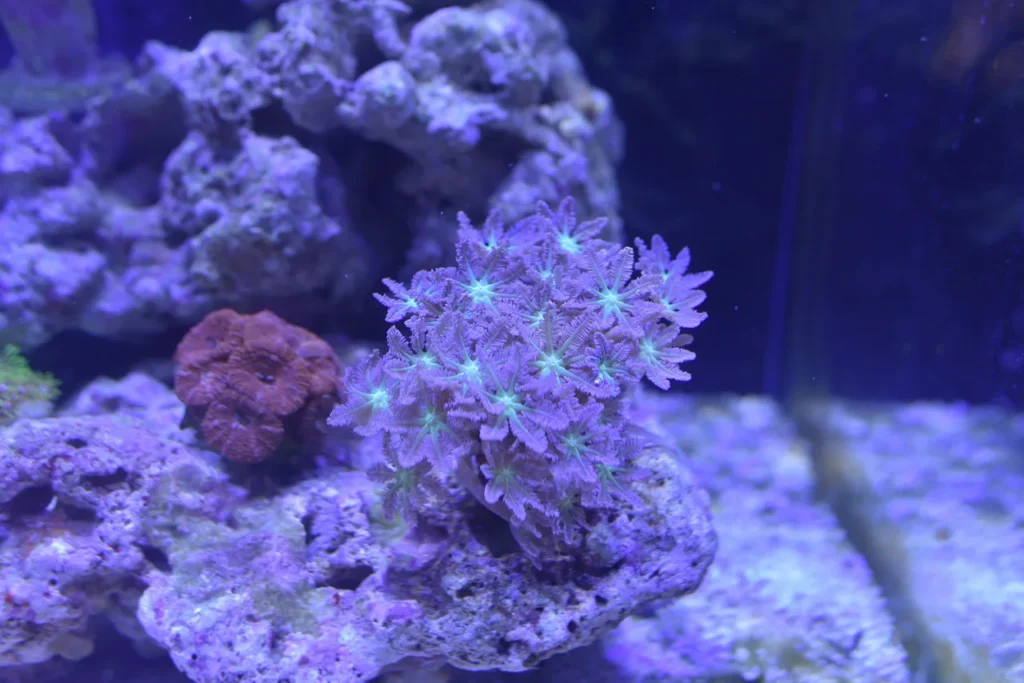
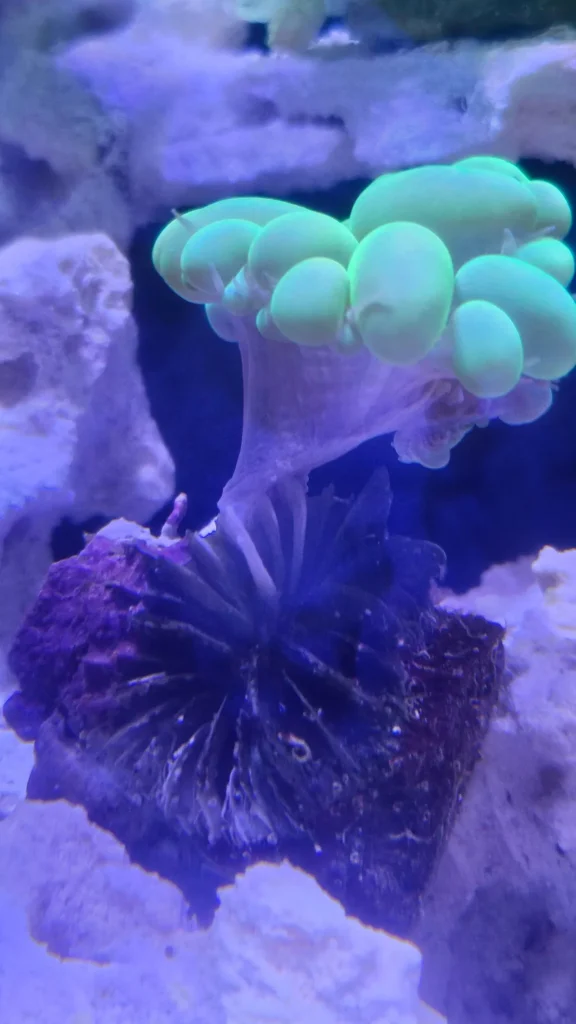
LPS like torch coral and Acan coral show water changes very clearly. When the polyps open less or the tissue looks shrunken, I can't say for sure that there's only one cause, but it is worth checking whether KH is swinging.
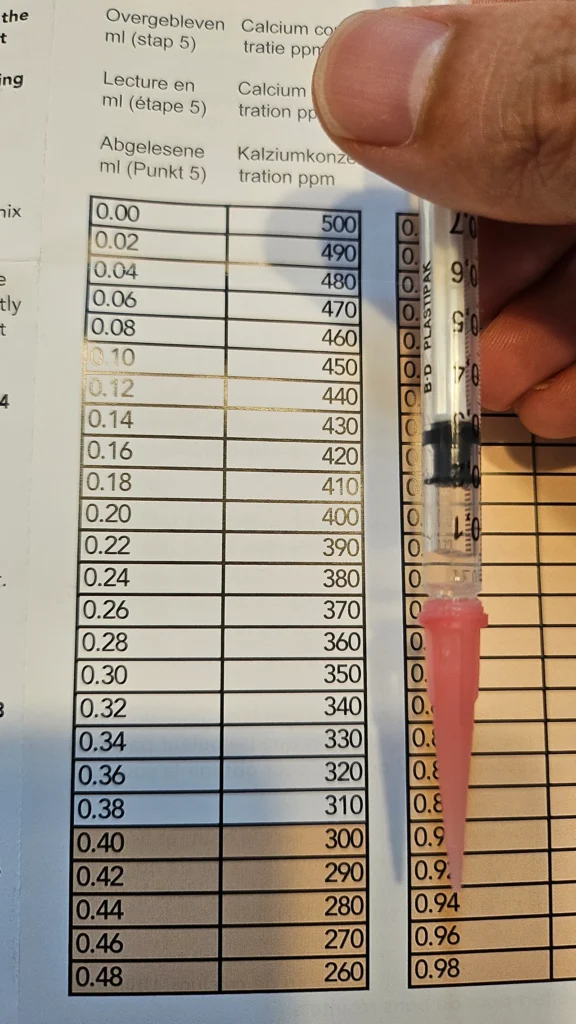
When I first measured it, the value came out around 12.8 to 13.1 dKH, which was clearly higher than the commonly known 8 to 12 dKH range.
Based on that value, I formed a hypothesis that the KH of the new water made for a 25% water change once a week was staying higher than what the corals were consuming, and that this repeated pattern was pushing the value up.
After reducing the water change amount and testing for a month, the KH value actually moved into the normal range.
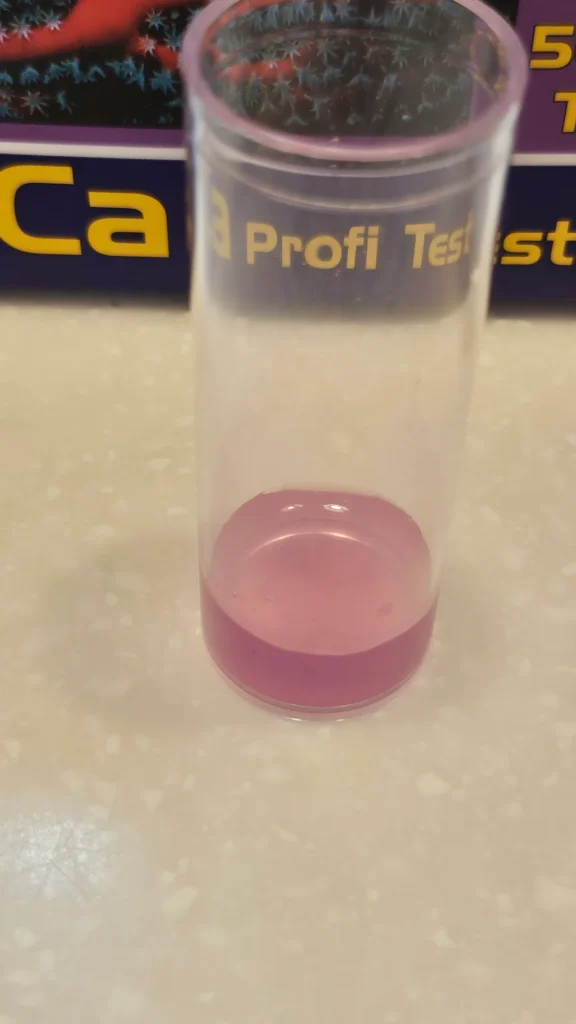
Ca: the material corals use to build skeletons
Ca is the main material in a coral skeleton. Even though LPS look fleshy and full, they still have a hard skeleton inside, and when they form new heads or thicken their skeleton, they use Ca and KH together.
The most disappointing one was the bubble coral. The once-full bubble coral slowly separated between the skeleton and the polyp tissue over a very long period of time, until it finally separated completely. I think I might have made a better judgment if I had tracked that value.
NO3: the residue left after processing food
NO3 is nitrate left after food, waste, and dead organic matter go through bacterial processes.
High NO3 doesn't immediately mean disaster, but if it stays high for a long time, it can be linked to increased algae growth or changes in coral color. On the other hand, it doesn't have to be zero either. Corals, symbiotic algae, and bacterial ecosystems also need some nitrogen source.
PO4: a value that can affect both algae and coral growth
PO4 is phosphate. People often associate it with algae, but phosphorus is also a nutrient needed for life.
The problem is that the tank can become unstable whether it is too low or too high. If it's too low, the balance between corals and microbes can be disrupted, and if it's too high, it can be linked to glass algae, rock algae, and cyanobacteria.
Moving from gut feeling to records
Of course, not all symptoms that appeared in the livestock could have been found or prevented through testing.
Still, it felt too frustrating to keep relying on gut feeling alone, and once I started measuring, at least I no longer looked at everything purely by instinct like before.
I now had a reference point for seeing how the measured values were moving behind the visible changes, like whether the water looked clear, whether the corals were open, or whether algae was increasing.
I hope the precious livestock grows better.